Optimum MH 50V mods and accessories

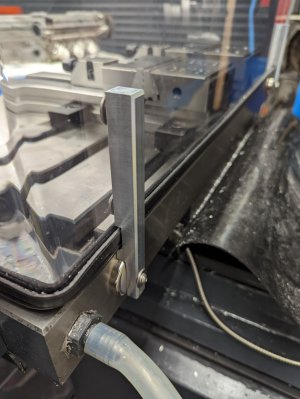
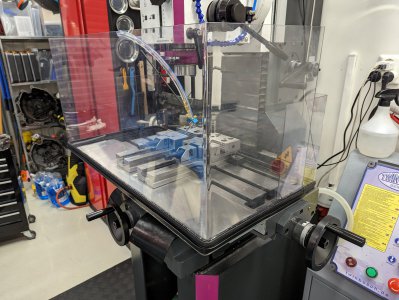
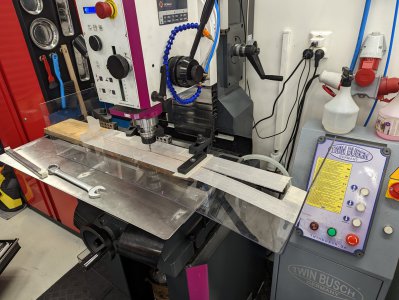
The front chip guard I made a while back has worked well so I made a rear chip guard too that attaches with magnetic brackets to the rear of the milling table for easy removal.

Unlike the front chip guard which has to be lifted off the table when it's time to change setup the rear chip guard will most likely stay in place for most operations.

Started by bending a sheet of polycarbonate and then milling out pocket so that it won't interfere with milling head.
PXL_20221010_120539849.jpg

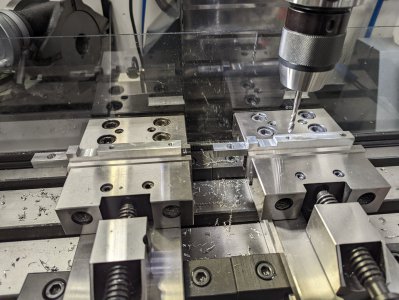
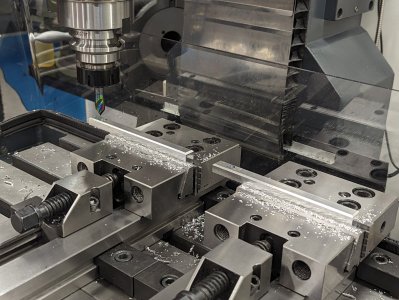
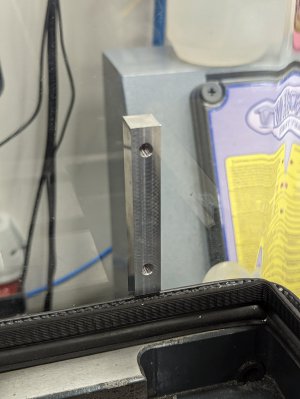
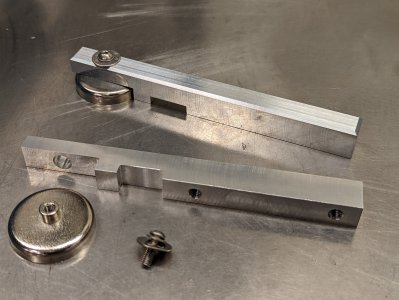
Milling the brackets.

PXL_20221015_102657772.jpg

PXL_20221015_105126717.jpg

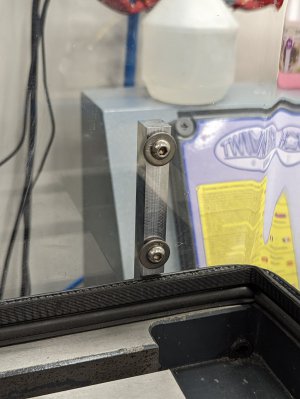
Attaching the magnets (some cheap magnets meant for small hooks https://www.biltema.se/en-se/tools/tool-storage/tool-holders/magnetic-hooks-10-pcs-2000035930).
PXL_20221015_110948331.jpg

Attaching the brackets to the polycarbonate sheet.
PXL_20221015_111528332.jpg

PXL_20221015_111510771.jpg

PXL_20221015_121034730.jpg

PXL_20221015_120242670.jpg

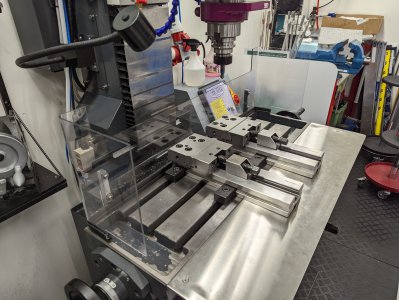
Rear chip guard assembled and installed.
PXL_20221015_120300177.jpg

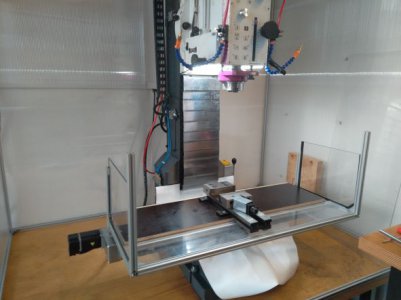
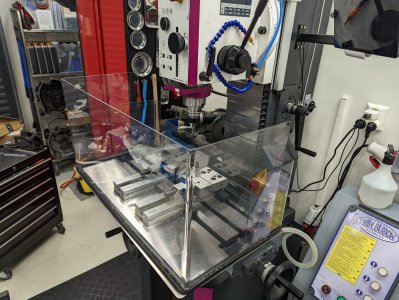
This is how it look with both the front and rear chip guards installed on the mill.
PXL_20221015_120344978.jpg

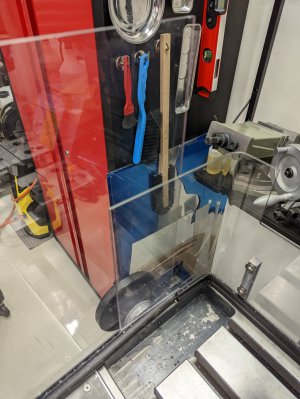
The large overlap between the front and rear chip guards is so that I still get a decent side coverage when only one of the chip guards.
PXL_20221015_120433019.jpg

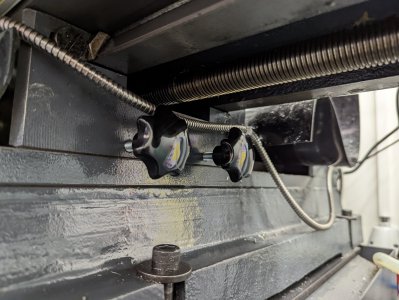
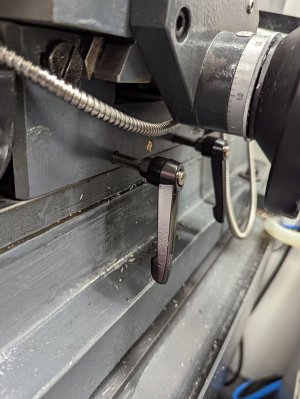
While it was at it I replaced the handles for locking the axis. I never liked those ratchet type ones that came with the machine, I find the knob style ones much more ergonomic.
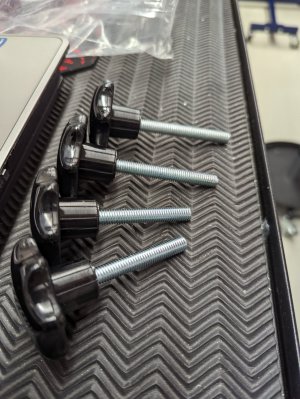
PXL_20221012_160413921.jpg

PXL_20221012_160354569.jpg

PXL_20221015_120551032.jpg
 
Last edited:
That's a really nice piece of steel, how did you machine that?

The column on my machine also leans slightly forward. I've ignored it so far as the bolts for it can only be accesed from the underside of the machine and I don't have the roof clearance to lift the machine up where it's currently standing in my shop. I know the column on Lukas (soldernerd) machine also leaned forward but I think he fixed with epoxy if my memory serves me right after reading his German thread using Google Translate.
On a rotary table with 0,5mm steps down. I then cleaned it up on a lathe....this was to play around with the machine.

And yes, these bolts are really hard to get to. Although I have the roof clearance I cannot lift my machine because I put my lathe in front of it. So I cannot reach it with my tractor.... Maybe I build something with hydraulics in the new year.

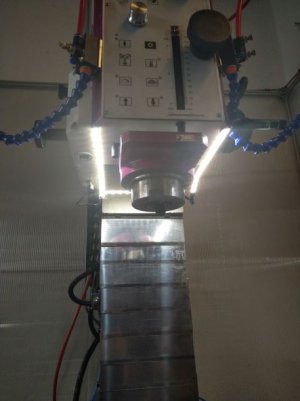
This is how I placed my led-strips.
IMG_20221011_092115_.jpg

And here is my quick and dirty version of your really nice chipguard :)
IMG_20221011_092128_.jpg
I used aluminium-profiles and can slide in the pc-sheets when I'm setting up work-pieces.
 
Last edited:
Nice setup, I like it!

That LED strip install looks great. I have too see if I can find some suitable LED strips too as my current light sometimes gets in the way for the chip cover.

By the way is that a CNC conversion on the X-axis?
 
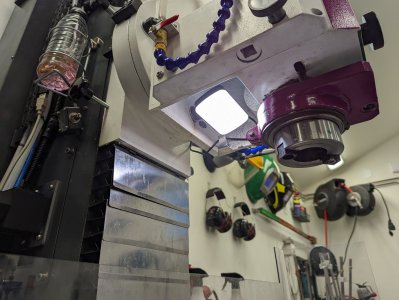
I became inspired by gschora's LED-strips on the bottom of the column so I started looking at doing a similar setup.

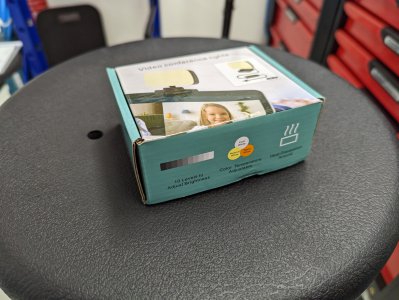
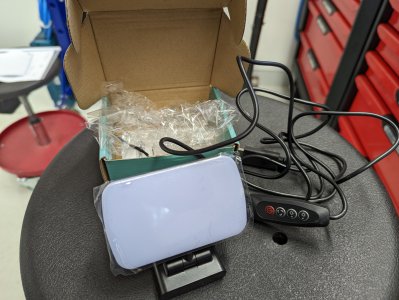
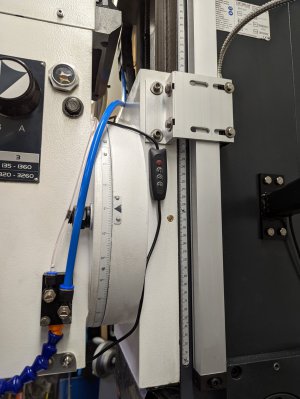
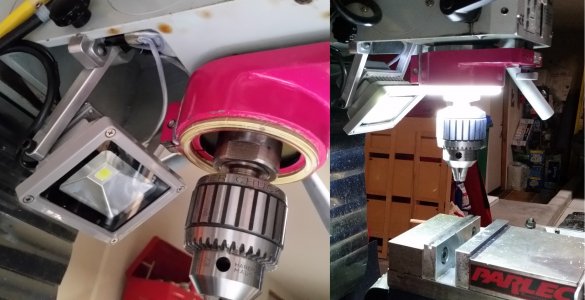
When I looked closer at the column I realized that it contains a big empty space behind the spindle. After doing some measurements and looking around online I found a USB conference LED light which looked suitable and came with a small remote on the USB-cord.

PXL_20221022_080647469.jpg


PXL_20221022_080809301.jpg

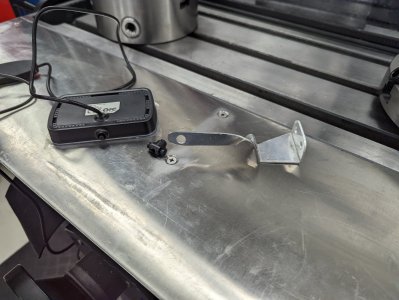
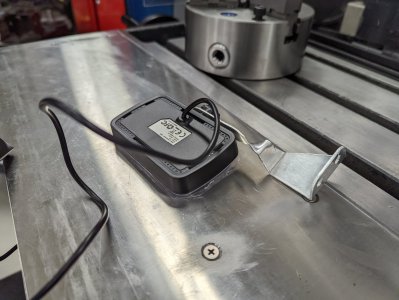
Moved my mist cooler a bit higher on the column a while ago. That left me with two unused tapped holes which I reused for the mounting bracket I designed to hold the LED light. I also mounted the remote to the column using some double sided 3M tape.

PXL_20221121_141921582.jpg

PXL_20221121_142401554.jpg

PXL_20221122_123752140.jpg

PXL_20221122_123730080.jpg
 
Last edited:
I've used the cheap Chinese mist cooling quite a lot on the mill. It works good for blowing the chips away and providing coolant in mist form but breading the mist is not pleasant especially on longer jobs.

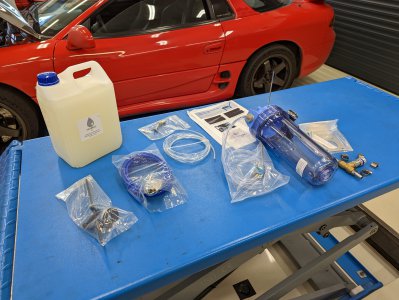
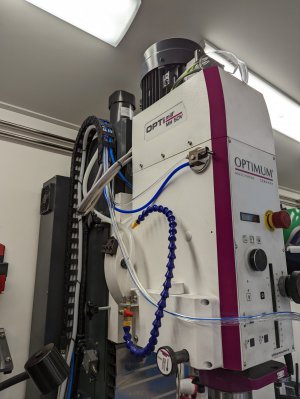
So I ordered a Fogbuster kit along with some coolant and magnetic mount from Sorotec in Germany (note that the air fittings in the lower right corner are not from the kit).

PXL_20221204_090711728.jpg

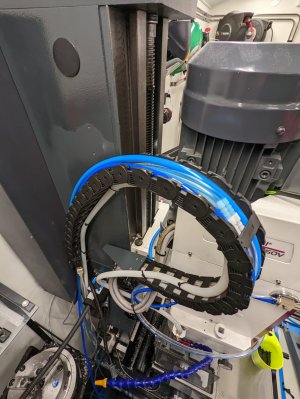
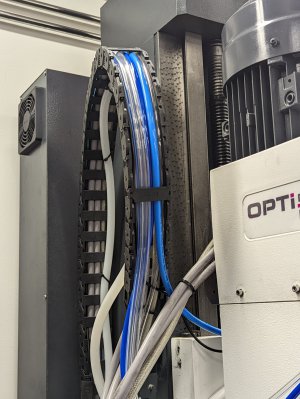
I was pleasantly surprised with the quality of the Fogbuster kit it felt very solid. I routed all the air hoses (all four of them) through the stock cable chain on the machine.

PXL_20221205_133623310.jpg

PXL_20221205_134507333.jpg

I placed the on/off switch on the left side of the milling head using the included magnetic mount. The switch has a very nice tactile feedback and gives off a nice psssh sound when toggled.

PXL_20221207_090612429.jpg

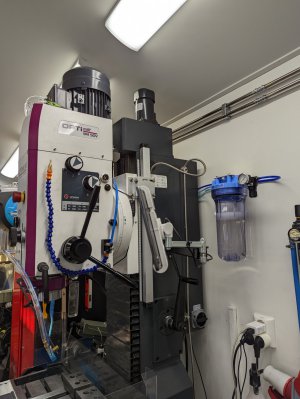
I mounted the reservoir and regulator on the wall just beside the mill.

PXL_20221207_090548504.jpg

PXL_20221207_101608635.jpg

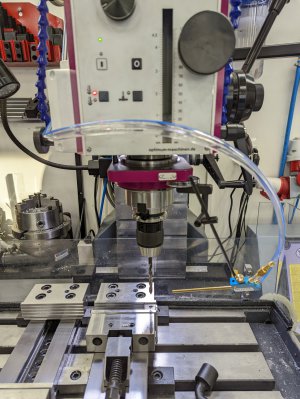
The Fogbuster kit really does a good job of blowing chips away and spraying coolant without creating any mist. I was actually surprised over how well it works.

I'm going to convert my old Chinese mist cooling kit to just a plain compressed air setup for when I need even more air for clearing chips as I don't see myself using it again for providing mist.
 
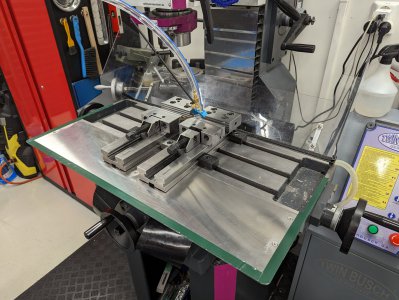
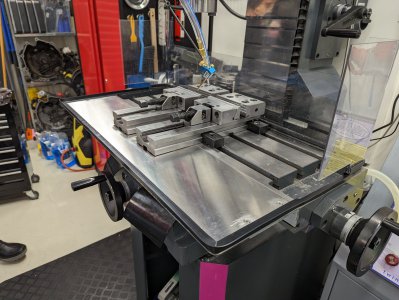
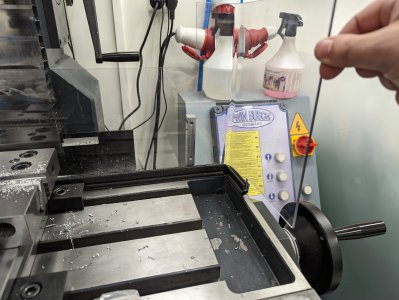
The table extension and polycarbonate chip guard has worked great but when using coolant for extended periods it would sometimes get a bit messy as coolant leaked between the table and the chip guard.

So I added an L-shaped rubber seal to the edges of the table in order to prevent any leaks.

PXL_20221216_143431940.jpg
PXL_20221216_152242983.jpg
PXL_20221216_152322009.jpg
 
I use to have an Optimum BF30 many years ago, had a similar light setup but added a ring LED light which helped prevent shadows. Some people are now using dual ring LEDs if you need a bit more light. Hopefully the build quality on your Optimum has improved, as I had a number of issue with mine and eventually sold it.

Mill LED lights.jpg
 
Nice lightning setup mksj

I originally purchased a Optimum MH 30V but it was delayed, and then delayed some more. When I finally got it after many months it had both electric and mechanical defects. They couldn't replace it in time either so in the end I got this larger MH 50V model instead which has worked fine right out of the box.
 
I use to have an Optimum BF30 many years ago, had a similar light setup but added a ring LED light which helped prevent shadows. Some people are now using dual ring LEDs if you need a bit more light. Hopefully the build quality on your Optimum has improved, as I had a number of issue with mine and eventually sold it.

View attachment 430177
By the way, what machine did you buy to replace the Optimum BF30?
 
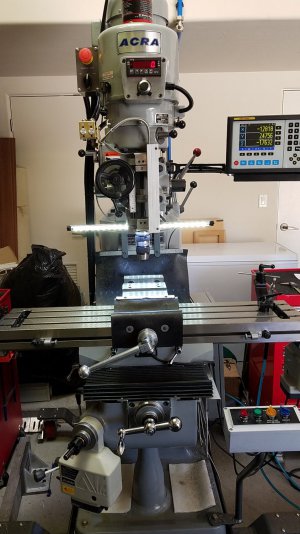
I replaced it with a full size knee mill, I find it much easier to use and do not have the travel limitations of the BF-30. I ended up with an ACRA LCM mill which is the same mill as the Sharp LMV, they are made in Taiwan by First Industries. I ordered it with the digital head which is their version of a vector drive motor with a Yaskawa VFD, and then I replaced the control system. It was a major improvement over my BF-30, very high build quality and much heavier mill. Seems like MH50V is significantly much more substantial and appears to be better built then their smaller versions, so you are probably fortunate to have ended up with the next model up.
Acra LCM-42 Mill with mods.jpg
 
Back
Top