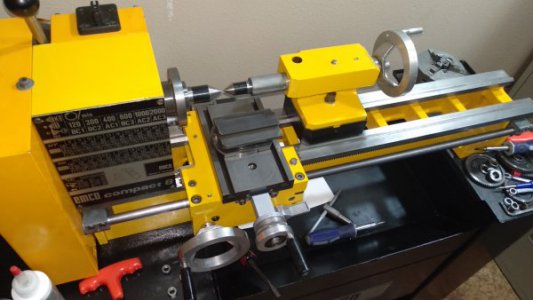
New To Me Compact 8 Cleanup Thread

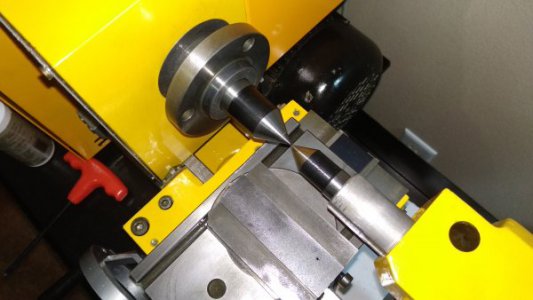
I forgot to mention this, the part may not be steel. It may be cast iron or possibly even 3d printed metal???
I know magnets stick to it and it is heavy. When I drilled the hole out slightly larger it didn't make any curls or chips like steel normally does. It drilled very easily and made a fine black powder instead of cut bits of metal. Any ideas? I'm not very experienced with metal work but I have drilled steel plenty and this didn't seem like normal steel when I drilled it.
cast iron?
 
Cleaned up nice!

I have some suggestions for accessories:
  • Make a rear mounted parting tool post for your lathe. It will part from the front but it will part much better from the rear. The cross slide T-slots will make it simple to attach.
  • Make a good carriage stop. You will need this for any precision boring you do in the future.
  • Make a height gauge for setting tool height on center. You will use this frequently.
Take really good care of the register (the sloped part on the spindle nose). Emco spindles are not that easy to find if they are damaged and the register is an odd DIN spec. Any damage or defect will affect the accuracy of anything you bolt to the spindle. Be especially careful when mounting chucks; be sure the mounting surface in back of the chuck that sits on the register is clear of dirt, debris or defects before you mount the chuck. This applies to any lathe but take extra care because new spindles are not available.
 
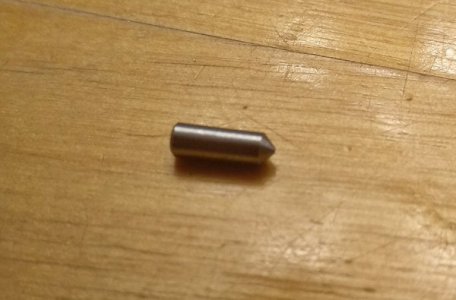
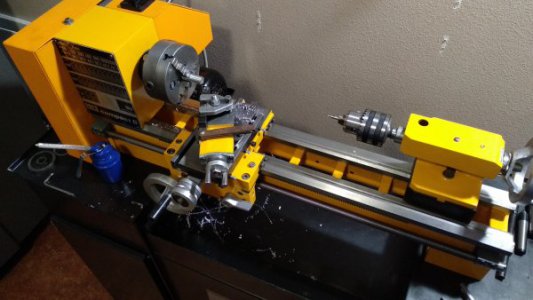
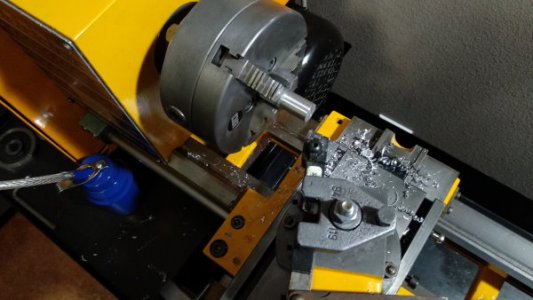
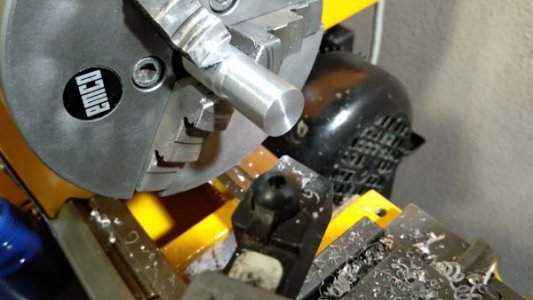
Mikey was right, those Emco 3 jaw chucks are very accurate! I was making a new shear pin for the leadscrew because I mangled the old one getting it out. I just found a piece of aluminum and turned it on one end to size and then flipped it around in the chuck to do the other end (if it were off a little it wasn't a big deal) and for the first time ever, I couldn't tell where I had stopped and turned it around to do the other side. Usually I can see a slight difference because a 3 jaw isn't terribly accurate. I can do that with a 4 jaw and some setup time, but never had that happen with a 3 jaw. The whole pin looked like it had been machined continuously from end to end all at once. Crazy! I was playing around with some aluminum in these pictures. I was using the wrong sort of tooling for aluminum but just wanted to make some chips and the indexed carbide cutter needed the least shimming so I grabbed it. Not a bad finish for using the wrong tooling and feed rate AND spindle speed :D. I know I'm going to love using this machine and the zero backlash is something I'm going to get spoiled by very quickly!IMG_20181116_225155.jpgIMG_20181116_225014.jpgIMG_20181116_224836_HHT.jpg
 
I know Rohm built the chucks for the larger Emco lathes and I also suspect they built them for the Compact 8, too, so it should be more accurate than the average bear. But its not just the chuck. The design and build of the lathe is supposed to meet a DIN8606 tool room spec. At first, I thought this was just marketing hype to justify the relatively high cost of this lathe but it really is built quite well and is very accurate, at least in my experience. I spoke to one of the engineers at Emco USA about this lathe when I was restoring my friend's lathe and he seemed to be rather fond of the Compact 8, saying it was one of the best little lathes Emco built and that it is certainly one of the most copied/cloned lathe designs ever.

Your yellow Compact 8 was built by Emco in Austria, unlike the later models that were actually made by Profi Heim until they went out of business in 2001. All Compact 8's that are in current production are built in China, although they are badged as the Compact 8E.
 
It is a great little machine! I'm really glad a bought it. Major pain to take every single piece and clean everything up because it was in such a filthy state but it was worth it in the end. You were also right about the book. It has the specs for each screw. I didn't have to be super careful with everything and could clean big batches at a time because the book had everything laid out perfectly. It was no trouble at all figuring out what went where.

The only thing left to do is figure out the tailstock ram clamp situation. I don't have the screw and one half of the aluminum clamping setup. It has the handle and half of the clamp. I don't understand what keeps the screw from turning inside the housing. Once I sort that out, I will be completely finished.
 
The only thing left to do is figure out the tailstock ram clamp situation. I don't have the screw and one half of the aluminum clamping setup. It has the handle and half of the clamp. I don't understand what keeps the screw from turning inside the housing. Once I sort that out, I will be completely finished.

Simple. Have a look at page 20 of the IPB. The split cotter is just two pieces of aluminum with a through hole through both. There is an angle of approx. 30 degrees on each that faces the ram. A bolt slips through both and threads into the locking lever on top. When you tighten the lever it pinches the cotter pieces together, trapping the ram and keeping it from moving.
 
Back
Top