- Joined
- Nov 21, 2010
- Messages
- 1,602
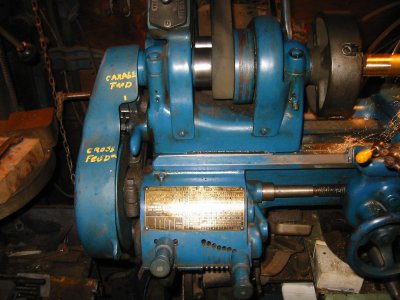
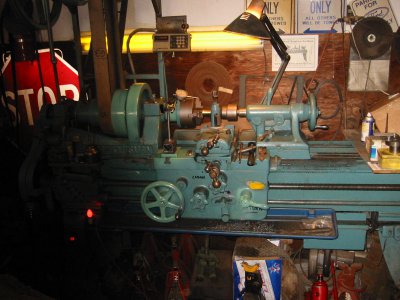
Mine before a paint job. I finnally got a quick change tool post. 100% better. As already said above the thread dial
being in syc. Many times we will disengauge this dial (like to disengauge the feed screw) when doing a lot of
drilling facing why have all this stuff turning and wearing. Ok so I am to thread, engauge thread dial, run machine
with half nut engauged a little bit, turn off power, now sometimes the hash marks dont line up. real quick what I did,
was I fit a large washer over the thread dial with a witness mark and simply dial in the washer to line up with the
hash marks. I really like my SB its a long bed. Too bad it doesnt have twin feed screws. My big heavy 20" has
twin feeds which means its feeding and cross feeding at the same time for doing tapers like boat shafts really just
an automatic taper attachment. Well thought of 100 yrs ago. Another good thing that works great is to put a black
sharpie in your tool post for practice (slightly under center) cheap pvc pipe. You must get a pitch gauge they are
cheap. Master left hand threading, master acme threads. Years ago always wanted to do this stuff in being just
a play thingy. No clue I could not read a yd stick. Absolutly horrible in math. All started years ago being a cop on
3rd shift maybe a loose cow call. (cops go in a lot of places) anyways I was given a SB9A on some call. Then I use
to do some details good size flea market and bought more than my pay buying stuff that looked like machiny things.
How about a taper att. for $5 try Ebay now for one I thought it was cool. All these years gone by by. I kind of mastered
this thing. Idea! why not a cheap add in the news paper. Machining emergency room for cheap. So I get involved
with a lot of left hand & right (big stuff) threading cant be found in local stores. I think I wrote this in some other
site already, bolts as big as a beer can way cheaper than Cat and no wait. Another avenue Craftsman mower deck
spindles which are totally junk. I make them for $25 with grease fittings Sears wants $60-80 and not in stock. Thats
the powers of a South Bend good luck!


