New guy around here. Showing off a couple recent projects

kf4zht

Registered
Registered
Joined
Apr 14, 2013
Messages
48
At the beginning of this year I moved from a rented house with a 1500sqft garage/shop area to my own house with a 2 car garage and 2000sqft basement. Previously I mostly did fab and automotive work, but have always wanted to get into machining. Spent a little time behind a lathe and mill in college.

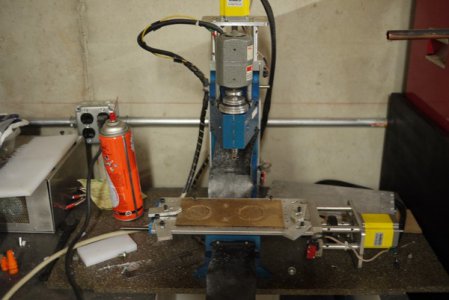
Now with more room I am able to start expanding my capabilities. Shortly before I moved I found a guy on CL with a MaxNC 10 mill. He had replaced the controller with a LinuxCNC/Probotix setup and several other upgrades in the name of stability. Some horse trading later and it followed me home. I waited to set it up until after I moved. Here it is in it's temporary resting place:P1010361%20(Medium).JPG
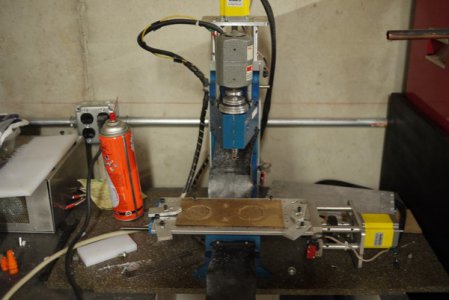

The cabinet was formerly a bagging cabinet from a store. I bought it and another for $50 from a Habitat Restore. I plan on making an enclosure later, trying to figure out if I am going with air or flood cooling long term. Right now I am standing over the part with a can of WD40 and a shop vac. If I end up needing flood the resovoir and pump will be in the bag holder area. If not the PC and control box will go there.

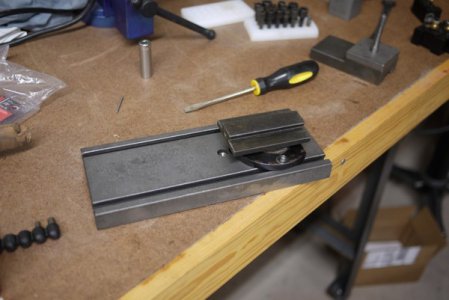
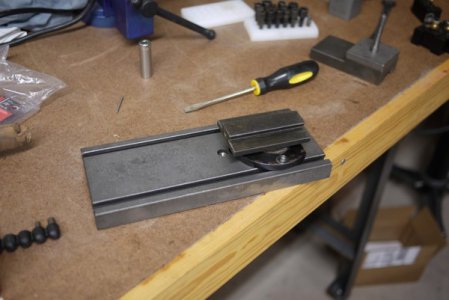
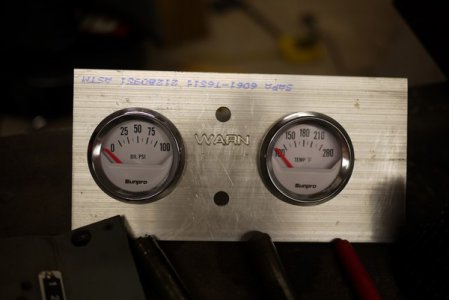
This is the first real part I made with the unit:
P1010358%20(Medium).JPG

It is a dash plate for another project - Several guys I work with went in to build a race car for ChumpCar. It's a 1987 Toyota Supra, if you want to follow our stupidity head over to www.turdbucketracing.com


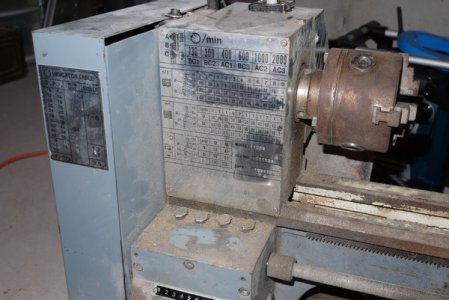
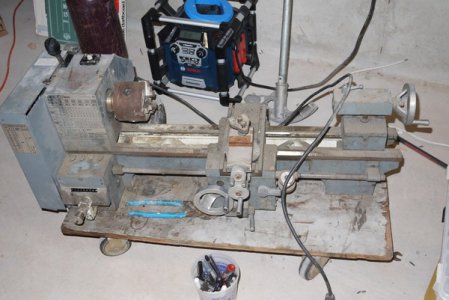
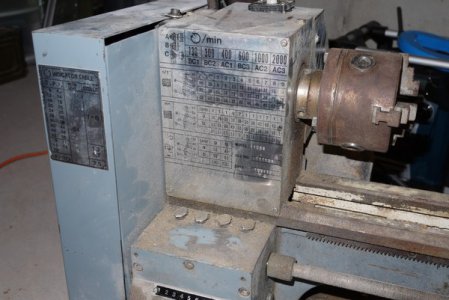
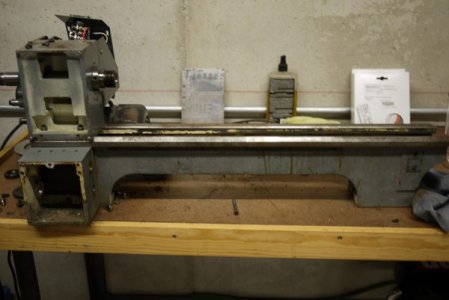
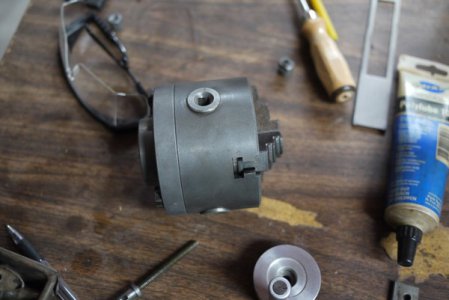
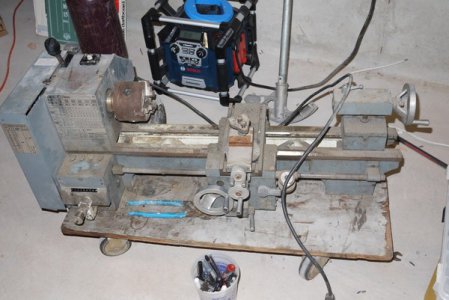
The other project was a Northern Hyd branded 9x20 lathe. Picked it up cheap, but it sat for a long time in a guy's wood shop and is disgusting. Working on tearing it down, but is how it sat when I brought it home:
P1010291%20(Medium).JPG

P1010292%20(Medium).JPG

All this time I have a few other projects going on. I will keep the thread updated as I get stuff done.
P1010361%20(Medium).JPG

P1010358%20(Medium).JPG

P1010291%20(Medium).JPG

P1010292%20(Medium).JPG
 
Nice mini... -But you got some work to do on that lathe...

Good going and good luck!
 
That lathe will clean up in an afternoon. Pull off the rusty parts and immerse them in a gallon of Evaporust.
Put the rest of it in your parts cleaner and flood it with solvent - diesel, kero, mineral spirits. It will look near-new by dinnertime.
 
Congrats and nice start to your shop. I like the mini mill. I recently converted a Sherline and am in the process of discovering all the nuances of Mach 3. Looking forward to the progress on the lathe.

- - - Updated - - -

BTW: WD40 and a shop vac are my choices at the moment as well. :rofl:
 
Richard,

Welcome aboard!

Great pick-up on that lathe! You'll have a ton-of-fun restoring that baby. Consider purchasing a stand (still avail according to the catalog) and setting it up in a "permanent place" where you have lot's of space around it and lots of light too (if possible)

Over my 67 yrs on this earth I've owned and/or restored well over a dozen metal lathes. For me, the satisfaction is very personal and rewarding.

Have great time es,

73,

Mike, W4XN
Charlottesville, VA
mike@w4xn.com

At the beginning of this year I moved from a rented house with a 1500sqft garage/shop area to my own house with a 2 car garage and 2000sqft basement. Previously I mostly did fab and automotive work, but have always wanted to get into machining. Spent a little time behind a lathe and mill in college.

Now with more room I am able to start expanding my capabilities. Shortly before I moved I found a guy on CL with a MaxNC 10 mill. He had replaced the controller with a LinuxCNC/Probotix setup and several other upgrades in the name of stability. Some horse trading later and it followed me home.
 
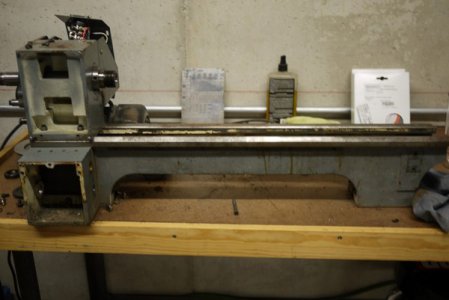
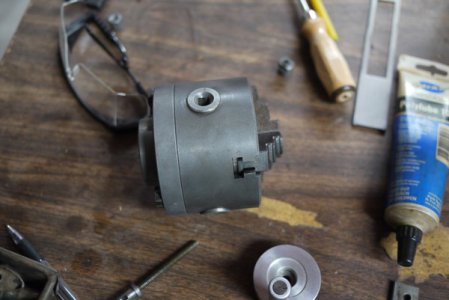
Started tearing down the lathe. Rust parts are cleaned with evaporust. Dirty parts get steel wool, wd-40, goo gone, paint thinner, etc. I have a HF ultrasonic if needed

P1010353%20(Medium).JPG

P1010355%20(Medium).JPG

P1010359%20(Medium).JPG

I did have one major piece of good will from this site. hman put up a post that he would give a A2Z QCTP to a member for the cost of shipping. He was extremely generous to extend this to me as a new member. I cannot thank him enough, the tool post was one of those items I had no idea where to go on. It will help me get up and running quickly.


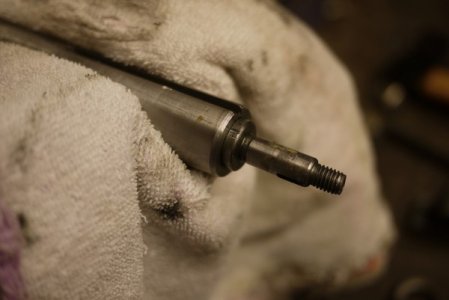
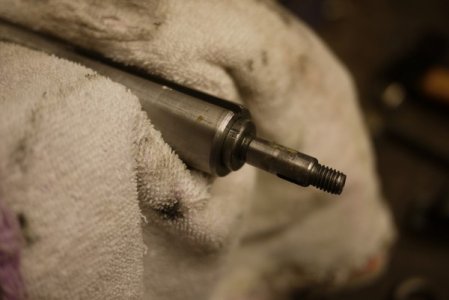
There is one area that has been a problem with. The Tailstock screw is frozen. There does not appear to be rust, and the face is flush which gives me hope it is not cross threaded. It appears to just be stuck. I haven't gone to extreme measures to get it loose, prefer not to damage it. Heat will be my next attempt, however secure clamping is the hardest part.

P1010356%20(Medium).JPG

Now I am running into another issue, space. I built the bench that it is on, however when you add my top box machinist chest, parts and all the tools that don't fit in the chest anymore it is clear I need storage. Went browsing on the local clist with a tight budget and a goal of lots of drawers. Found what I think will work well, more to come.

P1010353%20(Medium).JPG

P1010355%20(Medium).JPG

P1010359%20(Medium).JPG

P1010356%20(Medium).JPG
 
That tail stock screw is probably left hand... Might want to take that in account when breaking it loose.
 
Wowsers! I recall our back-and-forth emails, and now I actually get to see the lathe!!! Looks like you're well on the way.

But a cautionary note (in case it hasn't come up previously) - whatever you do, **DON'T** remove or loosen the headstock from the bed ways ... unless you want to go through a lengthy alignment process! Other than that, everything's pretty easy to reassemble, without any critical dimensions.

As for that pesky tailstock screw - here's a photo of what it looks like disassembled:
HPIM2647K.jpg

It's *definitely* a left-hand thread. I see some tool marks on the shoulder of yours. That's definitely the "strongest" place to grip, and it gives me an idea. You might want to use a file to put a couple of flats on that shoulder, so that you can use an open-end wrench of suitable size. As far as I can tell from looking at all the related parts, there should be no negative effects to the tailstock operation if you add flats to the shoulder. It will still stop the screw from moving lengthwise, as designed. Minor marks on the end of the sleeve won't hurt, either.

As for penetrating oil and/or heat - note that the threaded part is pretty long (just under 2"), so it may take some doing and lots of time for penetrating oil to get from the opening of the sleeve all the way down the threads. You might consider holding the parts upright (opening upward), squirting in a generous amount of penetrant, and applying gentle heat to the parts over a period of time, or else repeated for brief periods over time. Alternatively, you could try drilling a small hole (1/16" or so) "between" the shoulder and the end of the sleeve, so that you can get penetrating oil in "the back way.'

For reference: Shoulder diameter .688" (17.5mm), thread relief section of screw .390" (9.9mm) diameter, screw threads .469" (11.9mm), internal threads on sleeve .419" (10.65mm).

Final suggestion: Because the sleeve has a 5mm (.191") external "keyway", you can put a piece of 3/18" rod into this slot and use the arrangement in a vise to prevent rotation when you're torquing on the screw. The rod should prevent rotation without having to reef down on the vise and possibly marring the sleeve.

Again, best wishes!

- John Herrmann

HPIM2647K.jpg
 
It looks like you will be well occupied. Finding a new project can be
quite gratifying and rewarding as well. You seem to be making good
progress. Welcome and good luck to you!


de KB0MM
 
Back
Top