- Joined
- Sep 30, 2011
- Messages
- 18
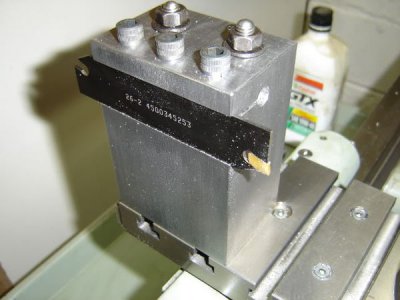
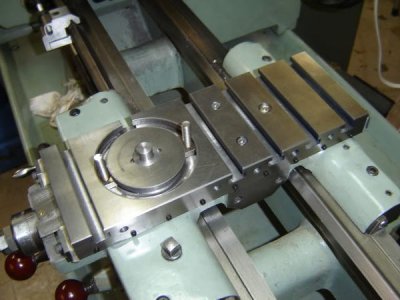
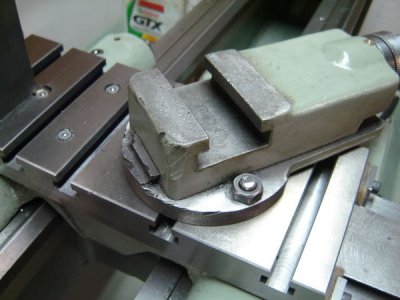
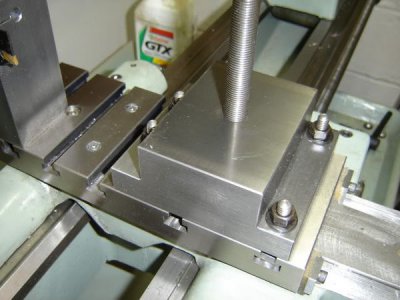
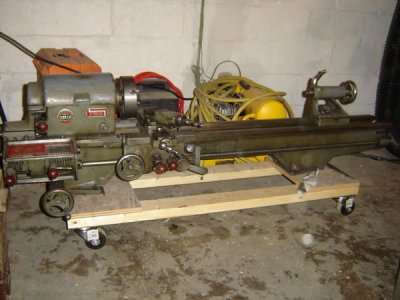
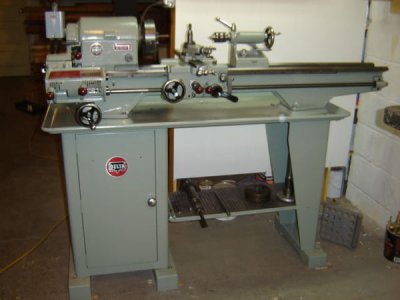
Thought I would post a write-up of how I dealt with a worn cross-slide screw on my Rockwell 10x36. I bought the lathe a couple of years ago, not knowing anything more about metalworking than what I could remember from school, about 42 years ago. It was in "unrestored" condition so I got it looking presentable. It became obvious that there were some problems when I started using it. First a couple of before/after pics.
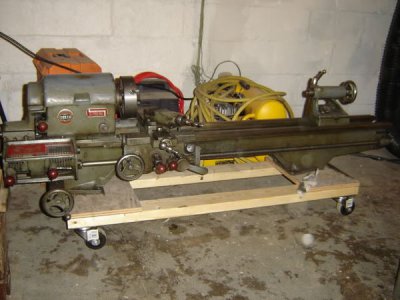
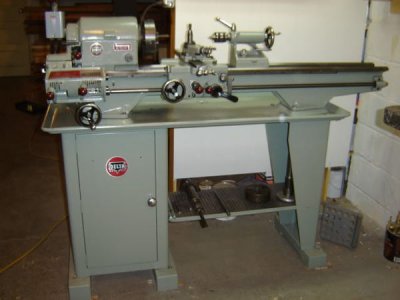
The first problem that needed to be dealt with was the Reeve's variable speed drive.Not sure what was wrong but either the belt would slip under any kind of a load or if I tightened it up it would overload the motor to where it would easily stall.The PO probably experienced the same because the motor bearings had about a 1/16" play - side to side. His fix was to sell it to me. I remedied that problem by installing a 1 hp 3 ph motor and building a new step pulley drive. That project is described here under theRockwell lathe forum.
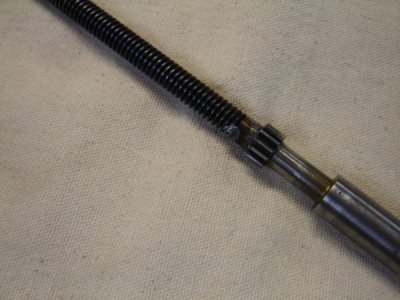
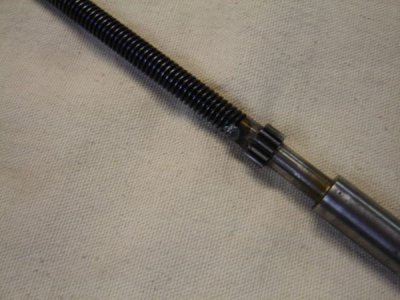
On the the cross-slide. The screw was worn so that the acme threads came to a point. The slide had about a 1/16" back and forth slop. After reading about cross-slides with T-slots I decided to go that route. By now I had jumped in head first and bought a Bridgeport so I needed to justify its existence. Started out with a bar of continuous cast iron from Speedy Metals 12 x 4 1/4 x 1 1/4.
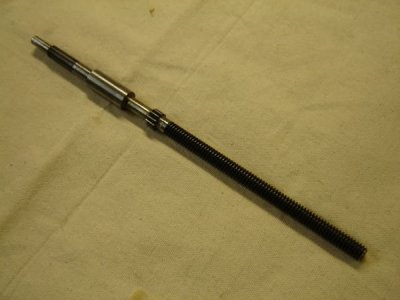
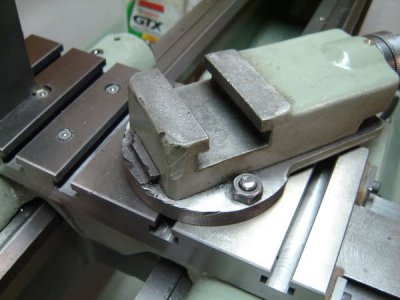
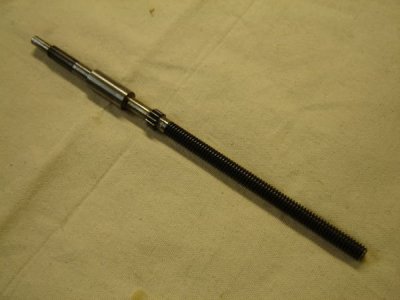
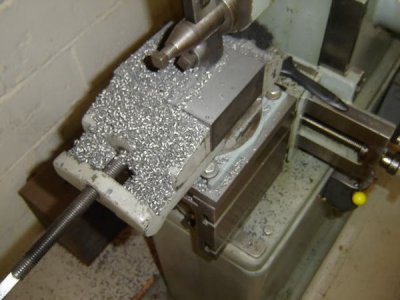
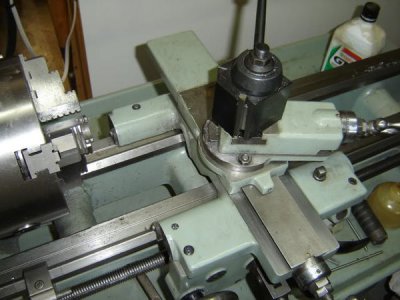
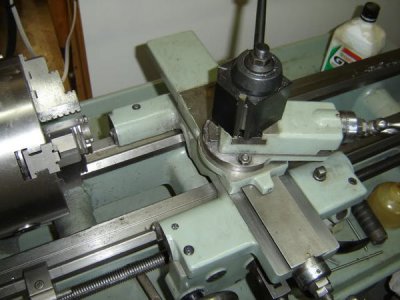
Here's a shot of the original.
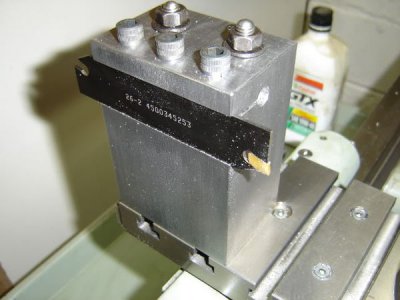
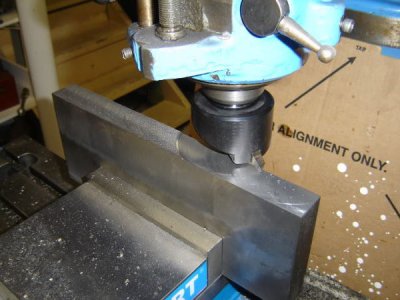
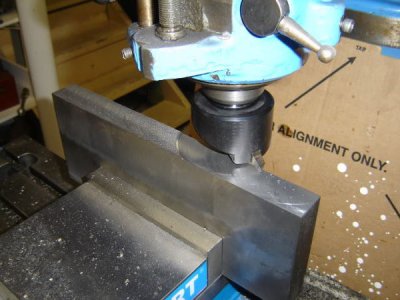
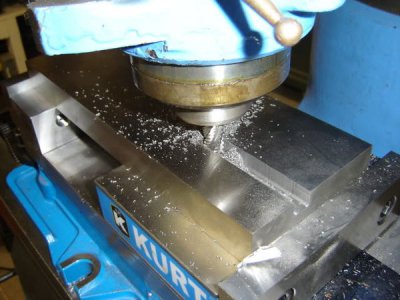
First squaring up the bar. I used a fly-cutter because I didn't have an insert type facemill at the time.It left a nice finish but slow going and flycutters are supposed to be hard on the splines in the mill drive. A buddy of mine has a surface grinder in his basement so that he had to justify its existence.
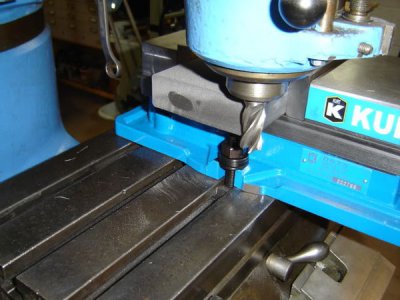
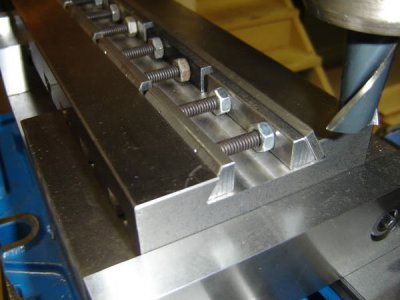
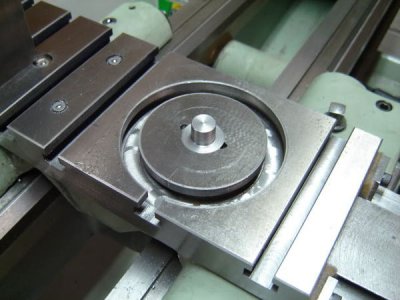
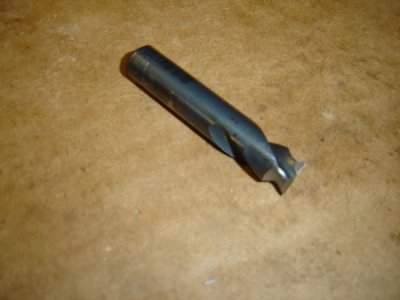
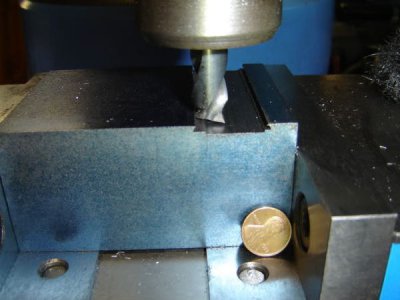
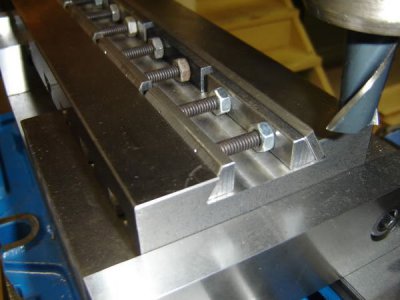
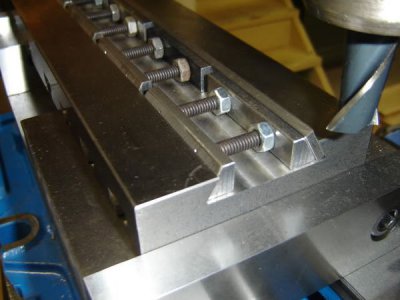
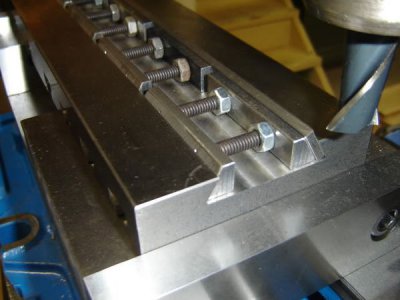
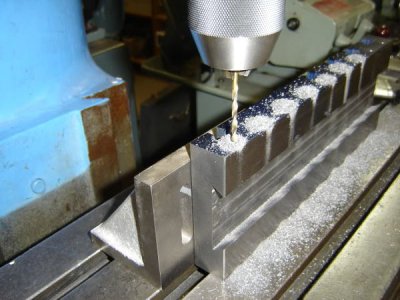
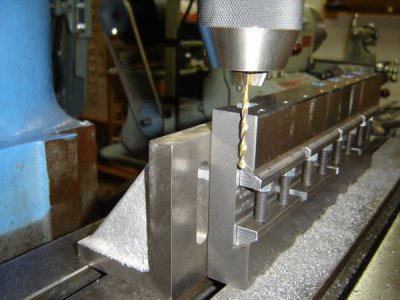
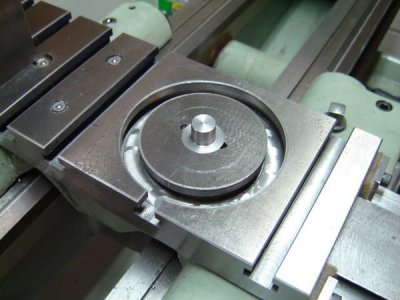
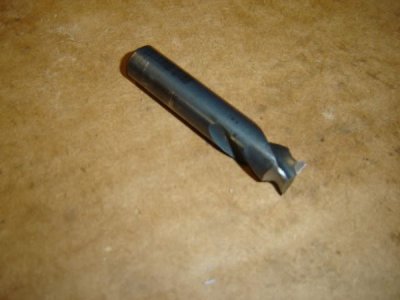
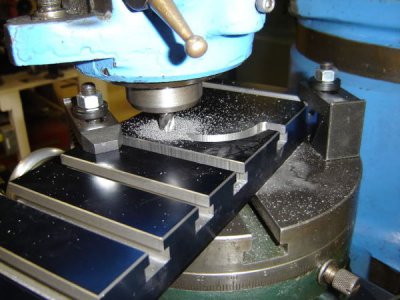
Used a 3/8" rougher to plow the groove for the t-slots and then a t-slot cutter to finish them. Mounted the piece on a rotary table to cut the circular t-slot so I could use the original compound slide.
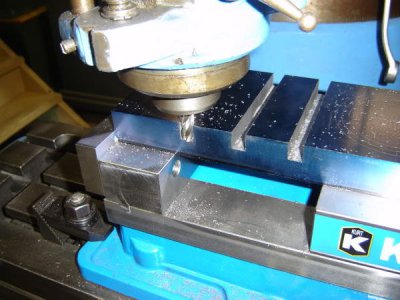
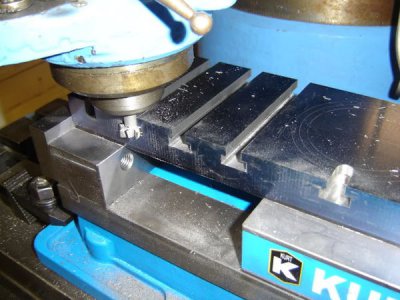
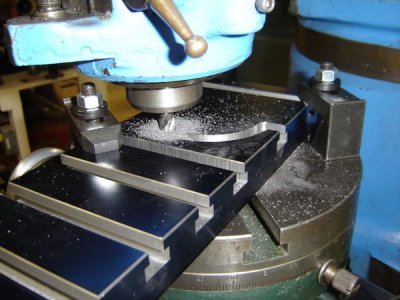
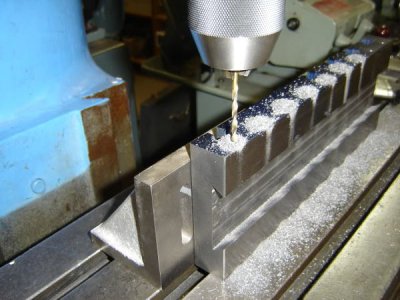
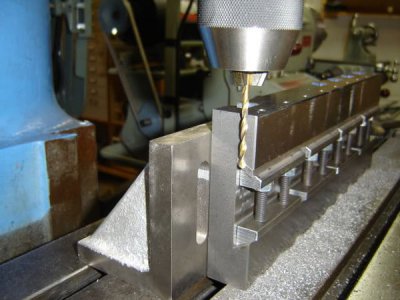
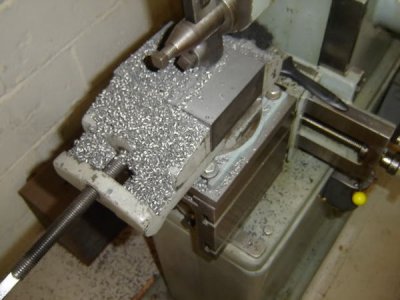
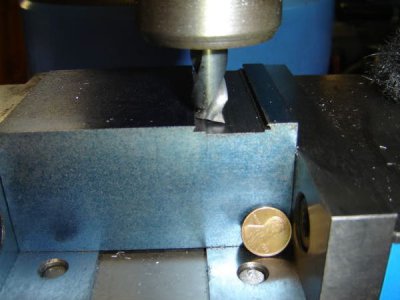
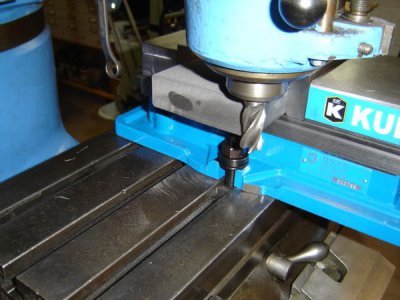
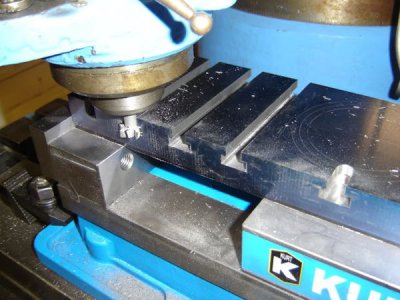
Here's a shot of roughing out and then cutting the dovetail on the underside.
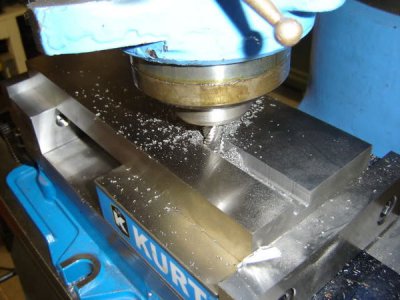
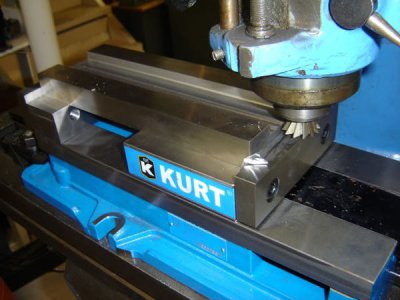
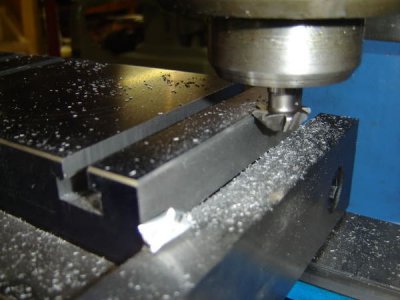
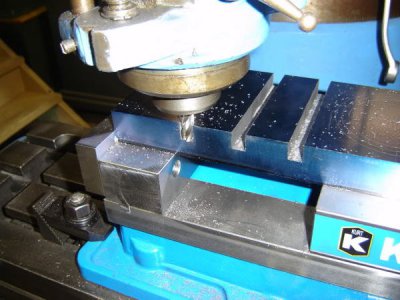
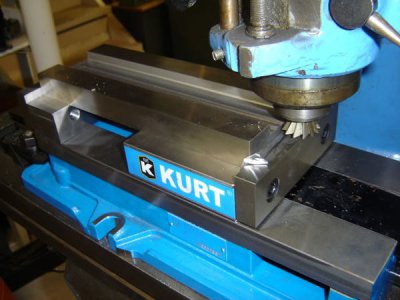
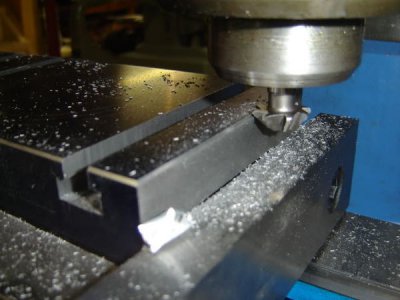
Bevelling the edges.
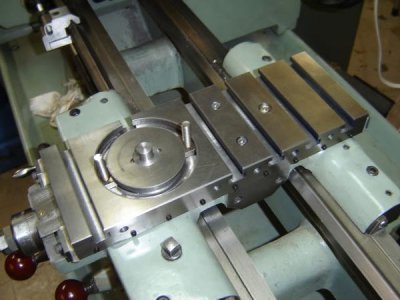
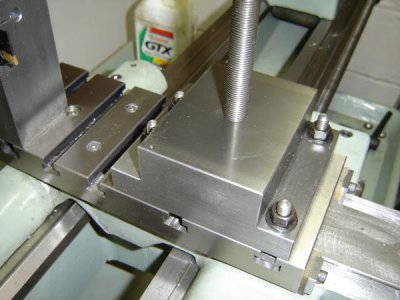
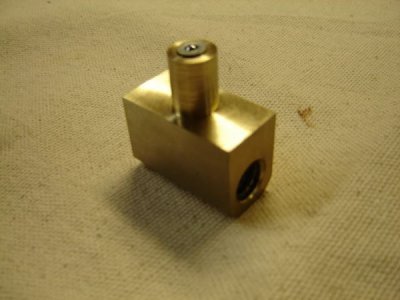
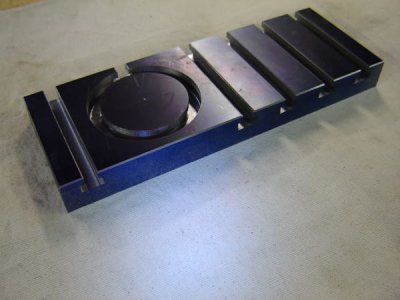
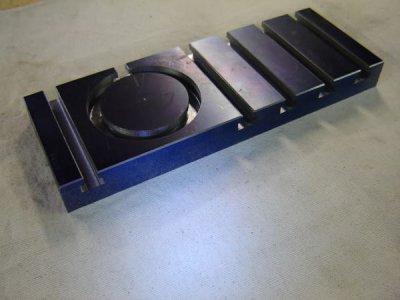
The piece so far.
To be continued. Henry


The first problem that needed to be dealt with was the Reeve's variable speed drive.Not sure what was wrong but either the belt would slip under any kind of a load or if I tightened it up it would overload the motor to where it would easily stall.The PO probably experienced the same because the motor bearings had about a 1/16" play - side to side. His fix was to sell it to me. I remedied that problem by installing a 1 hp 3 ph motor and building a new step pulley drive. That project is described here under theRockwell lathe forum.
On the the cross-slide. The screw was worn so that the acme threads came to a point. The slide had about a 1/16" back and forth slop. After reading about cross-slides with T-slots I decided to go that route. By now I had jumped in head first and bought a Bridgeport so I needed to justify its existence. Started out with a bar of continuous cast iron from Speedy Metals 12 x 4 1/4 x 1 1/4.
Here's a shot of the original.

First squaring up the bar. I used a fly-cutter because I didn't have an insert type facemill at the time.It left a nice finish but slow going and flycutters are supposed to be hard on the splines in the mill drive. A buddy of mine has a surface grinder in his basement so that he had to justify its existence.


Used a 3/8" rougher to plow the groove for the t-slots and then a t-slot cutter to finish them. Mounted the piece on a rotary table to cut the circular t-slot so I could use the original compound slide.


Here's a shot of roughing out and then cutting the dovetail on the underside.


Bevelling the edges.

The piece so far.

To be continued. Henry


