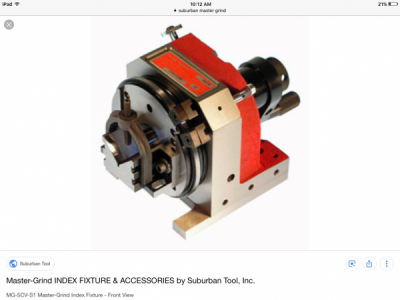
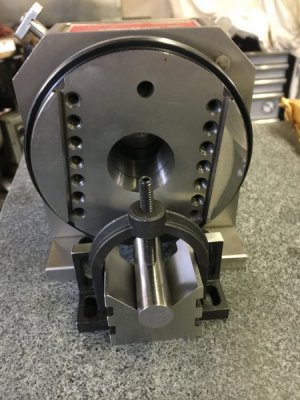
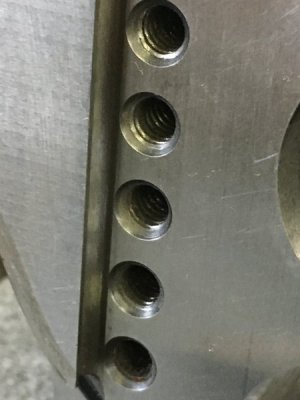
I purchased a suburban master grind awhile back and unfortunately it didn't come with the v block assembly. I ended up purchasing the v block from suburban and it states when buying that finally fitment is necessary. Okay so I mounted a pin gauge in the V block and did some measuring. Of course every measurement I take has like .0002 variance. I am pretty new to this but from my understanding this thing needs to be perfectly centered within the master grind or whatever you grind will be off.
My questions are am I measuring this the correct way. The V block needs the sides ground only so that's it's centered in the groove of the face of the master grind. The height of block is adjusted by slots on block. Here's my setup for measuring. Tenths indicator pin lightly clamped in V and taking measurements from the sides.
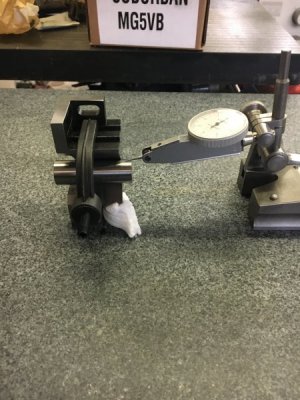
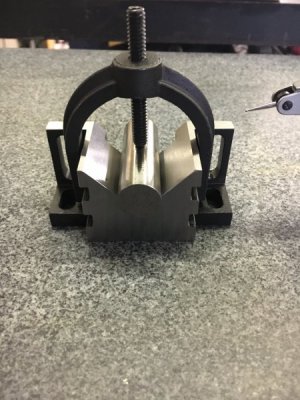
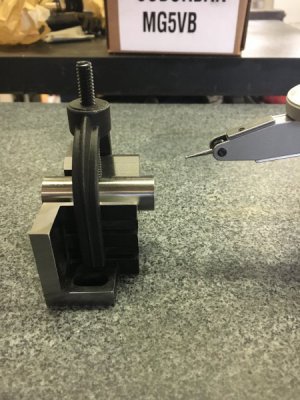
My problem is the first picture I have .0003 difference from left to right,how do I know if pin is placed correctly in V. I've read that the hold down is touchy when locking down a part ,can shift part.
Now if you take the 1st picture and flip it 180 and measure pin it is .0002 off from 1st measurement which tells me the pin or V in block is pretty dang close to center. I just need to take equal amounts off each side so it stays that way but get it down to near 0.
In the third picture I'm getting a .0002 difference left to right.
I've been able to research and find one person talking of this same task on another forum. A experience grinder was talking about grinding the V block to fit and was getting a .0001 difference when spinning the fixture. Unfortunately you really only get one chance at this. Can't take material from one side and put back on the other.
So what would be the steps a knowledgable person would do to complete this job. Let me hear it. Thanks and this is what it should look like
My questions are am I measuring this the correct way. The V block needs the sides ground only so that's it's centered in the groove of the face of the master grind. The height of block is adjusted by slots on block. Here's my setup for measuring. Tenths indicator pin lightly clamped in V and taking measurements from the sides.


My problem is the first picture I have .0003 difference from left to right,how do I know if pin is placed correctly in V. I've read that the hold down is touchy when locking down a part ,can shift part.
Now if you take the 1st picture and flip it 180 and measure pin it is .0002 off from 1st measurement which tells me the pin or V in block is pretty dang close to center. I just need to take equal amounts off each side so it stays that way but get it down to near 0.
In the third picture I'm getting a .0002 difference left to right.
I've been able to research and find one person talking of this same task on another forum. A experience grinder was talking about grinding the V block to fit and was getting a .0001 difference when spinning the fixture. Unfortunately you really only get one chance at this. Can't take material from one side and put back on the other.
So what would be the steps a knowledgable person would do to complete this job. Let me hear it. Thanks and this is what it should look like
