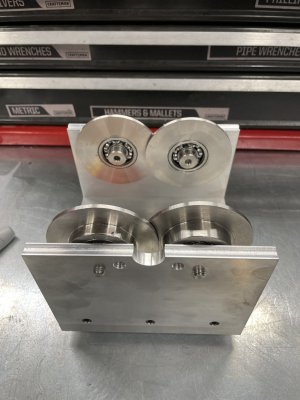
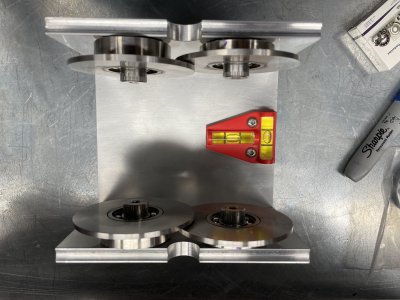
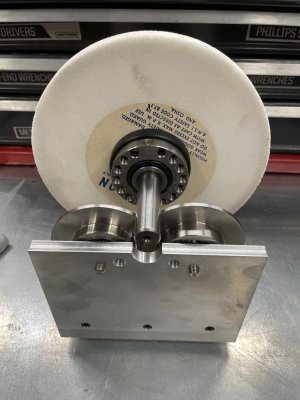
Made a surface grinder wheel balancing jig.

We used a shaft, similar to what you made, to balance the newly mounted wheel, and left the wheel on the hub until we needed another hub. We would true up the wheel, then balance it again.
 
These smaller grinders really do not have a balance issue . Mount it , dress it , use it , turn off coolant and let the wheel run for a minute letting the coolant release from the wheel . When moving up to 2 -3 foot diameter wheels is where balancing is very important . These hubs have internal counterweights installed in them for balancing .

Jeff , you've really come a long way in your new journey . Always following along with your projects , keep them up ! :encourage:
Dave,
Thank you
When I look back at how much I have learned over the years it is very rewarding to try new things.
Heck, I have the equipment, might as well learn how to use them at a higher level.
 
Mount it , dress it , use it , turn off coolant and let the wheel run for a minute
This makes sense. From now on, I'll do what you suggest regarding the coolant spinning off the wheel.
It's common sense now that you bring it up.
 
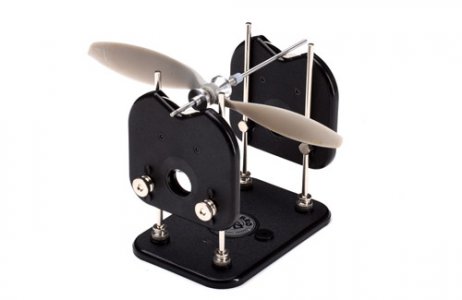
I have one of these at home for my model airplane propellers. I have always wanted to make a large one for balancing grinding wheels. It takes any leveling completely out of the equation. Just set the shaft on the four rollers and see where the wheel (or propeller) rotates too.


Attachments

  • e-db499.jpg
    e-db499.jpg
    21.6 KB · Views: 3
Jeff, take a look at both Suburban Tools Youtube and Shadon HKW (Stan Zinkowski).. search for grinding wheel balancing. I use this, and it works great. Drilling dimples in the wheel using a masonry bit. (Not with a hammer drill). The nice thing about it is the wheel is balanced, not just a hub. So if you remove the wheel, and put it back on, it should only need a check and minimal change.

One more thing, you may wish to put an edge on the top of your balancing jig, or mount 2 precision ground rods, you can use screws.. it will lower the coefficient of drag/friction, making the stand more accurate.

Nice arbor..
When I first saw Don drill holes in the grinding wheels I was in shock.
But, like he said, he's been doing it this way for decades.
I dug out some wheels that I balanced before using the same method. Some are right on but others need to be rebalanced.
I haven't seen Shadon's video yet
 
Looks good Jeff, and I would second the suggestion to use ground rod or knife edge rails to increase sensitivity. I went the bearing/roller route, so that leveling the fixture isn't quite so critical. Initially, I tried just rolling the axle directly on some skateboard bearings( you can see the old holes for them ), but found it lacking in sensitivity and repeatability. So I went to larger, high quality bearings, and pressed them into large diameter disks. They work great. Probably overkill balancing 7" x 1/2" wheels, but my little Harig 612 isn't very heavy, so I figure every little bit helps.
IMG_0672.JPG
IMG_0673.JPG
IMG_0671.JPG
 
Back
Top