- Joined
- Aug 9, 2019
- Messages
- 30
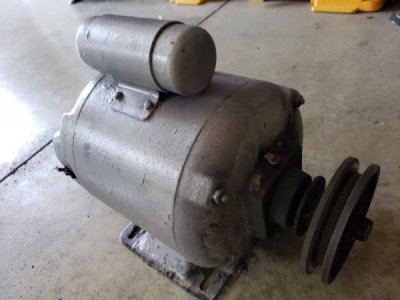
OK...I thought I would document my journey for replacing the Westinghouse 3/4 motor on my Logan 820.. See the process pics.
I had the misfortune of discovering that my original motor case was hot. Likely the winding insulation had deteriorated and gone to ground. I needed to NOT light up like Uncle Fester when operating my machine !
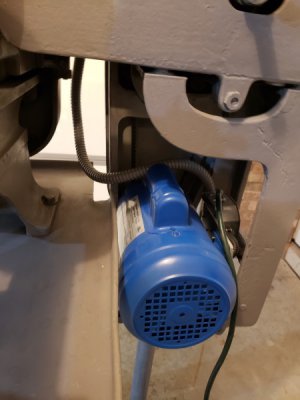
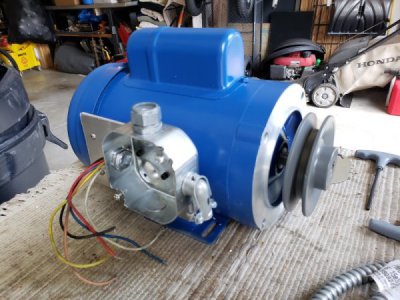
I opted to replace the motor. I selected a Halmark 3/4 1725rpm Class F insulation. Time will tell, but this motor runs smooth and seems fine. As far as appearance, the motor looks to be of high quality.
My neighbor Bob is an Industrial Electrican and guided my work and did the rewiring
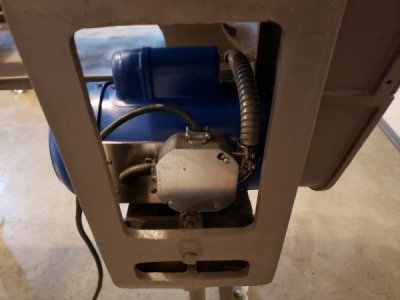
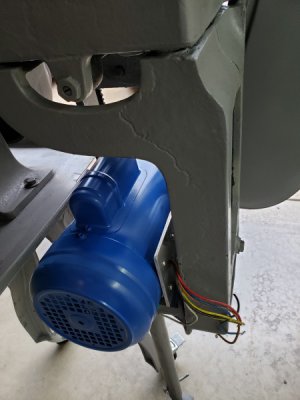
I had to relocate the position of the Peckerhead/junction box
as the original position ran into the right vertical frame member.
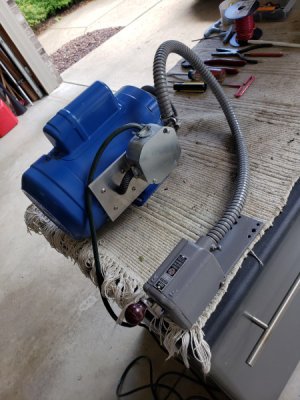
I simply used a 1/4 " Ally plate attached to the Peckerhead bolt pattern and then attached a new octagonal junction box to this same Ally plate. With the relocated junction box now shifted to the left, all went smoothly.
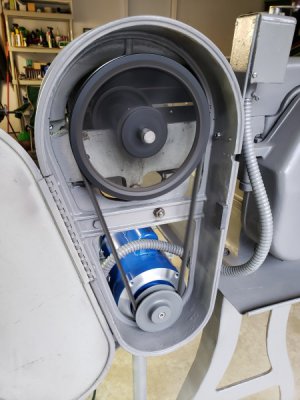
I had to order a new pulley with a 5/8" shaft ID. The Drum Switch was reused and was rewired.
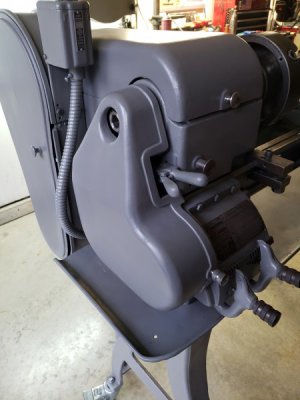
Having all pcs apart gave opportunity for cleaning and painting. Looks very good, Belt tension fine and runs like a champ.
Anyway, Perhaps some other member may find themselves in the same situation and reference this document.
Thanx for all your help.
CDBEAM
I had the misfortune of discovering that my original motor case was hot. Likely the winding insulation had deteriorated and gone to ground. I needed to NOT light up like Uncle Fester when operating my machine !
I opted to replace the motor. I selected a Halmark 3/4 1725rpm Class F insulation. Time will tell, but this motor runs smooth and seems fine. As far as appearance, the motor looks to be of high quality.
My neighbor Bob is an Industrial Electrican and guided my work and did the rewiring
I had to relocate the position of the Peckerhead/junction box
as the original position ran into the right vertical frame member.
I simply used a 1/4 " Ally plate attached to the Peckerhead bolt pattern and then attached a new octagonal junction box to this same Ally plate. With the relocated junction box now shifted to the left, all went smoothly.
I had to order a new pulley with a 5/8" shaft ID. The Drum Switch was reused and was rewired.
Having all pcs apart gave opportunity for cleaning and painting. Looks very good, Belt tension fine and runs like a champ.
Anyway, Perhaps some other member may find themselves in the same situation and reference this document.
Thanx for all your help.
CDBEAM
Attachments

Last edited: