LMS 3960 mini mill on its way to me!

cazclocker

Purveyor of cheese.
Registered
Joined
Sep 24, 2012
Messages
484
I "pulled the trigger" this morning. I called Little Machine Shop and ordered the 3960 mini mill with precision tooling package, the rotary table package, and a snootful of goodies, bells and whistles. They said it should ship out tomorrow (9-12) and arrive maybe Monday the 16th! :cool2: :thumbsup: :beerdrinkers:

I'll be taking pictures as it comes together.
 
Congrats! I have one of those little mills too as you already know. I got the accessory package, but couldn't splurge for the bigger stuff. I'm adding as I go. :)

We will have to compare experiences once you get up and running.
 
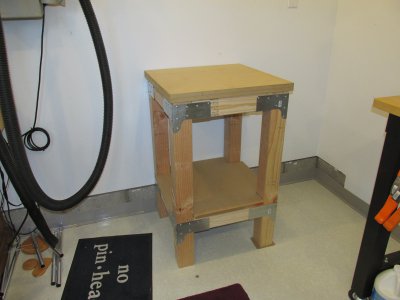
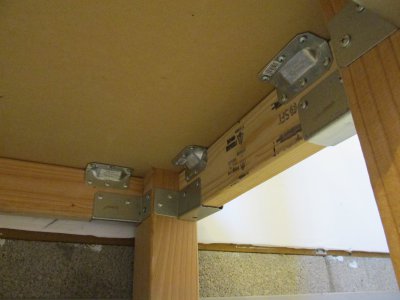
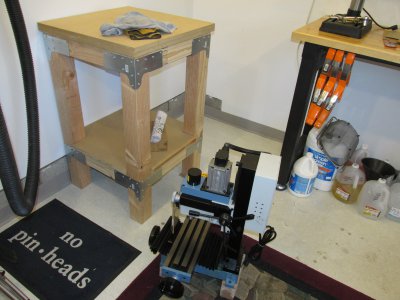
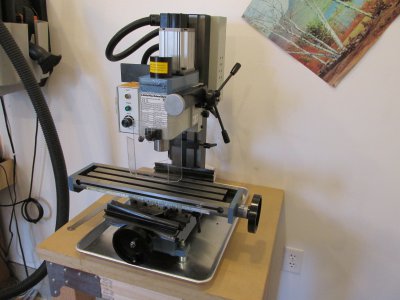
OK I promised pictures as I got it all together. Well it's a LONG way from being all together, but it's up on the bench I built especially for this mill. Right now my big hangup is reorganizing my shop...to place the mill where it needs to be, I had to get rid of the storage cabinet (chemicals, etc.) that was taking the mill's spot. So when I emptied the cabinet, my WHOLE SHOP got an 8'-tall cabinet full of stuff laying all over the floor! So I had to relocate some other furniture and get other storage cabinets...blah, blah, blah. Bottom line, it's killin' me having to assemble 3 new "garage-style" storage cabinets when I'd rather be learning my new mill...but it has to be done.
So it will be a while before I get the mill all set up, leveled, oiled and running like a kitten. Some of you other guys have mentioned that your LMS 3960 mill ran fine right out of the box.

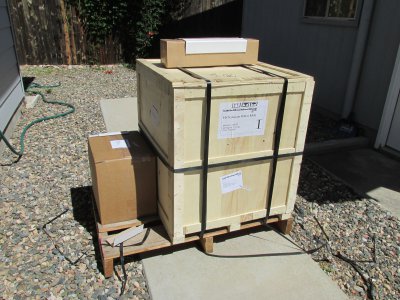
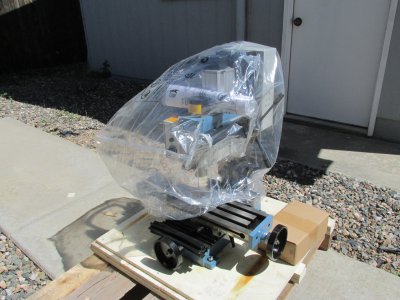
LMS has been a pleasure to deal with. Even the guy who drove the truck with my order was nice to deal with. So...here's a few pictures of delivery day.

- - - Updated - - -

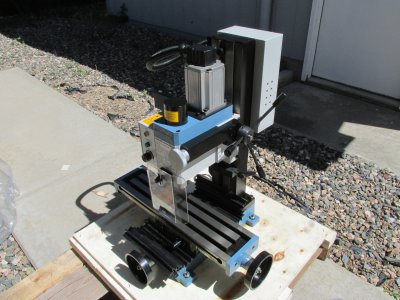
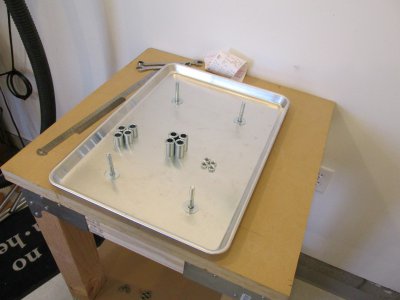
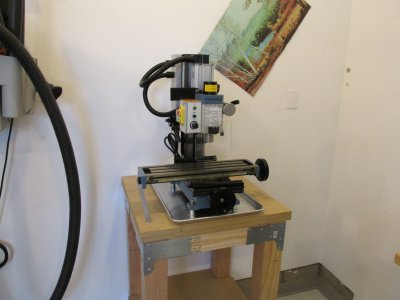
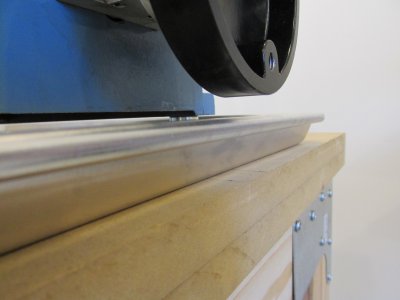
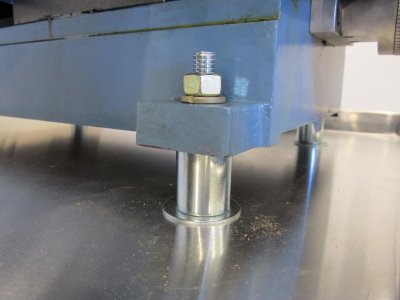
The mill is too heavy for me to lift so the following day, I had a couple of guys from my church come over and help lift it onto the bench. While I was waiting for them to come over, I bought a large 16" x 21" heavy-gauge cookie sheet for a chip tray. I drilled it and also got some steel risers to place over the mounting bolts - I was afraid the Y-axis handwheel might not clear the front lip of the cookie sheet. Then the guys came - hooray! They lifted the beast & I didn't have to sprain my back.

So here's as far as I got that day. More pictures to come, after I finish straightening up my shop.

IMG_0973.JPG IMG_0976.JPG IMG_0977.JPG IMG_0981.JPG IMG_0984.JPG IMG_0989.JPG IMG_0992.JPG IMG_0993.JPG IMG_0996.JPG IMG_0997.JPG IMG_0999.JPG
 
Very nice table/setup! I know you said that you ordered "goodies", did you get the air spring? You will really like that. :)

One of the reasons I bought this little mill was because I figured I could manhandle it by myself. I can do it, but I wouldn't want to do it every day.

I need to get mine on wheels soon, like my lathe, before I can no longer lift it. Once I do that and fashion leveling legs for both tool boxes, I'm good to go. Anywhere. :)

Edit: Cookie sheet? I like that idea and may have to do that to mine.
 
Last edited:
Nice machine. I have been seriously looking at this model as well.
 
Very nice table/setup! I know you said that you ordered "goodies", did you get the air spring? You will really like that. :)

One of the reasons I bought this little mill was because I figured I could manhandle it by myself. I can do it, but I wouldn't want to do it every day.

I need to get mine on wheels soon, like my lathe, before I can no longer lift it. Once I do that and fashion leveling legs for both tool boxes, I'm good to go. Anywhere. :)

Edit: Cookie sheet? I like that idea and may have to do that to mine.

Thanks wrmillier19. Yep, I did indeed get the air spring. Here's what I got:

(1) #4722 HiTorque MiniMill with Precision Tooling Package. For this package, I asked LMS to omit the set of parallels entirely since my wife already bought me that set for my birthday. Also, I asked LMS to omit the cheapie #1212 drill chuck, and substitute the better-quality #3153 drill chuck.

(2) #3131 4" Rotary Table with Tailstock, Dividing Plate and 3-Jaw Lathe Chuck.

(3) #3442 T-Slot Nuts and Clamping Bars to go with the rotary table.

(4) #4005 Air Spring Conversion Kit

(5) #3818 Tachometer

(6) #4304 Shim Stock Assortment

I almost forgot to get a chip tray of some kind. Ideally, I'd like to have a sheet metal shop make me a 24" x 24" one, but I figured I could get away with a cookie sheet for now. The one I got was made by Nordic Ware, the model is called The Big Sheet, and it measures 21" x 15" with 1"-high lip all around. It's an unusually heavy-gauge piece. I haven't miked it but it feels like somewhere in the .025" - .035" range. The only thing that bothers me is I don't know if chips will end up falling off the sides of the X-axis table. We'll see.

Can't wait to get it set up! Today I finish assembling the 3rd of three chemical storage cabinets, then I can finally start put stuff away and actually walk around in the shop. Next step is to level my homemade bench and start cleaning up my machine and putting it together.

What should I use to clean off the oily film that is all over my mill? In the past, I've been using Coleman camp fuel to clean up my Rivett watchmaker's lathe. What about kerosene? :dunno:
 
I just grabbed a few rags and some WD40 for the cleanup. There wasn't that much to do if I remember correctly?

As for the chips: Some are on my machine, some are near it's base, and others are all over the place. At least cleaning up around the machine would be easier. :)

Kudos to you for upgrading your chuck. I didn't, and don't like this one very much. It works, but I think there's a Jacobs in my future.

So is a rotary table.

Have fun and let us know your initial impressions.

Bill
 
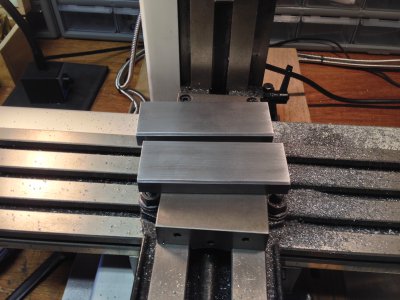
Just an example: Here I was making small cuts with a small cutter and while most of the chips stayed in the immediate vicinity, some were several feet away. Later, after getting the jaws installed and trimming the height down, I used a 1/2" end mill at slower speed and had a pile of larger chips right on the vise. Couldn't see the part I was cutting. :)

NOTE: When this chips did leave the area and land on my arm, they do burn a bit. Weather is starting to cool off, so hopefully I can start wearing long sleeves soon.

New Vise Jaws.JPG
 
Thank you wrmiller! Ah, so you just used some WD40 with rags? That would work! You're right, there's really not much to do. Right now my main problem is getting SHOP TIME!! :angry: I hate it when other things demand my time - like yardwork, fixing the car ... all that stuff.

I like your picture of chips all over the place! I guess the rule is "let the chips fall where they may"!!! :jester:

Question: is there a rule of thumb for foot-pounds of torque for the four bolts that attach the vertical column to the base? I'm sure I'll need to tram the bed, and I've heard (and it makes sense to me) that slight differences in tightening the four bolts will affect the final tramming. My torque wrench reads between 10 and 100 foot-pounds. The manual gives no clue as to how much torque to apply to the bolts.
 
Back
Top