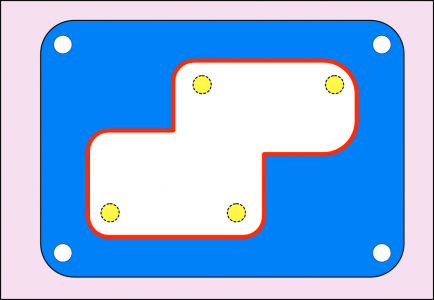
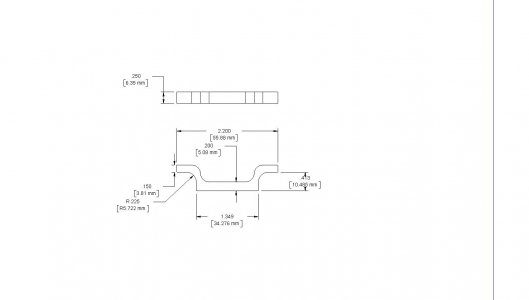
There is a topic I have struggled with since I started with CNC, namely milling 2d parts from thing stock, specifically when you just want to cut the exterior shape, and don't want to modify the thickness. Here are the issues I have run into.
1) It's one huge slot, if you're not careful you have issues with chip evacuation. Lately I have found that if I keep the depth of cut less than 1/2 the cutter diameter, things work out ok, but when the material get's thicker, it's still an issue. Rougher mills help, but it still gives me fits.
2) "Release" of the part from the parent material when you make it all the way through. AlibreCAM has an option for leaving tabs, but it doesn't work very well on small or complex parts, and it requires additional cleanup. My main problem with the feature in AlibreCAM is that you can't adjust tab location, and it often puts them in just about the worst location possible. The other option is to leave a small amount of material (don't cut all the way through), but then you have to clean up around the whole part. Just letting it fall away usually results in some nasty gouges, or failure to finish the final pass.
3) Overheating on the final cut. This is especially true on steel when making multiple passes. I have had issues in the past where the cutter overheats because the amount of heat flowing into the part drops of when the bottom of the slot gets thin. The solution is of course to slow down, but it's not always obvious until it happens.
I see these large gantry routers zipping through sheet goods lickety-split. True, mostly it is wood or plastic, but seems like the difference between that and wood should just be speed right?
Mostly what I do now is start with thicker flat stock, machine the part with a base of waste material that gets clamped in the vice. When the part is done, I flip it over and mill off the wast. But this is an extra step, and seems kind of wasteful in terms of material and time ESPECIALLY on parts where I don't care about the accuracy of the part height.
So, what are others doing? Do you have strategies you use for this type of machining?


