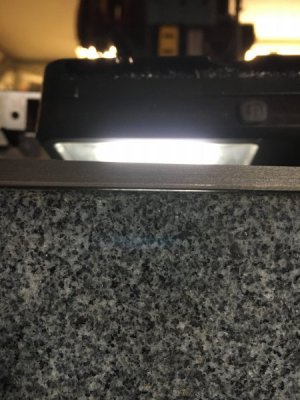
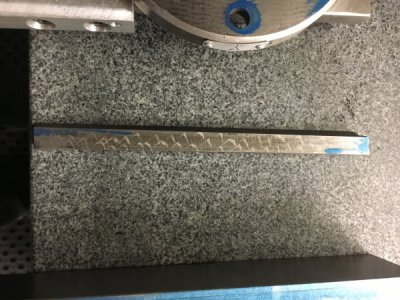
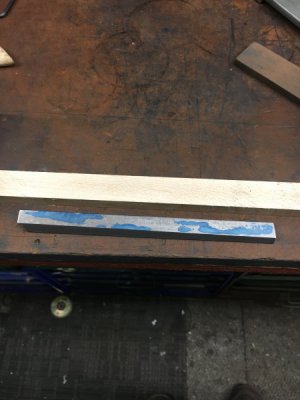
So I needed to remove my compound to get some measurements for a solid tool post block I'm building. Note I don't have any problems with the lathe cutting just a project and I like to verify stuff makes me sleep better. Surface plate was cleaned so I figured why not. A real eye opener on contact area on matting surfaces. Background it's a 14x40 optimum lathe built in 2013. Here's some pics.
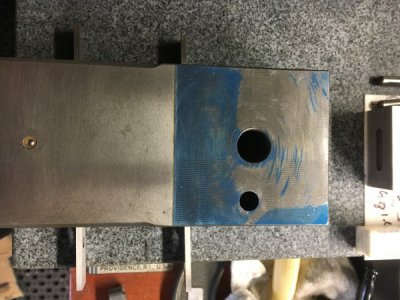
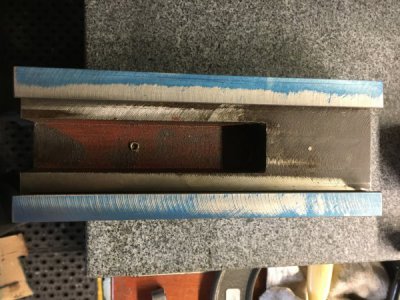
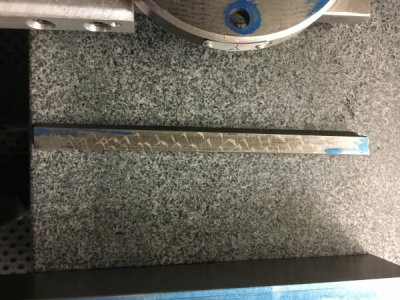
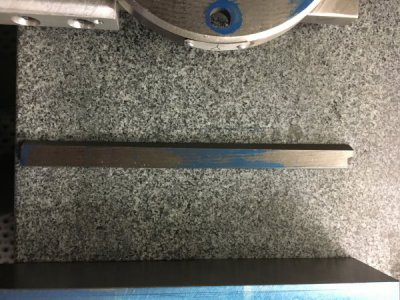
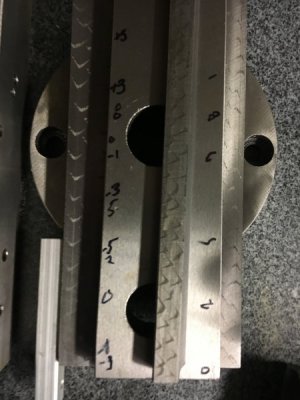
I pulled out the tenths indicator and did some mapping of the parts. Every surface was tweaked falling .002 the most on the bottom dovetail mount towards the operator. The gibb had a .005 smiley face in it and a slight twist. The bottom base had a rock in it,the top slide was surprisingly the best shape but the top where the qctp mounts had a terrible matting surface.
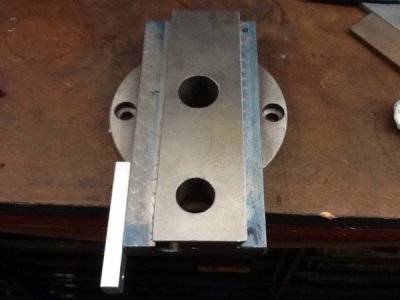
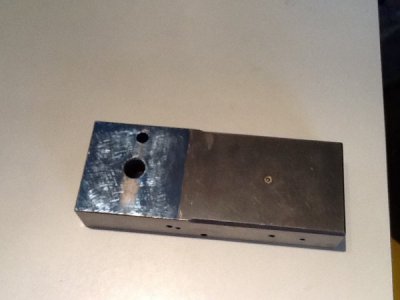
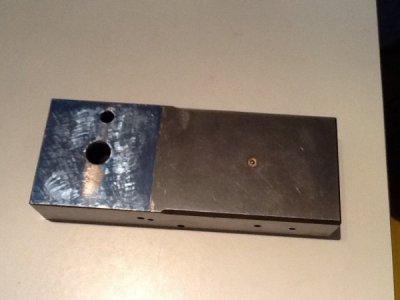
I first looked at how to straighten the gibb I found that pinging it with a convexed body hammer with a piece of copper in between worked a charm. I now can lay on the surface plate and barely see light touching at the ends. Figure scraping it in will take care of the rest. Then I started by flattening the mounting surface of the compound. Side note this is my first real scraping job that isn't playing around. I don't have a clue but seems straight forward I need 100% contact and stay level right. After about ten trips back and fourth I got these results.
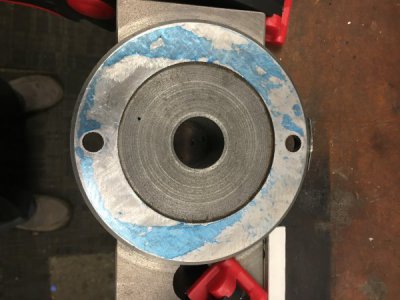
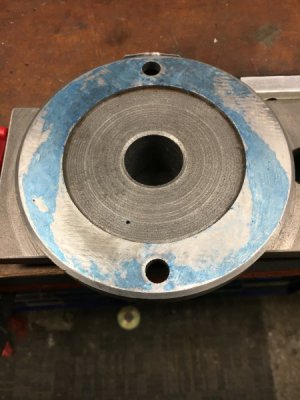
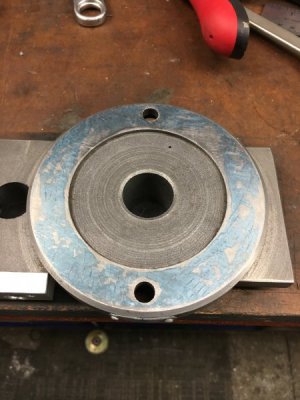
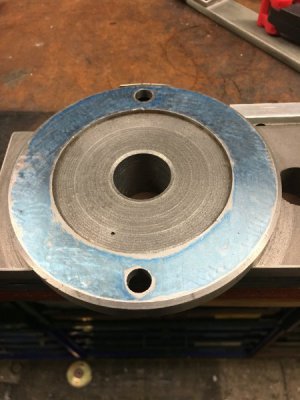
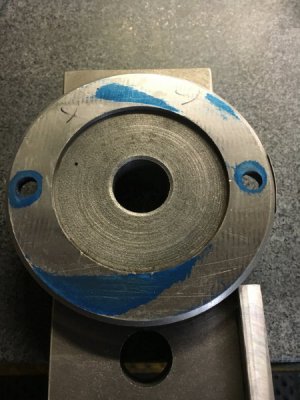
I've got the bottom down to where I'm pretty happy about 95% there so I moved on to the top surface where the tool post mounts. This surface had maybe 30% contact and its was around the perimeter not where the tool post sits. It took acouple passes I'm not satisfied as it has a .0002 hole in it. Getting there though I think.
The bottom of this surface looks like it was either milled or a ruff Blanchard grind. It was not scrapped but was in good shape otherwise only .0004 variance in readings. I need to make myself a prismatic straight edge for the dovetails and work myself up to it. The lower male dovetail was the worst having a .002 difference from front to back good thing is it was even left to right so I need to tilt the base to level it out. It isn't scrapped just some flaking/makeup on it. All in all I'm happy with the results so far alittle disappointed in the finding but figured it's only gonna get better from here. Like said I had no problem with surface finishes or sizing just some curiosity. Would love to see what a bad machine would look like? If you have a surface plate and some time it may be a eye opener to go check out some parts. More results in time thanks for looking.


I pulled out the tenths indicator and did some mapping of the parts. Every surface was tweaked falling .002 the most on the bottom dovetail mount towards the operator. The gibb had a .005 smiley face in it and a slight twist. The bottom base had a rock in it,the top slide was surprisingly the best shape but the top where the qctp mounts had a terrible matting surface.
I first looked at how to straighten the gibb I found that pinging it with a convexed body hammer with a piece of copper in between worked a charm. I now can lay on the surface plate and barely see light touching at the ends. Figure scraping it in will take care of the rest. Then I started by flattening the mounting surface of the compound. Side note this is my first real scraping job that isn't playing around. I don't have a clue but seems straight forward I need 100% contact and stay level right. After about ten trips back and fourth I got these results.


I've got the bottom down to where I'm pretty happy about 95% there so I moved on to the top surface where the tool post mounts. This surface had maybe 30% contact and its was around the perimeter not where the tool post sits. It took acouple passes I'm not satisfied as it has a .0002 hole in it. Getting there though I think.

The bottom of this surface looks like it was either milled or a ruff Blanchard grind. It was not scrapped but was in good shape otherwise only .0004 variance in readings. I need to make myself a prismatic straight edge for the dovetails and work myself up to it. The lower male dovetail was the worst having a .002 difference from front to back good thing is it was even left to right so I need to tilt the base to level it out. It isn't scrapped just some flaking/makeup on it. All in all I'm happy with the results so far alittle disappointed in the finding but figured it's only gonna get better from here. Like said I had no problem with surface finishes or sizing just some curiosity. Would love to see what a bad machine would look like? If you have a surface plate and some time it may be a eye opener to go check out some parts. More results in time thanks for looking.


