-
Welcome back Guest! Did you know you can mentor other members here at H-M? If not, please check out our Relaunch of Hobby Machinist Mentoring Program!
You are using an out of date browser. It may not display this or other websites correctly.
You should upgrade or use an alternative browser.
You should upgrade or use an alternative browser.
Just Ordered A G0704. Let The Fun Begin!
- Thread starter wachuko
- Start date
- Joined
- Aug 6, 2015
- Messages
- 4,183
That the HHIP 1626 5/8" chuck from Amazon? How is the run-out on it. $83 is pretty affordable.
Yes. That is the one : http://www.amazon.com/gp/product/B00N413T78?psc=1&redirect=true&ref_=oh_aui_detailpage_o05_s00
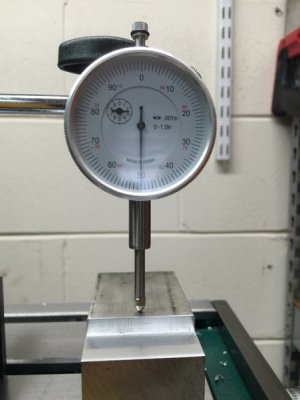
I will take some time tomorrow to measure runout. But I have to say, just testing it with a few bits (no drilling yet), it works great.
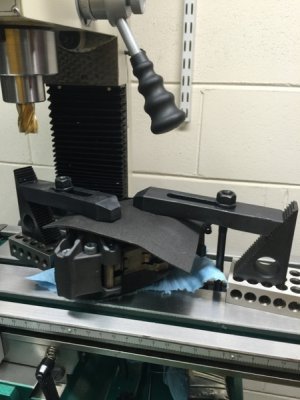
Yes, I am a newbie...afraid to do anything until the vise gets here... I clamped one of the pieces of aluminum, that I bought to practice, with the clamping kit, but just to test the T-nuts and all that... Still a virgin mill
Last edited:
- Joined
- Sep 24, 2014
- Messages
- 929
Common man
light that puppy up and let's see some chips!
,Yes. That is the one : http://www.amazon.com/gp/product/B00N413T78?psc=1&redirect=true&ref_=oh_aui_detailpage_o05_s00
I will take some time tomorrow to measure runout. But I have to say, just testing it with a few bits (no drilling yet), it works great.
Yes, I am a newbie...afraid to do anything until the vise gets here... I clamped one of the pieces of aluminum, that I bought to practice, with the clamping kit, but just to test the T-nuts and all that... Still a virgin mill
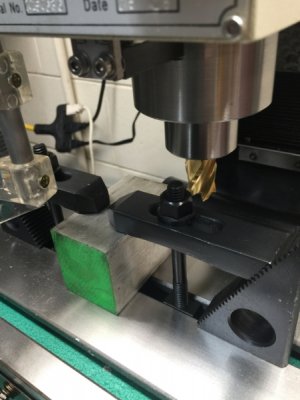
light that puppy up and let's see some chips!
- Joined
- Aug 6, 2015
- Messages
- 4,183
- Joined
- Aug 6, 2015
- Messages
- 4,183
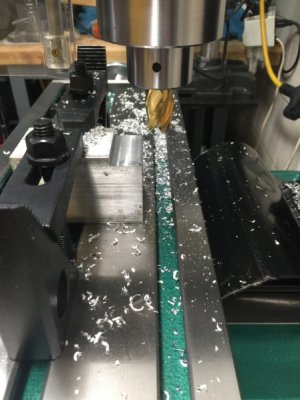
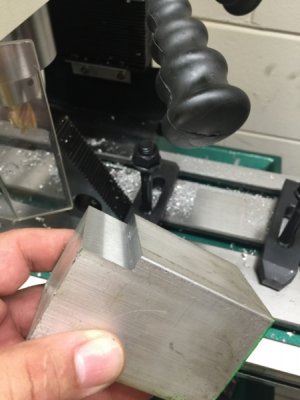
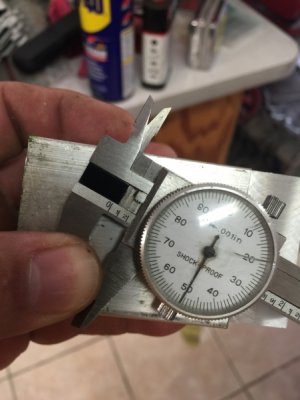
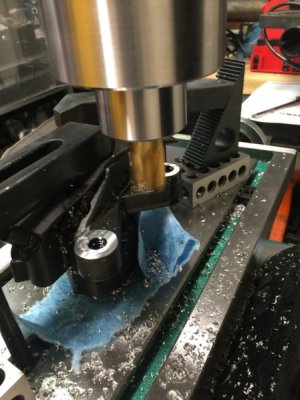
Feels great man! On the test cut using the aluminum block... at first I forgot to use cutting oil (used WD40 since a lot of folks recommend it when using aluminum)... but I remembered to use it when I did the caliper...
On that piece of aluminum, I practiced with very small increments, then even smaller increments to see what the finish looked like...
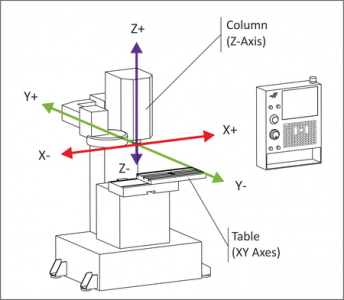
When practicing, I kept confusing the knob/wheel that moves the table side ways (X axis) with the one that goes in an out (Y axis)... I learned the importance of setting the table to zero so even if I move the table in the wrong direction, I can move it back to where it is supposed to be. I had to keep reminding me to not touch the Y axis wheel knob...
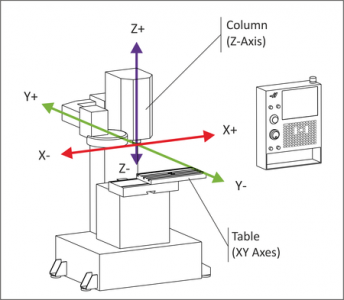
I am practicing with the play (can't remember the name for it, backslash??) the table has when you go one way and then have to dial it back... there is a slack... need to figure out how to deal with that...
Man do I love the DRO that the machine has on the Z axis... can't wait to do the setup for the other two axis... yes, I can use what the mill came with, but just the ease of seeing the numbers makes it a lot easier. Plus zero-ing with just a push of a button...sweet!
What a mess everywhere... I still need to go back to clean all the chips... lol... and the oil... between my sweat (hot garage without a/c here in Florida, and I was sweating like if they were pouring water over my head) and the oil... plus the chips... goodness!
Clamping the part down while making sure that there was nothing in the way of the mill travel... fun.
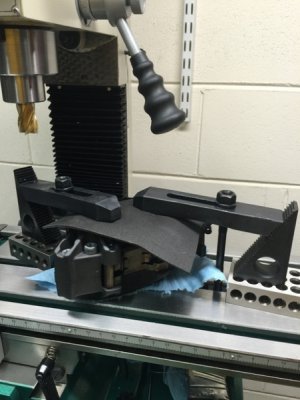
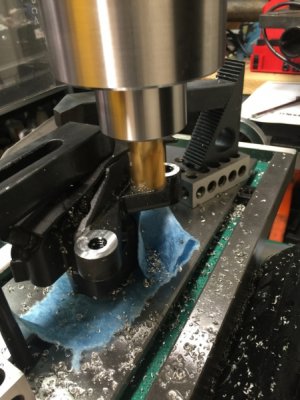
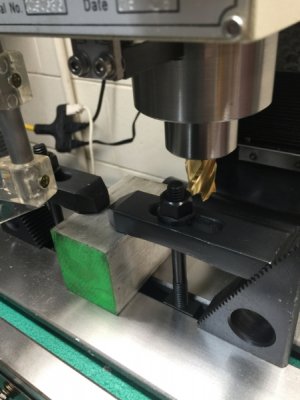
The table's specs has the t-nuts needed at 7/16" but the ones that came with the kit (I ordered the kit not aware of the different t-nut sizes) that are 1/2" fitted perfectly! So now I have spare 7/16" t-nuts.
Learning a lot... will play some more with the materials I have.
On that piece of aluminum, I practiced with very small increments, then even smaller increments to see what the finish looked like...
When practicing, I kept confusing the knob/wheel that moves the table side ways (X axis) with the one that goes in an out (Y axis)... I learned the importance of setting the table to zero so even if I move the table in the wrong direction, I can move it back to where it is supposed to be. I had to keep reminding me to not touch the Y axis wheel knob...

I am practicing with the play (can't remember the name for it, backslash??) the table has when you go one way and then have to dial it back... there is a slack... need to figure out how to deal with that...
Man do I love the DRO that the machine has on the Z axis... can't wait to do the setup for the other two axis... yes, I can use what the mill came with, but just the ease of seeing the numbers makes it a lot easier. Plus zero-ing with just a push of a button...sweet!
What a mess everywhere... I still need to go back to clean all the chips... lol... and the oil... between my sweat (hot garage without a/c here in Florida, and I was sweating like if they were pouring water over my head) and the oil... plus the chips... goodness!
Clamping the part down while making sure that there was nothing in the way of the mill travel... fun.


The table's specs has the t-nuts needed at 7/16" but the ones that came with the kit (I ordered the kit not aware of the different t-nut sizes) that are 1/2" fitted perfectly! So now I have spare 7/16" t-nuts.
Learning a lot... will play some more with the materials I have.
- Joined
- Sep 24, 2014
- Messages
- 929
Feels great man! On the test cut using the aluminum block... at first I forgot to use cutting oil (used WD40 since a lot of folks recommend it when using aluminum)... but I remembered to use it when I did the caliper...
On that piece of aluminum, I practiced with very small increments, then even smaller increments to see what the finish looked like...
When practicing, I kept confusing the knob/wheel that moves the table side ways (X axis) with the one that goes in an out (Y axis)... I learned the importance of setting the table to zero so even if I move the table in the wrong direction, I can move it back to where it is supposed to be. I had to keep reminding me to not touch the Y axis wheel knob...
I am practicing with the play (can't remember the name for it, backslash??) the table has when you go one way and then have to dial it back... there is a slack... need to figure out how to deal with that...
Man do I love the DRO that the machine has on the Z axis... can't wait to do the setup for the other two axis... yes, I can use what the mill came with, but just the ease of seeing the numbers makes it a lot easier. Plus zero-ing with just a push of a button...sweet!
What a mess everywhere... I still need to go back to clean all the chips... lol... and the oil... between my sweat (hot garage without a/c here in Florida, and I was sweating like if they were pouring water over my head) and the oil... plus the chips... goodness!
Clamping the part down while making sure that there was nothing in the way of the mill travel... fun.
The table's specs has the t-nuts needed at 7/16" but the ones that came with the kit (I ordered the kit not aware of the different t-nut sizes) that are 1/2" fitted perfectly! So now I have spare 7/16" t-nuts.
Learning a lot... will play some more with the materials I have.
Nice work! Congrats on your first project! I find so many little things to use my mill for. Putting together self assembly items is sooo much easier when you can trim/cut/shave off pieces that were not manufactured to spec.
- Joined
- Oct 13, 2014
- Messages
- 9,577
When practicing, I kept confusing the knob/wheel that moves the table side ways (X axis) with the one that goes in an out (Y axis)... I learned the importance of setting the table to zero so even if I move the table in the wrong direction, I can move it back to where it is supposed to be. I had to keep reminding me to not touch the Y axis wheel knob...
Congrats on the new mill looks like a fine piece of machinery. One tip to help with the above problem: lock the unused axis, good practice especially when turning the wrong crank would ruin the work.
- Joined
- Aug 6, 2015
- Messages
- 4,183
Congrats on the new mill looks like a fine piece of machinery. One tip to help with the above problem: lock the unused axis, good practice especially when turning the wrong crank would ruin the work.
 Completely forgot that I could do that!!! Duh!!
- Joined
- Mar 12, 2014
- Messages
- 1,531
Looks great and nice to see those chips.
Mike.
Mike.
- Joined
- Dec 11, 2014
- Messages
- 891
You finally made some chips Wachuko. Congrats. 
Now you'll be wanting to do it all of the time.
I've made about half a dozen new tool holders and a Spindle square so I could get the head square with the table.
That was a PITA because Grizzly has 3 bolts in a hard to reach place under the head behind the spindle that you have to loosen to move it.
Going to be looking for some 5MM Clear PVC sheeting to build a containment area around the table to keep the swarf from flying everywhere.

