I think I am going To part out brown and sharpe 618 micromaster surface grinder

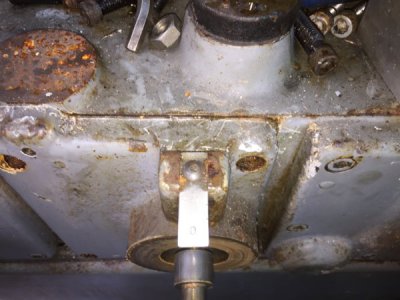
Your's was like mine when I bought it. Full of crud and no telling when the last time it was given a bath. Spent about a week cleaning to get it half way decent to work on. My Valuemaster has similarities to the Micromaster that I maybe able to help you a little. The hand wheel for the cross feed should come right off after removing the nut holding it in place as it looks like you have already done. May take a little gentle persuasion to get it off. Once off, there is a plate that bolts to the housing that has a bearing in it that the cross feed screw rides on. Again, this should come off with little difficulty. The crossfeed screw floats in this bearing so there should be no retaining rings or such to worry about. Once the plate is out of the way, that should leave the crossfeed screw to remove. Next, got to the back side where the bearing block is shown in your picture 4414. And it shows you have removed the nut and one of the thrust bearings, which is good. Next in picture 4416, there is a mechanical stop nut secured to the leadscrew. Remove the set screw securing this stop in place and then thread it to the end next to the bearing block. Now go back the the front of the grinder and start rotating the cross feed screw to remove. With the front bearing removed, this should make it easier to remove. Once the back end of the screw exits the bearing block remove the other thrust bearing and stop nut and continue until you have the complete screw removed.
 
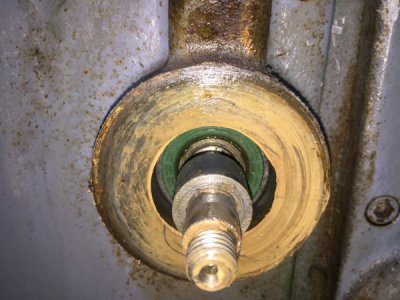
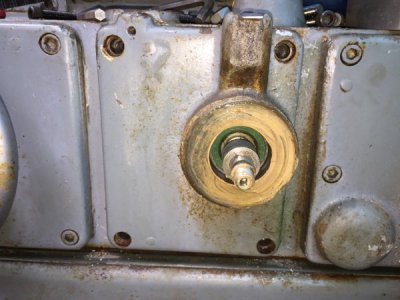
So when the cross feed handle is removed all I see is the bearing and nothing to unscrew. I removed the cap screws from the handle block and think the whole assembly is supposed to come off but don't want to force anything. They're is paint and Bondo covering the seem. If they're is a seem? Lol.
Thanks.

IMG_4423.JPG

IMG_4424.JPG

IMG_4425.JPG
 
Yep, your's a little different. But, you almost have it. That flange looking deal that you pulled the four screws out of is dowel pinned in place so it will be a little difficult to get off. See if you can pope it loose at the top with a screwdriver and hammer. Yeah I know, not suppose to use a screwdriver for a prying tool, sometimes you have no choice. Once you get the seal broke loose holding it in place, should pry right off. Get it out of the way, that should give lots of room for removal of the screw. The screw being bent is going to make things that much more difficult to remove. Keep at it, your getting there. Ken
 
Thanks. Ken.
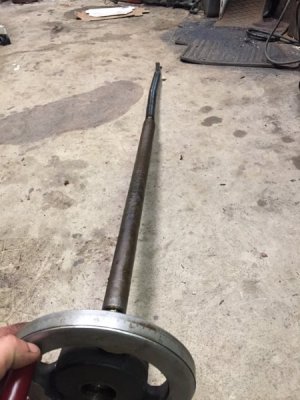
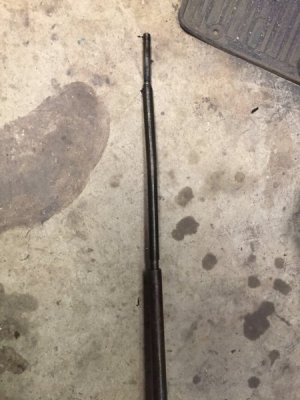
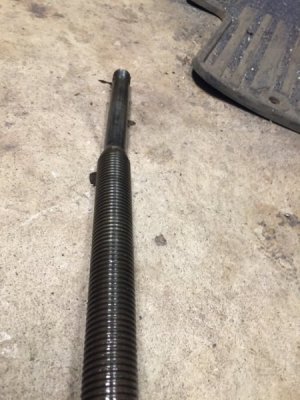
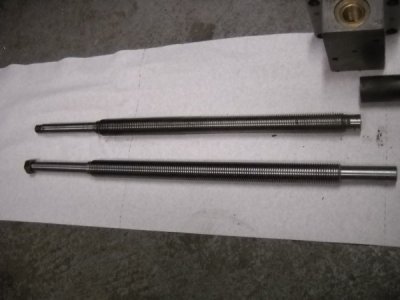
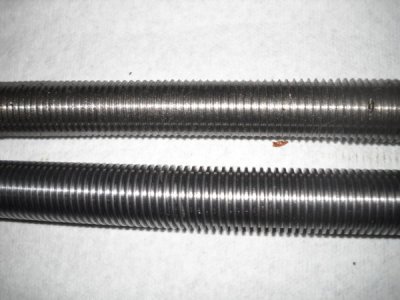
It fought me every step of the way, but finially got the bent lead screw. It is so bent i don't see how I could straighten it. Here are some pics. Any thoughts would be appreciated. The screw is longer than my lathe and I don't have a surface plate big enough either.
Thanks

IMG_4450.JPG

IMG_4451.JPG

IMG_4453.JPG
 
Wow! that's bent.

I'll dig up the pictures of my repair I did to mine and get them posted sometime today. It's very similar to yours, and I did the repair on my 9" South Bend lathe, too.

Ken
 
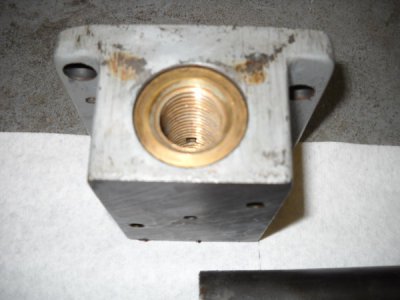
Wow! is right. Really not much to loose at this point. I've had pretty good luck with V-blocks, and a dial indicator on the press for shafts of different types. Start at the back and work your way forward. Will be interested to see how Ken went about it. Having it between centers might be good for fine tuning. The alternative would be to turn a new one, or new sections I guess. Should be interesting to see the threads the shaft turns in. If it wasn't forced after it was damaged they may be serviceable. Mike
 
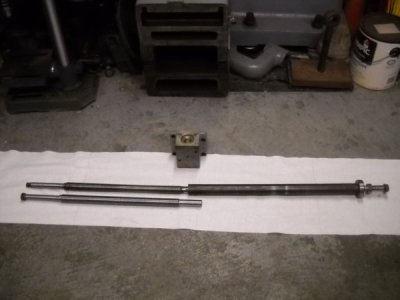
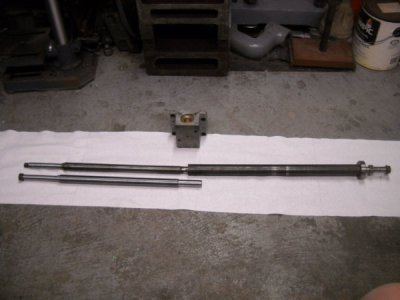
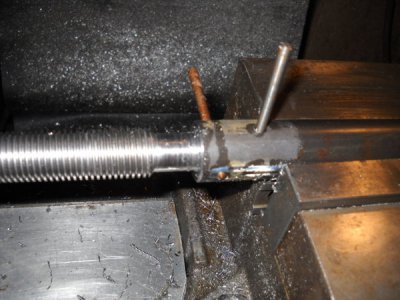
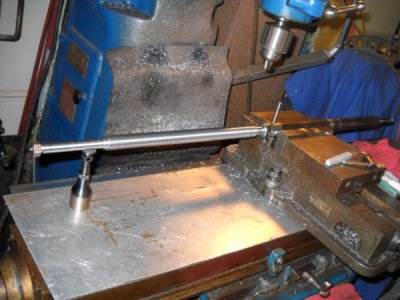
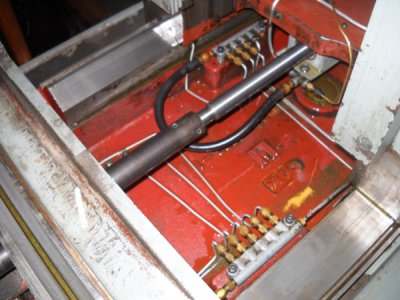
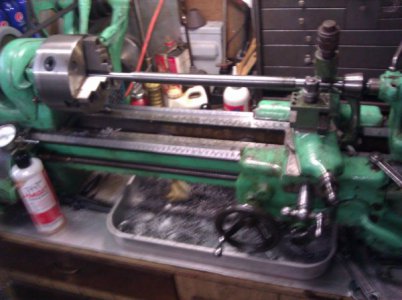
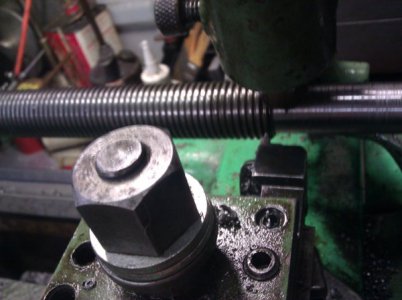
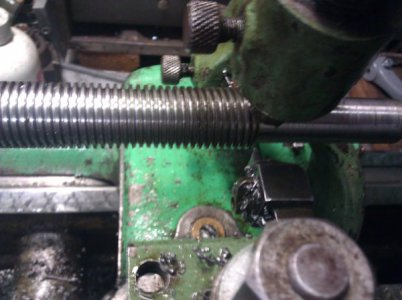
Here's the pictures of the repair I did to mine. I chopped off the worn out threaded section and spliced in a new threaded section. T.I.R. end to end is within about .003". I drilled, bored, and reamed a hole in the solid part about 1-1/2" deep. Dont remember the exact size of the reamer, 5/8" sounds about right on mine, yours may require a different size. The OD of the threaded section on mine is .875" and is a 10 pitch full Acme thread. (I can help you on thread dimensions if you need any help) The threaded section section was made from a piece of .875" OD 1018 cold drawn bar, purchased locally, cut off to the length needed, plus a little for trimming. You need to use a follower rest on your lathe if you have one. An option to this is to purchase a piece of 7/8-10 Acme all threaded rod. The OD and pitch may make it difficult to find. Of course, you really need a class 3C grade thread to get something of reasonable precision. A class 2C or 2G will work, but maybe a little sloppy with your nut. I also have pictures cutting the thread too if you want to see them too, just let me know. Ken

DSCN1238.JPG

DSCN1239.JPG

DSCN1240.JPG

DSCN1241.JPG

DSCN1242.JPG

DSCN1244.JPG

DSCN1245.JPG

DSCN1246.JPG
 
Oh, I forgot to mention, on the splice, I used a couple of tapered pins to secure the two pieces together. Ken

Here's the pictures on making the threaded portion of the screw.

IMG_20120520_124950.jpg

IMG_20120520_125006.jpg

IMG_20120520_125012.jpg
 
Last edited by a moderator:
Wow. Great job ken. That looks great. Does it travel smoothly ?
I may have to buy all thread. I have a mini cnc lathe 11.6" between centers and a chucked that doesn't have threading gears. I may try to straighten between v blocks. It somehow doesn't have any damage to the threads. I don't understand how. Does the adapted lead screw function properly?
thanks for all your help.
 
The screw travels very smoothly. I have no issues with the function of the new screw.

How about posting the specifications of the thread on your screw? The OD and pitch of the thread and is it right hand or left hand lead thread. Oh, about how long is the threaded section? Maybe we can help you find a donor or a source for a piece of all thread for you. Ken
 
Back
Top