How would you go about machining this rough casting?

You're just over the hill from me, how about you finish it and I bring some bits to sharpen....
 
I've got this little one back in Michigan, never really used it yet but I'm sure it'll come in handy some day.


John
 
@Rex Walters thanks so much for taking the time! Much appreciated.

I spent a lot of time throwing ideas about myself and came up with this:

File surfaces 1 and 5 flat. Use them to bank on the fixed jaw with the tail hanging over the top. Mill 7 and 4. Drill and ream 2 x 8mm holes 25mm apart. Flip part, bank on previously milled surfaces and mill 3 and 8:
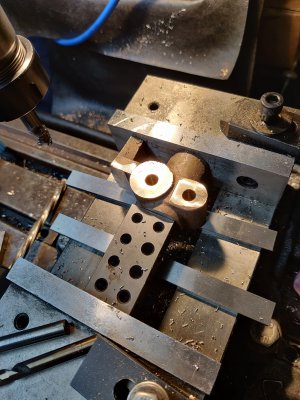
2021-08-05 17.51.11.jpg

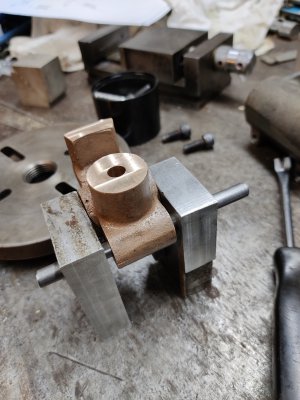
Place 2 pieces of 8mm silver steel in holes, rest on parallels:
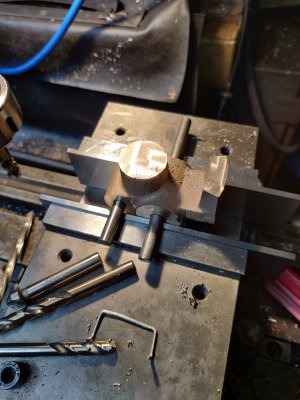
2021-08-05 17.56.06.jpg

This method made it easy to pick up the dowls and edge of the part with an edge finder to get the main bore dead nuts on.
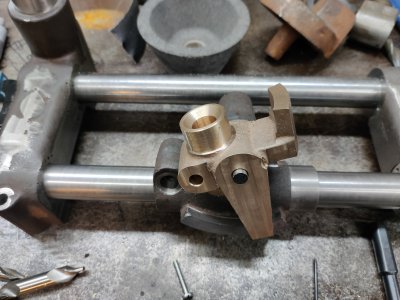
Drill and ream 8mm to be used as alignment in the lathe:
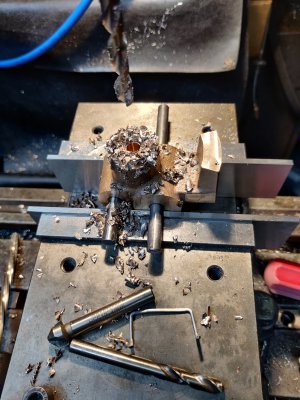
2021-08-05 18.09.07.jpg


Mill some scrap ali square and drill and ream holes to match the ones in the part:
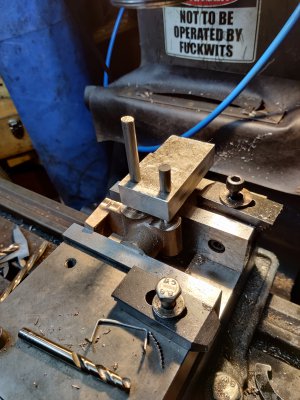

2021-08-05 17.34.09.jpg2021-08-05 18.13.10.jpg

The bottoms get drilled to clamp the the face plate:
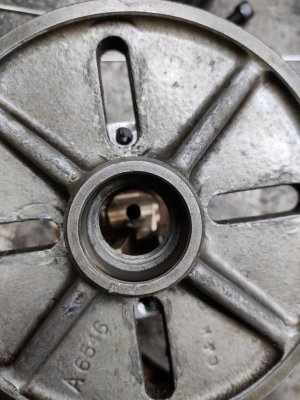
2021-08-05 18.14.09.jpg

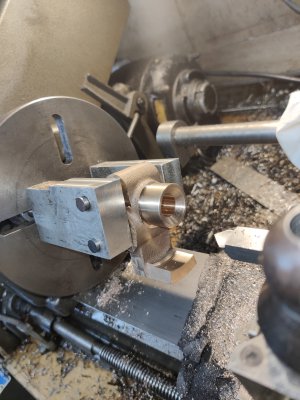
Alingment in the lathe was easy. Leave the bolts just shy of snug, put an 8mm dowl pin the the chuck to pick up the hole started on the mill, spin it by hand to settle everything and snug it down. Indicated within tenths!

Machine in a suprisingly solid setup:
2021-08-05 20.40.58.jpg

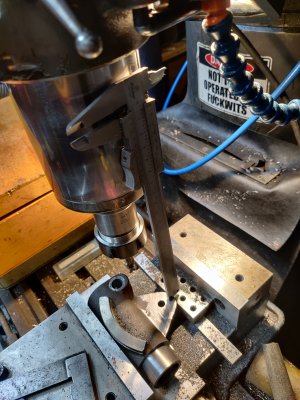
Check fit and adjust the mating part to suit:
2021-08-05 22.21.13.jpg

Done!

2021-08-05 22.49.45.jpg

Yes, there is an apprentice mark of shame. I was careless during one of the very first ops! Happily, I have designs on popping it in the rotary table to do some aestetic work on the dial, so that'll disappear anyway. Really looking forward to getting it on the RT!

I should mention that I'll be going the split cotter route, rather the split collar. It suited me to leave the clamp hole 8mm, and will continue to do so until I've done the rotary table work. I can easily pick it back up to open out for the cotters later and the resulting hole need not be crazy precise.

Thanks to everyone for chiming in. There's my solution, for what it's worth! I'm very happy with the result, the fit and aligment are spot on. Onwards!
 

Attachments

  • 2021-08-05 18.14.50.jpg
    2021-08-05 18.14.50.jpg
    3.3 MB · Views: 5
  • 2021-08-05 18.31.13.jpg
    2021-08-05 18.31.13.jpg
    3.6 MB · Views: 5
Nice work! Quick, too. I'm sure I took at least two or three days on that part.

I ended up acquiring an old pantograph engraver, mostly to engrave all the dials on the Quorn! The rotary table will come in handy.
 
Oh, one other thing: you're probably well aware but I didn't realize until a few months ago that there is a Quorn-Owners mailing list on groups.io. It's well worth joining.
 
Sometimes all you need is that one good idea :) "What would Joe Pie do?" Kept ringing through my head. "A fixture... That's what he'd do".

Thanks, had no idea about the Quorn group. I'll check that out. I've never tried any engraving before, so that should be an interesting little challenge.

Next up is the circular T slot... That does not look like fun.
 
Next up is the circular T slot... That does not look like fun.

The current Hemingway kit no longer sells that part as a casting (doubtless because people hated having to grind a special cutter).

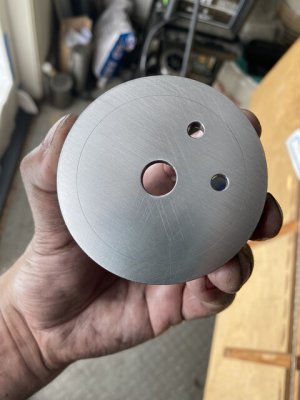
It's now sold as two leaded steel discs. You machine each half separately then just superglue it together.

Just don't do what I did. At one point I decided to lap the back surface to ensure it was flat and pretty. I was pretty jet-lagged at the time, but I had this one circular scratch from the lathe that I just could NOT get out. "Geez that must be a deep scratch," I thought.

IMG_0455.jpg

You don't want to know how long it took me to realize that was the glue-line after fitting the two pieces together.
 
And I'm going to be heartbroken if Joe Pi doesn't build a Quorn after he finishes his lathe model.

I've already started the campaign, both with Kirk and with Joe. Please add your voice to the fray!
 
Back
Top