Delta 50C 16" long arm Radial Arm Saw rebuild.

MikeInOr

Registered
Registered
Joined
Jan 1, 2018
Messages
1,329
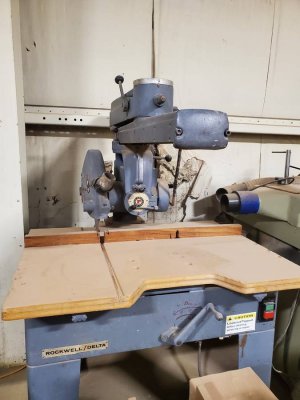
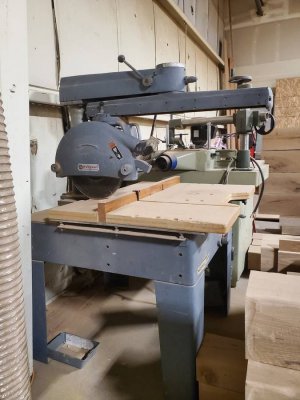
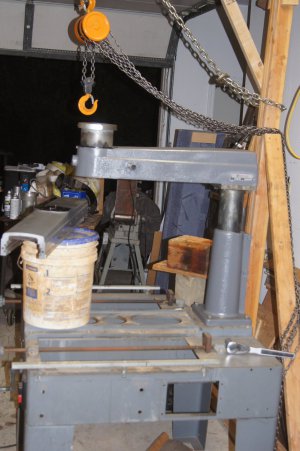
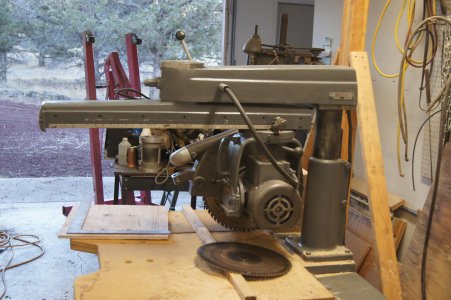
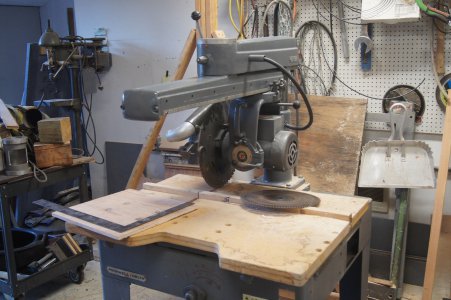
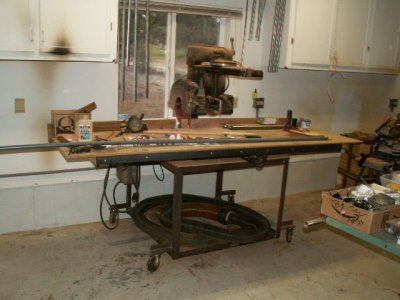
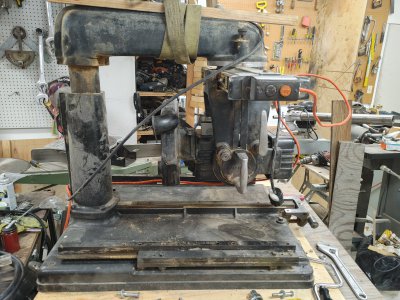
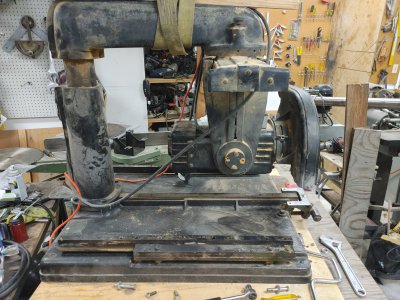
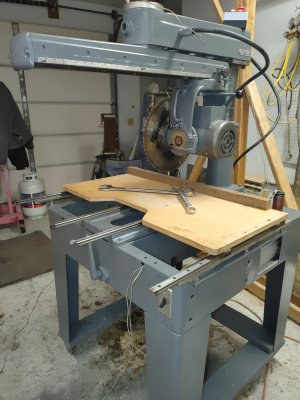
I bought this Delta 50C 16" 7.5hp 3ph LONG ARM Radial arm saw a couple of years ago for $100:
00i0i_8ZesnfXqjmcz_0fu0kE_1200x900.jpg

00G0G_g2W8nnX0wruz_0fu0kE_1200x900.jpg

00q0q_23oXNQyzKw4z_0fu0kE_1200x900.jpg

It has some issues. The rubber on the power cables are so crisp they crack and disintegrate if I try to bend them. Not a big problem.
The column will neither go up or down. It is completely frozen. This was a much bigger problem.

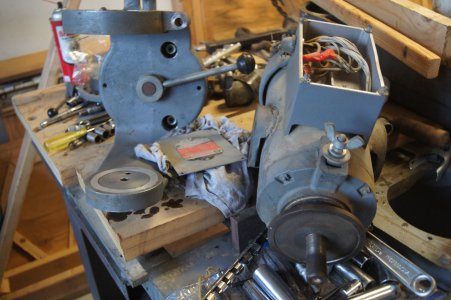
To start I took the saw pretty much all apart:
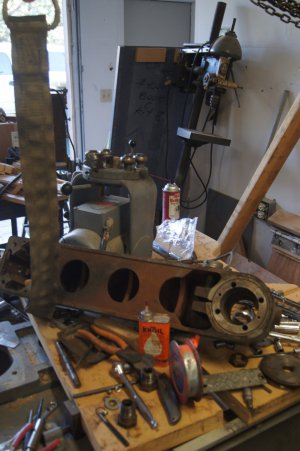
DSC00003.JPG

DSC00013.JPG

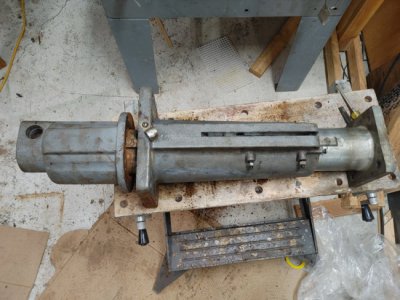
Here is the problem column:
20230902_214838.jpg

Water infiltrated the column and lower gear box left a lot of rust. After a lot of clean up I got to this point. It took a few days of alternating heat and KROIL to finally get that gear off:
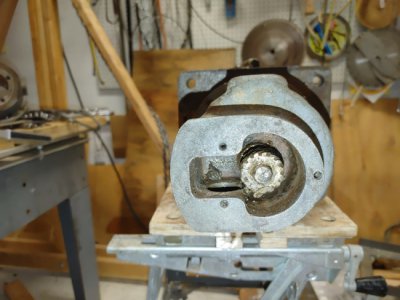
20230902_214905.jpg

The elevation screw was pretty rusty:
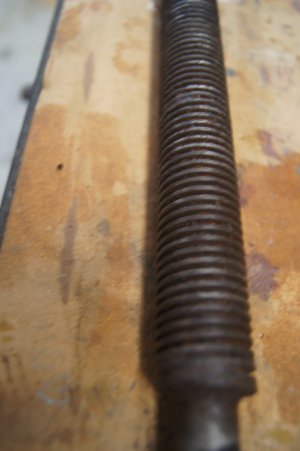
DSC00006.JPG

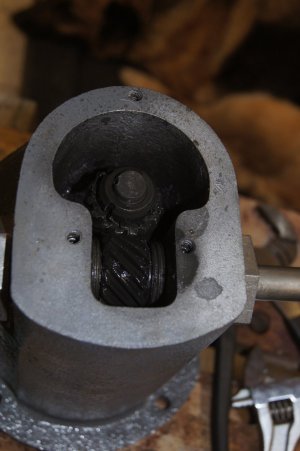
And the bearing in the gear box were completely gonzo. This is one of the better ones:
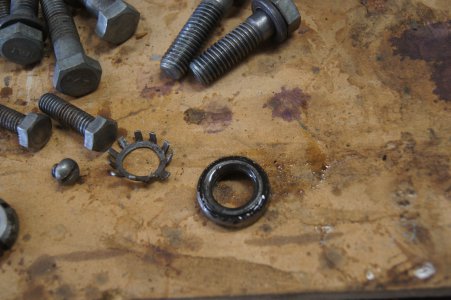
DSC00016.JPG

So I found all new bearings for the gear box:
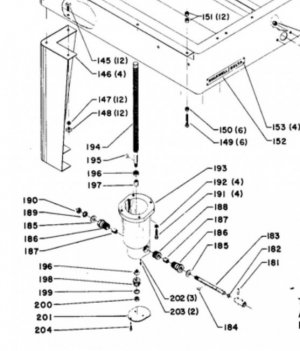
2023-09-03_004133.jpg

This is the gear box reassembled:
DSC00031.JPG
 
Last edited:
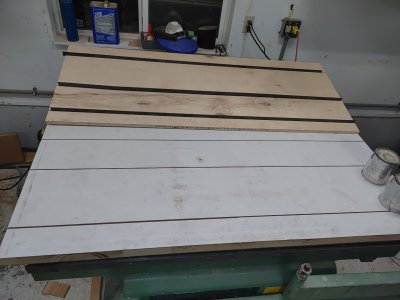
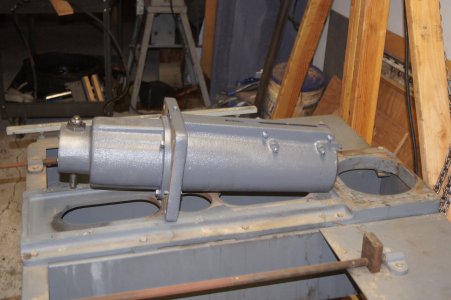
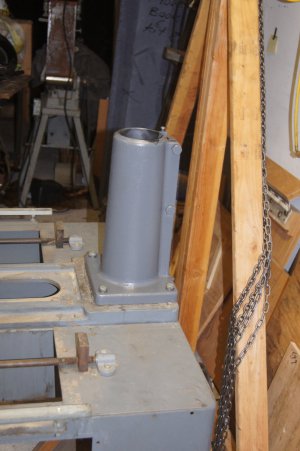
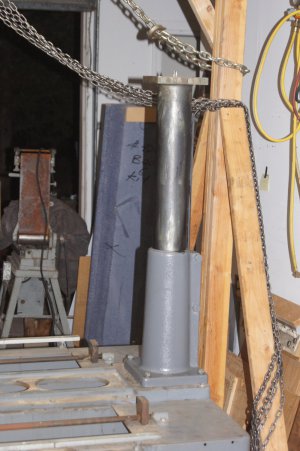
With the gear box turning smoothly I put the column back together:
DSC00036.JPG

Then started putting the saw back together:
DSC00037.JPG

DSC00040.JPG

DSC00042.JPG


DSC00043.JPG


DSC00047.JPG

I did a temporary wiring job and plugged it into the rotary phase convertor and it ran quite well. All the controls are right and return to zero properly.
 
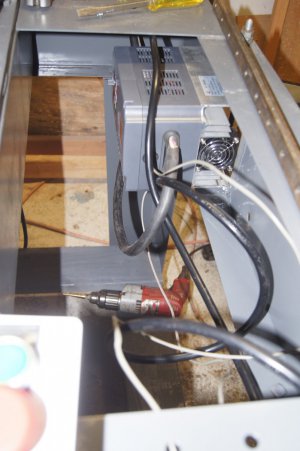
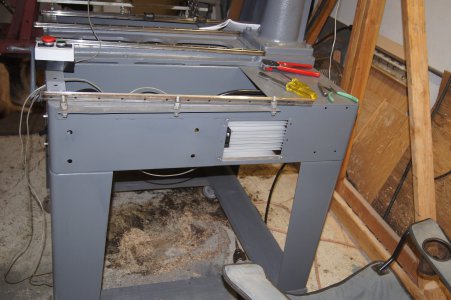
I pulled the table off and went to work installing a Huanyang 7.5kW VFD (Variable Frequency Drive)

DSC00111.JPG

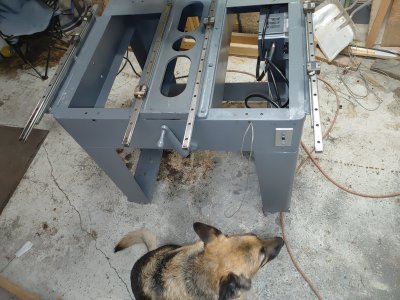
I know I should put it inside a cabinet but that isn't going to happen right now. I decided to put it inside the rail where the heat sink is accessible so I can blow it off easily:

DSC00109.JPG

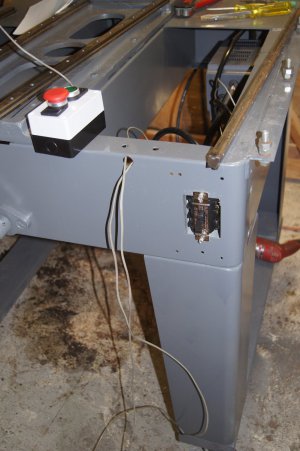
I used a double pole 40 amp motor switch to cut power to the VFD at the end of the day:
DSC00110.JPG

The start/stop buttons are temporary for now. I plan on having 2 sets of controls. The start stop switch in the picture will be mounted to the bottom side of the table. I will have another pair of buttons at the carriage handle to start and stop the blade conveniently.

20231221_182550.jpg
 
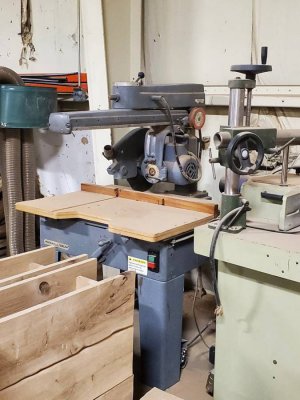
This is my 1947 Redstar 16" 7.5hp 3ph radial arm saw that I have owned for 30+ years:
PICT8051.JPG

I never thought I would replace it but the temptation of the extra 6" of crosscut capability was too much to resist.

One of the unique features of the 1947 Redstar is that is has not neck (wrist joint) to rotate the carriage for ripping. Instead the whole turret arm has to be rotated in order to rip.
20231215_014953_HDR.jpg

20231215_014845_HDR.jpg

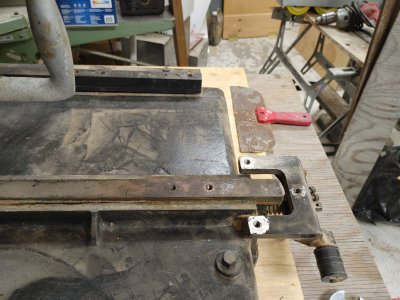
Without a wrist joint the arm slide cant be used to set the rip width. Instead Redstar used a sliding table and a lead screw to adjust the table position:
20231215_014724_HDR.jpg

20231215_012235.jpg

The blue steel sheet is used to tie the lead screw to the slides. The upper hex shaft is used to move the table in and out. The lower hex shaft is used to raise and lower the arm / blade.

In 30 years I have NEVER ONCE been tempted to RIP on my Redstar RAS. Not that I am afraid, I grew up ripping on my fathers 10" Delta turret arm RAS and the worst thing about ripping on a RAS is the amount of saw dust the "pusher" eats. Even if I had the correct kickback pawls for my Redstar RAS I have a table saw now which I mostly just use for ripping.

What I have found out is that even though I don't RIP on my RAS a sliding table is INCREDIABLY USEFULL on a RAS. I find I move the table on my Redstar in and out all the time! I have come so dependent on this feature that I have a hard time imagining living without it!
 
Last edited:
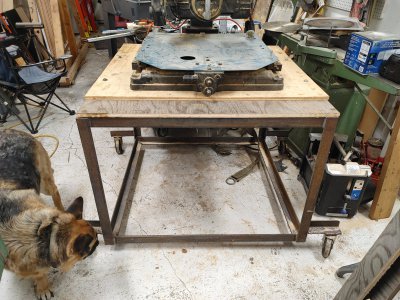
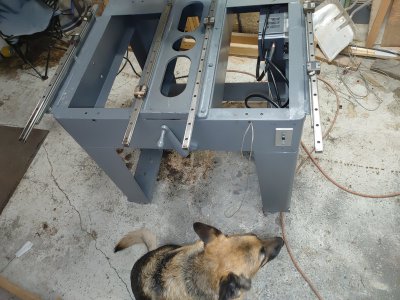
As crazy as it sounds I have decided to try to implement the sliding table feature on my new Delta 50c. My plan is tu use linear bearings for this functionality:

20231221_182550.jpg

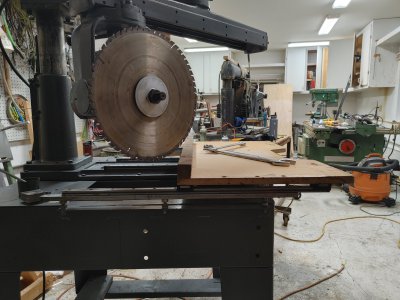
With the saw set to make a 45 degree angle cut I want to move the table and fence far enough forwards that the blade will still be behind the fence. This makes the maximum table extension look like this:
20231221_181354_HDR.jpg

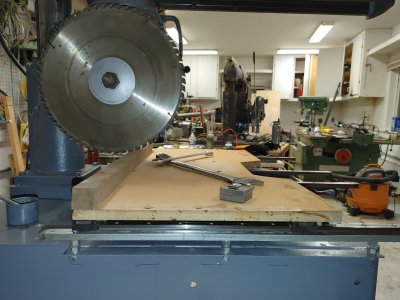
The old table is 24" wide. The new table will be 30" wide. The rear most position of the table will look like this:
20231221_181727.jpg

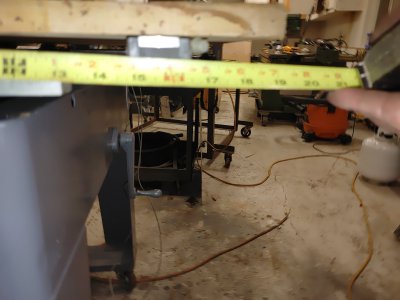
This will put the front linear bearing at 17" (It would be 17" if I wasn't trying to hold the tape and take a picture).
20231221_181507.jpg


This will leave 12" of unsupported table in front of the front linear bearing. This concerns me.
20231221_181810.jpg
I am thinking of putting some kind of bar across the 4 linear rails then put some kind of wheel or roller bearing on the bar to add support to the table when the table is in the rear position. 95% of the time the table will be in the rear position (not the rear MOST position but just far enough forwards that the blade will be behind the fence.)

This is where I am this evening. Please feel free to tell me I am crazy for wanting to retrofit a sliding table to my new radial arm saw!

Any suggestions on implementing the sliding table are definitely welcome! I am thinking of using an Acme screw to position the table. Suggestions for this is also appreciated.
 
Last edited:
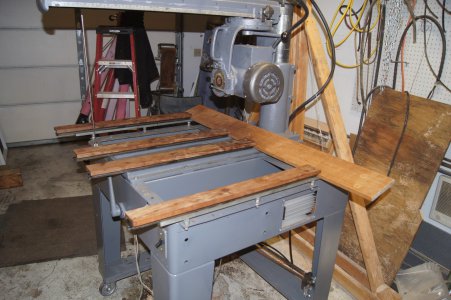
Nice Job on the rebuild!!! I see your saw is a few years older than the 14" one I recently purchased. Mine was built when Delta was owned by the Pentair Tool & Equipment Group out of Jackson Indiana. I see the company has been sold again. This time to a Chinese company. Supposedly they will be making their products in South Carolina.

You have put in a lot of long hard hours to get the machine up and running. I'm not sure I would have bought this one if it needed that kind of a rebuild. I went through the same process with a cold saw I bought a couple years ago. I do use that saw on a regular basis, so the time and effort was worth it. The radial arm saws are in a different category to me. They get used hard for a short period of time, then set for weeks idle in the corner. I use them enough to justify keeping it, but not enough to want to rebuild them from scratch like you did.

Just got home from having some work done on my back. If all goes well, we'll be going to the cottage next Tuesday. One of the things I'd like to accomplish is to get the casters on the saw and do a little work on the table. I like the idea of a sliding table. I do have a number of linear bearings and rails; however, they are a bit larger and a different configuration than yours. Mine are Thomson 3/4" pillow block style. I'm afraid between adding the casters and a sliding table the saw will be too tall for me to use.

The table is currently 45" x 72" and I'm only 5' 8". So, raising the saw another 3" to 5" with casters and a sliding table will all but put the controls out of reach. The current table is not useable as it is in either the garage it's currently sitting or in my shop at home. At this point I'm not sure if cutting it down or replacing it would be the better option. Fortunately, I'm not in a rush to finish the machine. It can sit for a few weeks while I try to come up with a solution.

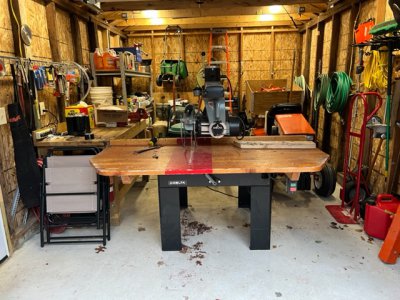
Here are a couple pictures of the saw as it sits today. As you can see, I'm not going to be able to cut much lumber when the table is 6' long and the garage is only 12' wide.
 

Attachments

  • IMG_1800.jpg
    IMG_1800.jpg
    164.3 KB · Views: 20
  • IMG_1783.jpg
    IMG_1783.jpg
    184.8 KB · Views: 21
Last edited:
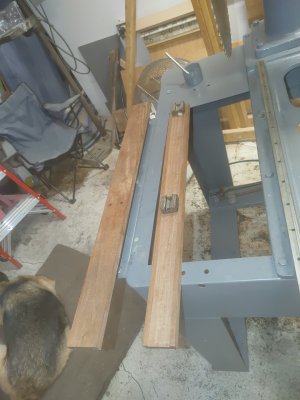
It looks like a very heavy duty machine. What is the advantage of the new sliding table on the Delta radial arm saw?

Roger L
 
It has been a little while but I have made some progress on my RAS.

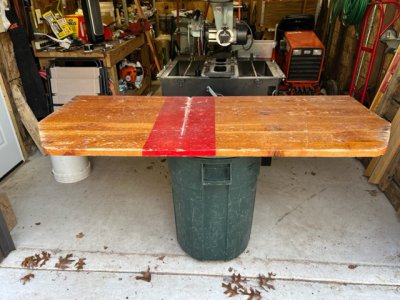
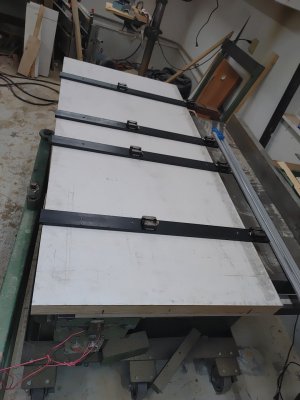
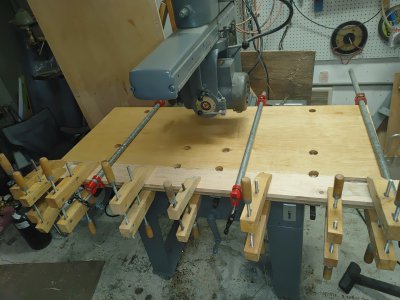
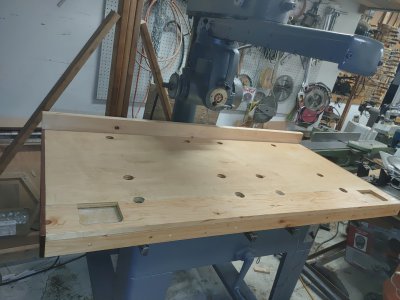
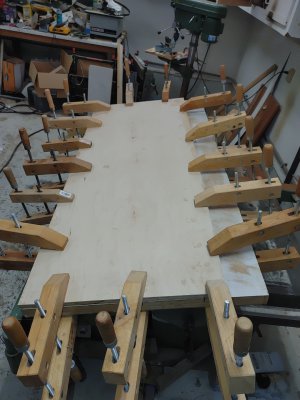
I used a scratch and dent 1 3/4" exterior door and laminated a piece of 3/4" plywood to it with 1/8 x 1" steel flat bar embedded into it to keep it flat. My 30+ year old RedStar table was a similar construction without the bar stock embedded in it and that top drooped over the years.

20240109_175033 (Large).jpg20240109_173353 (Large).jpg

I used Titebond for the wood surfaces and epoxy to embed the bar stock. It was a mess of a glue up. I will spend the money on the 2 part slow set epoxy that dispenses from a tube and automatically mixes while dispensing if I ever do a similar project.

20240109_185531 (Large).jpg
I couldn't stomach $90 for a decent piece of 3/4" ply so I used a piece 24" wide piece I had on hand. The door is 28" wide.

I had originally used some nice and strong IPE to screw to the linear slides then I was going to screw the table to the IPE.

DSC00128 (Large).JPG
20231227_203856 (Large).jpg

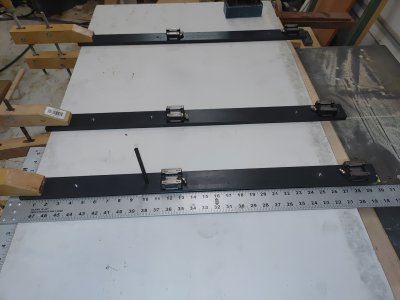
That wasn't really practical so I bought some 2" x 1/4" bar stock to use instead.20240126_000027 (Large).jpg
(I have gained a strong dislike of tapping holes. I also had to drill and tap about 32 holes to mount the linear rails to the saw.)

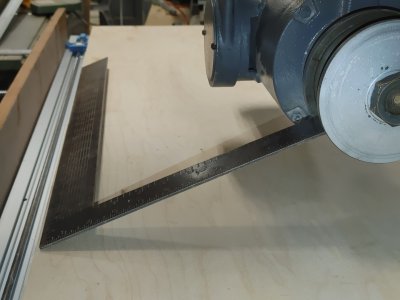
I put the top on the 2" bars. I lined the top up with the blade. Then I crawled underneath the saw and drew lines using the bars as guides so I knew where they were with relation to the under side of the table.
20240126_001536 (Large).jpg

I then flipped the table over
20240126_003648 (Large).jpg

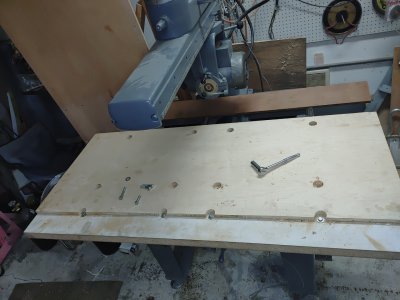
I then transferred the 3/8" holes that I drilled and tapped in the 2" bar to the bottom of the table.
20240126_005147 (Large).jpg


I drilled the holes in the table top oversized so I would have some wiggle room when mounting the table to the bars / linear slides.
20240126_022810 (Large).jpg

I glued a planed down 2x6 to the front of the table as fill:
20240131_021423 (Large).jpg


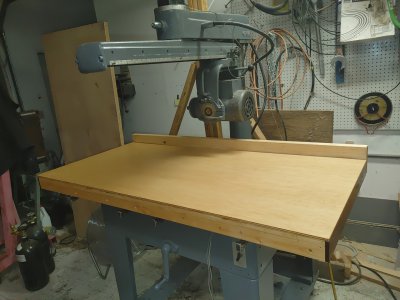
Then I glued in a filler strip under the 2 x 6 to cover up the linear rails poking in front of the table when it is in its more rearward position. I repurposed the IPE boards as side trim pieces.20240205_175322 (Large).jpg


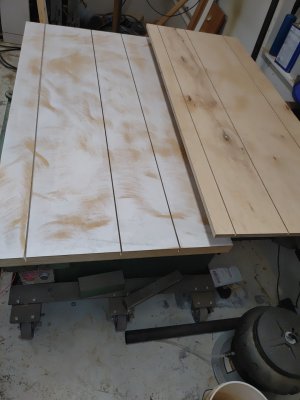
Again, I was too cheap to shell out $48 for a piece of hardboard so I used a piece of 3/8" ply I had on hand for the sacrificial top.
20240205_175453 (Large).jpg
 
Last edited:
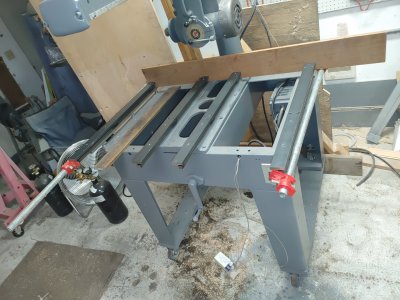
I must say I’m impressed with your enginuity and resourcefulness. I wouldn’t have the skill or patience to build a table like that. It took me half a day just to level and square the table on my 14” Delta. It’s still not perfect, but it’s close enough to finish the pier project

When the pier job is finished I’ll disassemble everything and take it home to the shop. When I set it up there it will get a new table. The current one is 11/4 x6 white oak planks glued together. It was part of a built in counter. It’s so long (6’) and so deep it sags under its own weight.

I don’t think I can come up with anything as elegant as yours. I’ll follow your project and hopefully learn something.
 
Back
Top