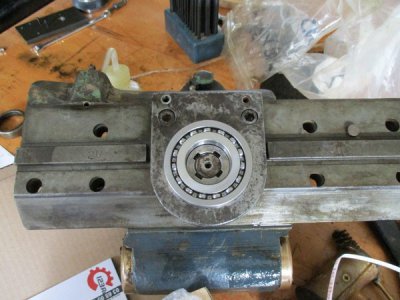
Cunliffe Horizontal Milling Machine

I'm back with just a little update... :)

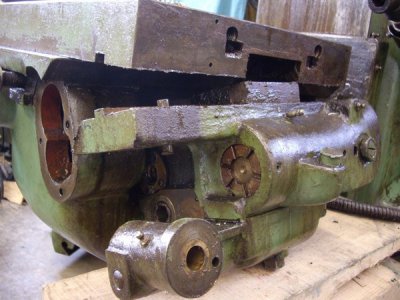
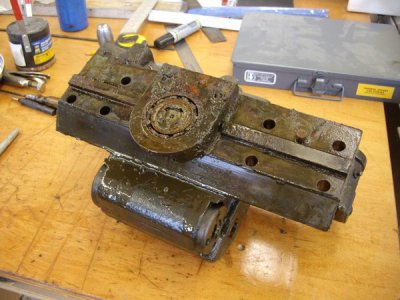
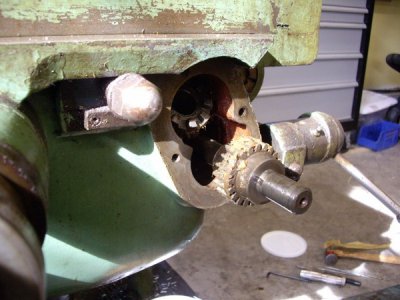
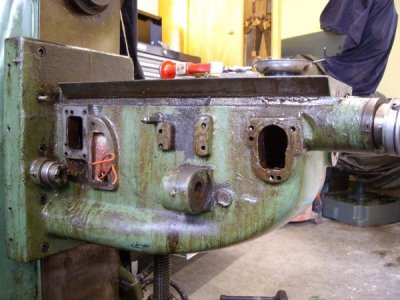
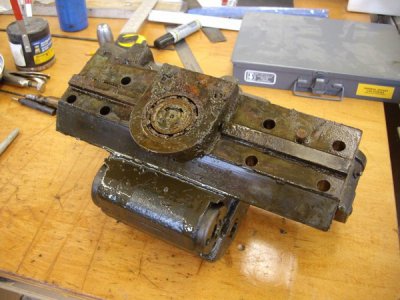
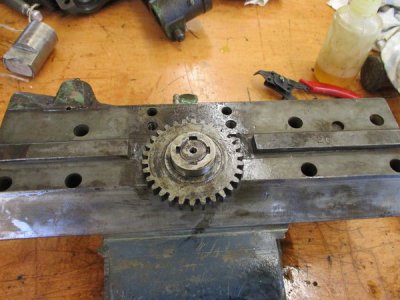
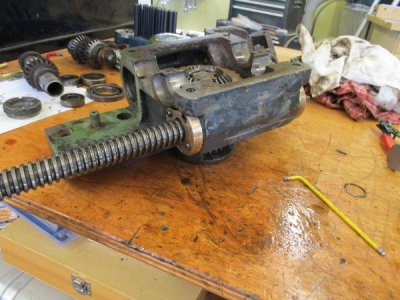
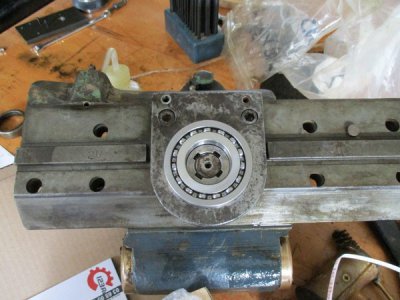
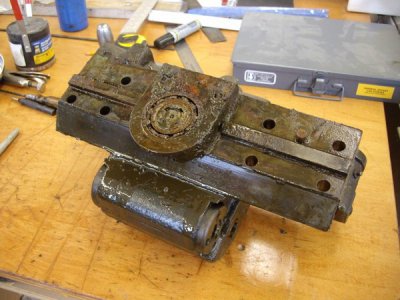
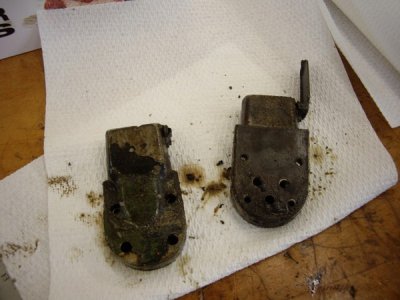
I haven't had much time to devote to the shop over the weekend, so I snuck away from work that I should be doing, to get a bit more done. I decided to finish cleaning up the swivel, before moving on to the saddle. Starting with the oilers, I had to remove four allen cap-screws holding each oiler to the swivel. These capscrews were imbedded with old chips and took some cleaning before they could be removed. I then carefully tapped on the oilers to release them, keeping the gasket intact. I will attempt to make a cover to replace the missing one....
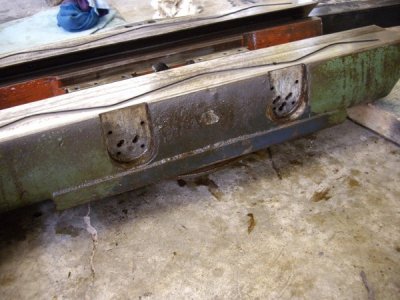
IMGP0126%20800x600_zps7fgedvuw.jpg

IMGP0127%20800x600_zpsj6a388xx.jpg

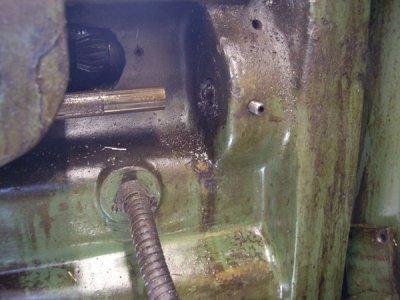
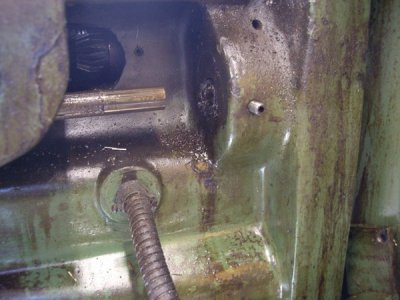
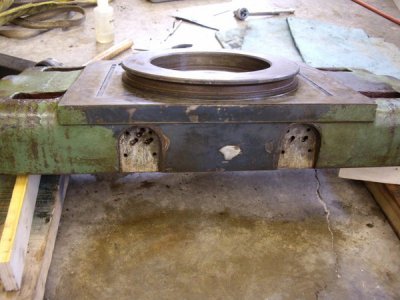
Each oiler has two holes leading to the bearing/nut/feed gear assemblies, lubricating each side seperately. One oiler has a third hole which feeds both the front and back ways for table contact. Cleaning the oiling passages was fairly straightforward, first using pipe cleaners and mineral spirits, then squirting mineral spirits down through them, and finally using compressed air to blow them out. * Note to self * .... When applying compressed air to oiling passageways, place a cloth over the exit hole to avoid a muddy spray pattern on the walls and ceiling... :eek:

At the rear of the swivel, between the oilers, is further evidence of the mill's original dark blue color. It's one of the very few areas that the re-painter missed...
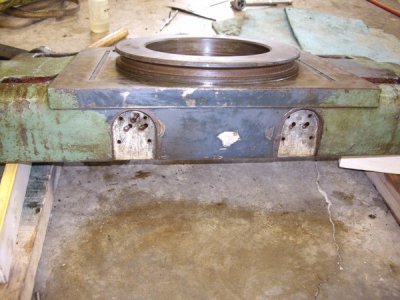
IMGP0129%20800x600_zpsv88vdefi.jpg

IMGP0132%20800x600_zps87gotmrr.jpg

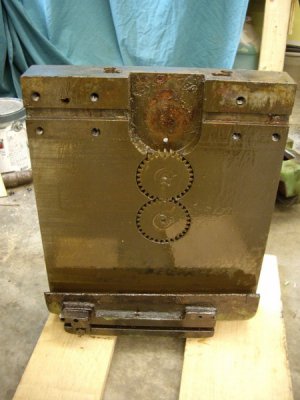
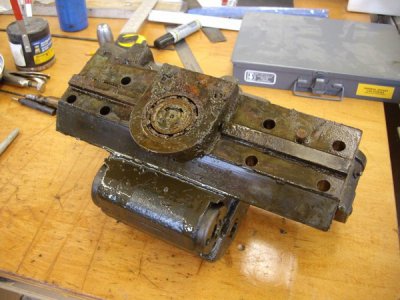
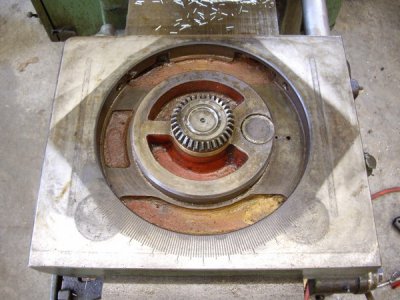
I then went on to clean out the two oiling passageways that feed the bottom of the swivel from two zerk fittings at the front. These were liberally greased and took a bit more effort to clean them. Next, I began to clean up the saddle while still in position. By the shadow of the swivel on the saddle, it looks like this mill spent much of it's life with the table at 45* ...
IMGP0133%20800x600_zpsyxaijqlk.jpg

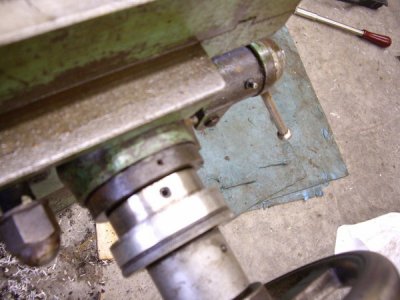
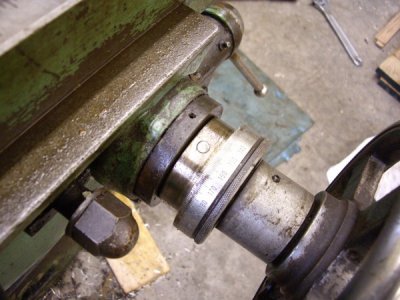
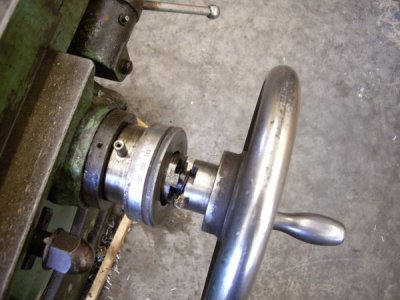
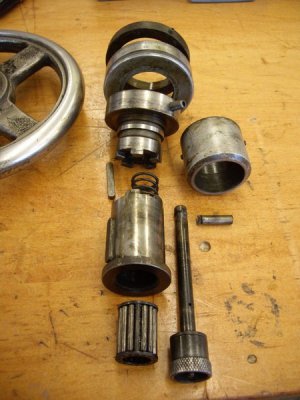
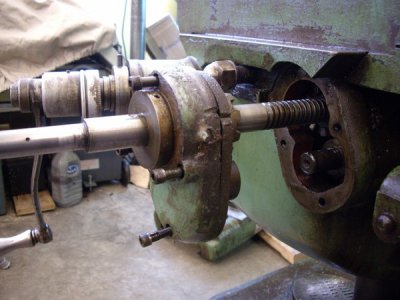
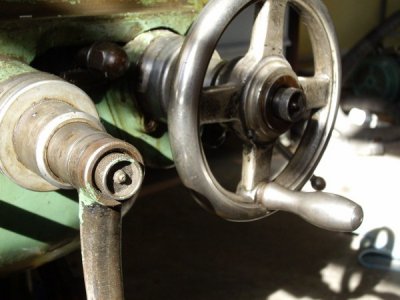
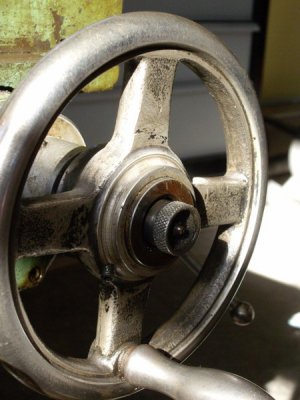
Next comes the removal of the saddle.... this will be far more complicated than the work done so far. For starters, I can't figure out how to get the camlock mechanism off of the handwheel spindle, in order to remove the handwheel. The handwheel must come off before the saddle can slide forward. It was suggetsed to me, that I should try to remove the handwheel and feedscrew all at once.
IMGP0124%20800x600_zpsrg1vklip.jpg

IMGP0123%20600x800_zpsvecfxeyv.jpg

There is also the gearbox and central gearing to attend to... One part at a time...

Brian :)
 
Ok, I'm back with some progress... :)

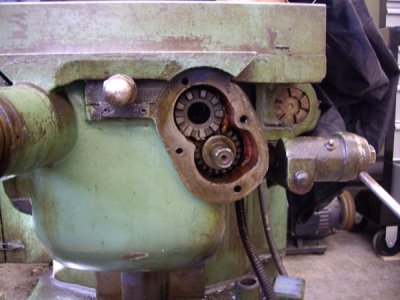
The knurled knob you see in the last photo had me pretty much stonewalled. I couldn't remove any of the components from the cross-feed shaft without removing the knurled camlock. These components also prevented me from removing all of the capscrews which held the feedscrew casting to the knee, preventing me from taking things further apart. I want to get into the cross-feed gearbox to see if there is a sheared gear pin, preventing the power cross-feeds from working.

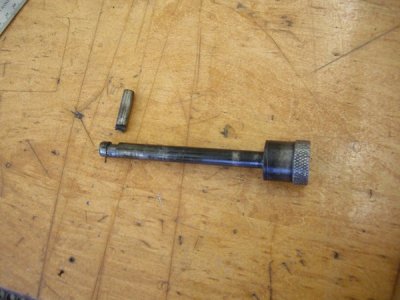
I had some excellent suggestions and help that led me to be able to finally remove the camlocks, etc. On the collar beneath the micrometer dial, there is a setscrew and a pin opposite that had me stymied. I thought that if I removed the setscrew, then I should be able to drive the pin out from that side.

IMGP0152%20800x600_zpsruj91ewh.jpg

IMGP0151%20800x600_zpsusg9ck8p.jpg

It turned out that the setscrew merely held the collar onto the shaft in a shallow depression, while the pin sat in a hole leading to a cam portion of the camlock shaft. It wouldn't come out with a magnet, due to dried up crud, so I drilled and tapped it for a #8-32 capscrew and "pulled" it out. Then, everything came of the shaft in quick order.

IMGP0162%20800x600_zpszutqrvmc.jpg

IMGP0161%20800x600_zpsljokh5am.jpg

IMGP0167%20600x800_zpsmteiu3ga.jpg

IMGP0169%20800x600_zpsanlqzodk.jpg

Brian :)
 
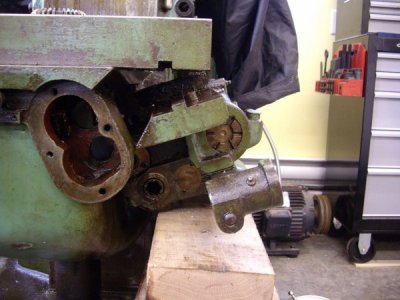
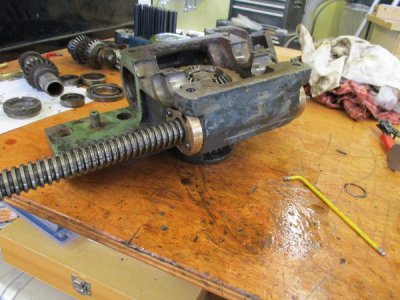
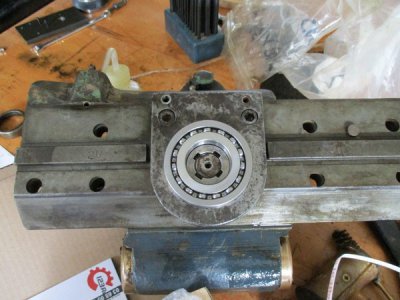
I'm back again, with a bit more progress in tearing down the mill. Once the handwheel assembly and shaft was removed, I went at removing the gearbox from the saddle...

IMGP0183%20800x600_zpstsnoioor.jpg

IMGP0182%20800x600_zpss3zdz8fy.jpg

IMGP0184%20800x600_zpsr8f5debu.jpg

Now, the saddle was free to slide off...

IMGP0185%20600x800_zpsqtr58wif.jpg

I then removed the cross-feed splined shaft, gear and change gear from the knee...

IMGP0171%20800x600_zpsswf6xfsb.jpg

IMGP0179%20800x600_zps3f8bcoe8.jpg

IMGP0178%20800x600_zpskmtsllm1.jpg

This allowed me to remove the remaining components on the side of the knee...

IMGP0200%20800x600_zpss6xnjpvi.jpg

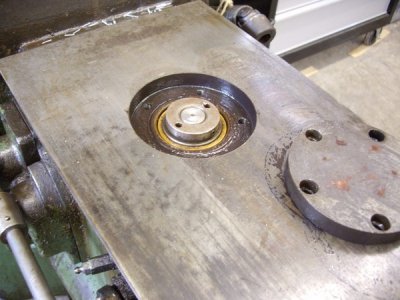
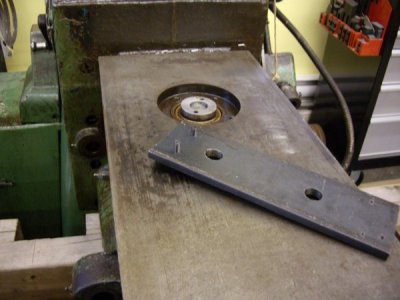
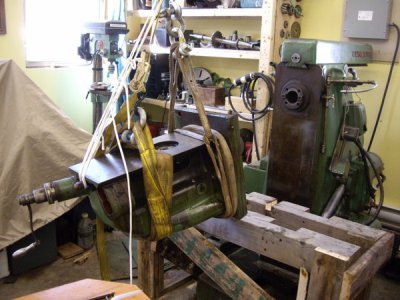
Yesterday, I was able to work on the mill for a bit, and began to prepare to remove the knee. I pulled the gear cover plate off of the top of the knee and made a "poor man's" pin spanner wrench for the locking ring at the top of the elevating screw...

IMGP0189%20800x600_zpsn9hcdpeu.jpg

IMGP0206%20800x600_zpsq62zamkw.jpg

IMGP0207%20800x600_zpsocelfnfj.jpg

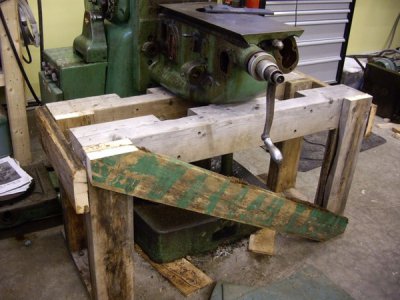
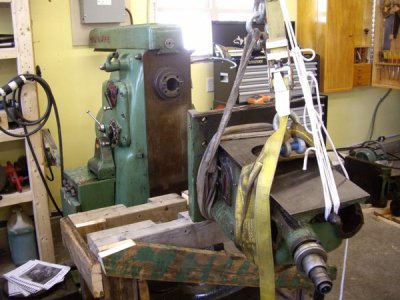
Next was building a cradle which will help in supporting the knee as I remove the elevating screw, and later, when I work on further diassembly of the knee...

IMGP0208%20800x600_zpsa1diknyn.jpg

Thanks for looking in... :)

Brian
 
Dang, Brian, you are one THOROUGH dude ! Thanks for all of those photos, we're following your work with a lot of admiration. I would still like to know your method for cleaning out those oil passages :)
 
Hello Randy ,

Thanks a lot.... :) I did describe how I cleaned out the oiling passageways near the top of the page... but here it is in case you missed it...

"Cleaning the oiling passages was fairly straightforward, first using pipe cleaners and mineral spirits, then squirting mineral spirits down through them, and finally using compressed air to blow them out. * Note to self * .... When applying compressed air to oiling passageways, place a cloth over the exit hole to avoid a muddy spray pattern on the walls and ceiling... :eek:"

Some of the zerks are screw-in types, which were removed to better enable the compressed air fitting to get a tighter seal. The mineral spirits sure helped in softening the old dried up grease.

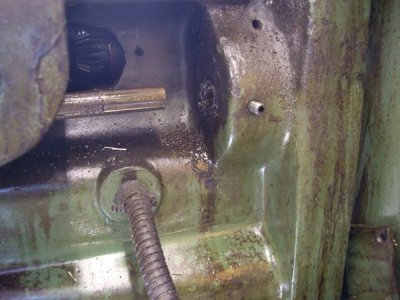
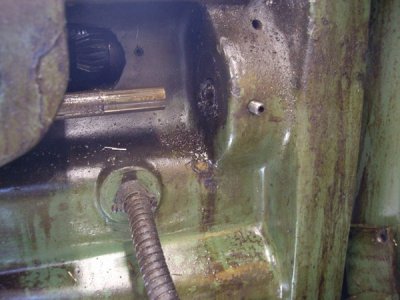
The main reason for removing the knee, is to attempt to free up a shifting gear on a splined shaft that ended up frozen with rust. For some reason, this gear and shaft wasn't getting any lubrication. This gear will enable the elevating screw power feeds to work, and it is also indirectly affecting the power cross-feed.

Here's a few more pics of the progress...

IMGP0209%20800x600_zps1clcigq1.jpg

IMGP0211%20800x600_zps7yf7uvzy.jpg

IMGP0210%20800x600_zps5zt8mocq.jpg

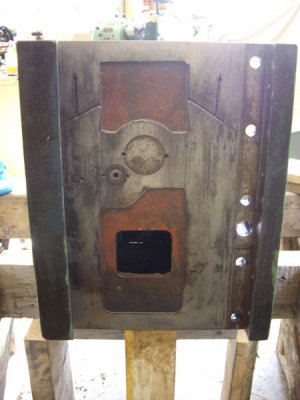
This is the back side of the knee, and is after I cleaned it up. It was just a brown mass of filth with no oiling passages evident, nor the cover plates for the shafting. I have most of the grub screws loosened and will have a go at removing the splined shaft and mating gears. It looks like I will have to replace both gears, as they look pooched...

IMGP0212%20600x800_zpsvorqgwac.jpg

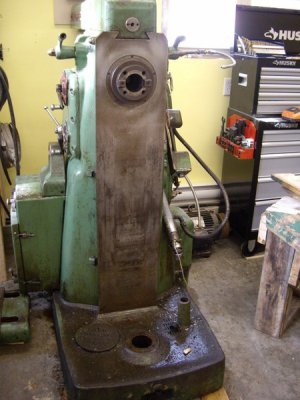
I also did a cursory cleaning of the face of the column and found evidence of frosting from top to bottom. It must have been an impressive looking machine when new.

IMGP0216%20600x800_zps8cbqoedx.jpg

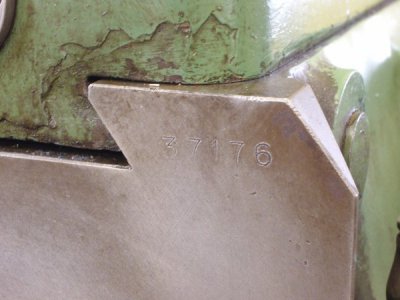
I also found a serial number at the upper right hand corner of the column...

IMGP0213%20800x600_zpslc4b03rt.jpg

Brian :)
 
That is one superbly built machine Brian, and you are making a fantastically thorough job of the rebuild , and I am loving it. I have a Harrison Horizontal mill with a vertical head as well, simila, but smaller.
Phil
UK
 
Sorry about asking you to repeat yourself, Brian, I was distracted by the many fine photos. I echo Phil's comments !
 
No problem Randy :) and thanks for the kind words, Phil :)

I'll be back in a little while with some progress and photos...

Brian :)
 
I'm back again... :)

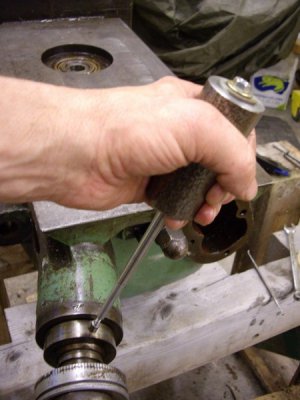
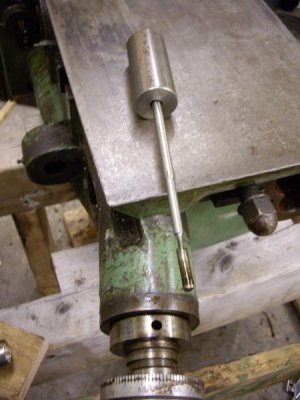
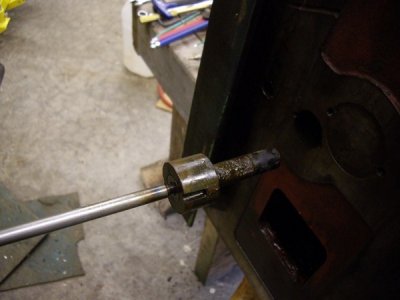
I've not got a lot further, due to lack of time and frozen parts... I did get the knee raising shaft and pinion out, but this time I had to make a small slide hammer to remove the camlock pin...

IMGP0221%20600x800_zpsfm6qkwz2.jpg

IMGP0222%20600x800_zpsvjs8rqdf.jpg

IMGP0223%20800x600_zpscyrapidx.jpg

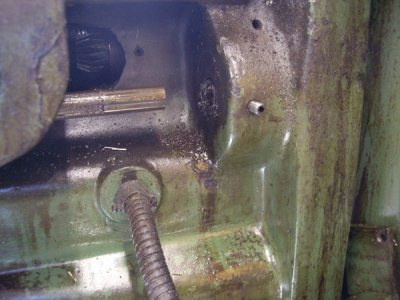
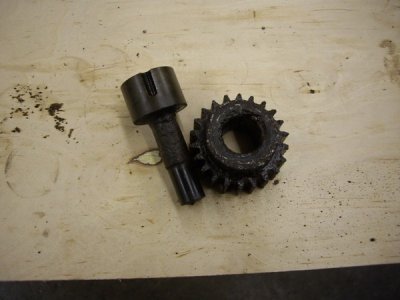
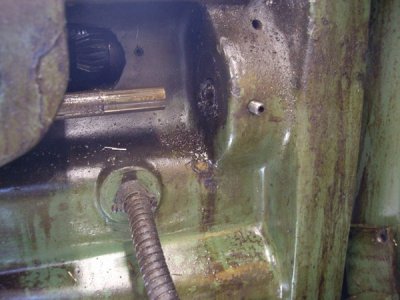
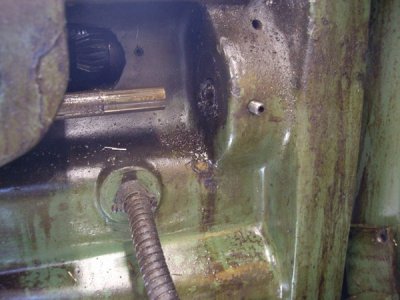
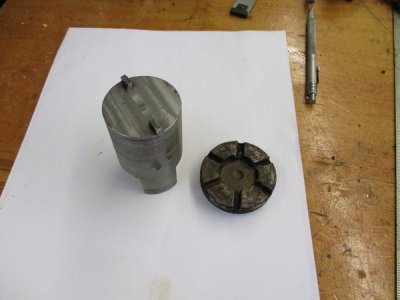
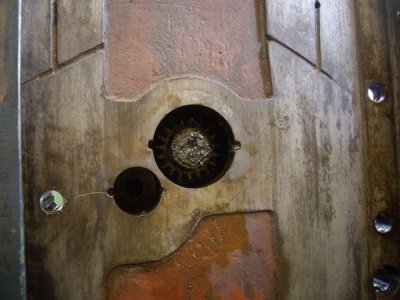
Next, was the removal of the three gears inside the knee. From what I could see through the side hole, they are all in real bad shape, due to coolant contamination and lack of lubrication. I found an oiling hole that was plugged solid with chips. It likely had a zerk fitting in it at one time, as the hole is threaded.

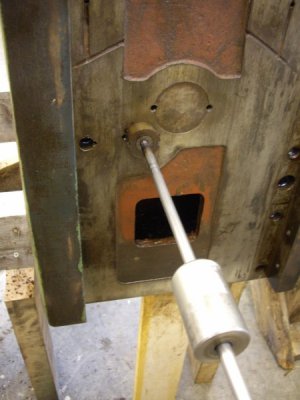
I made a slightly larger slide hammer to start with the one shaft which already had a threaded hole...

IMGP0228%20600x800_zpsi7fvu5lu.jpg

IMGP0229%20800x600_zpslhwzlikl.jpg

IMGP0230%20800x600_zpsmnney1ih.jpg

Next, I drilled and threaded a hole in the larger plate to remove it with the sLIde hammer. It took a lot of tries, with heat, PB Blaster, slide hammer, over and over again...

IMGP0233%20800x600_zpsykzgg3wp.jpg

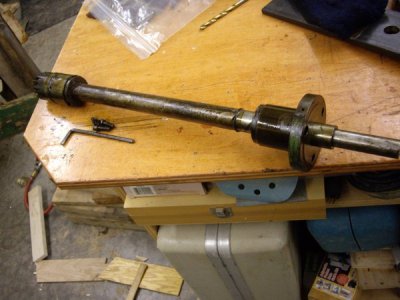
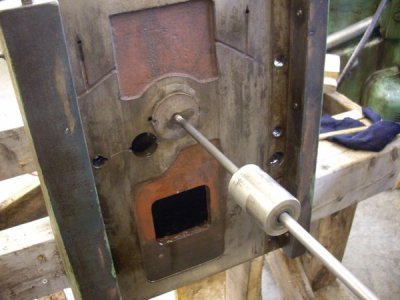
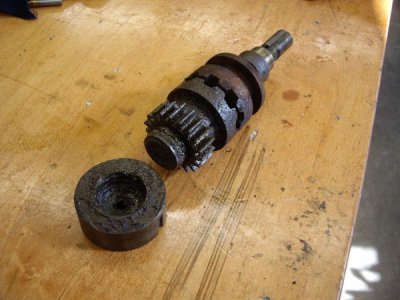
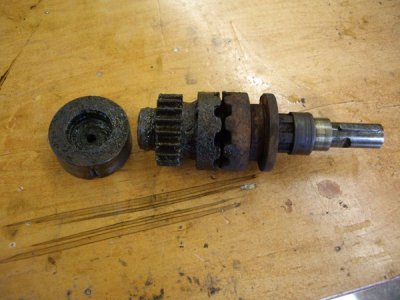
Then I was able to drive the shaft and clutch assembly out through the back by using a long rod through the knee raising shaft housing hole ...

IMGP0234%20800x600_zps00derlhv.jpg

IMGP0235%20800x600_zpsfsg9fbto.jpg

IMGP0236%20800x600_zpsvjsng93o.jpg

As you can see, things are in rough shape. I still have to get the last stubborn gear out, before I determine a plan of action.

Cheers... :)

Brian
 
Hello all :)

I finally have a bit of an update on the mill. I have been unsuccessful in getting the last gear out. It is behind this plug that the splined shaft is heading to, which will not budge. I would have to drill out the plug and destroy it to get it out and I really don't have the money nor time at this point to keep working on the knee.

IMGP0179%20800x600_zps3f8bcoe8.jpg

So, for now I have decided to put the mill back together. This will mean that I won't have power feed to the knee, but I can live with that for now. I will clean up all of the sub-assemblies and repair things as I go.

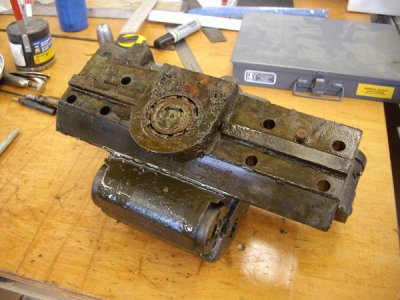
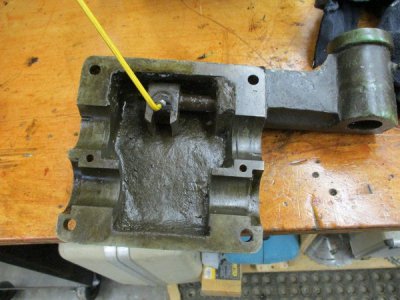
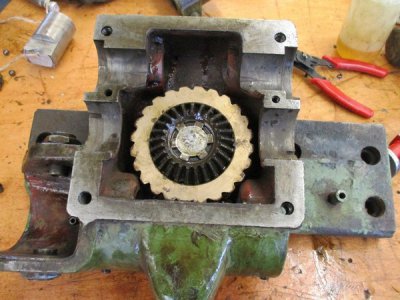
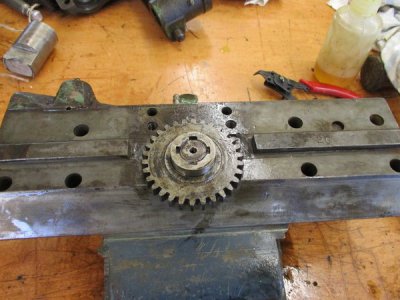
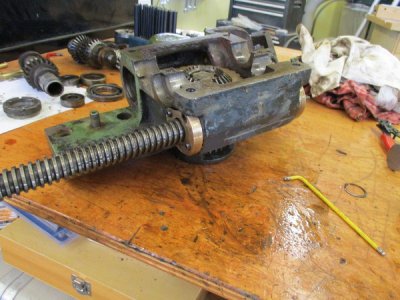
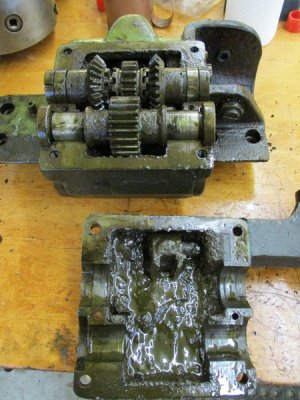
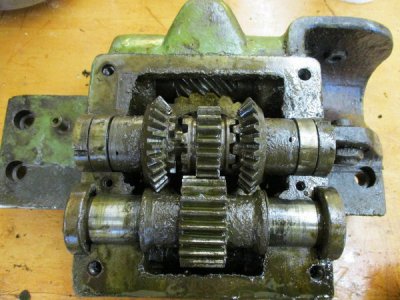
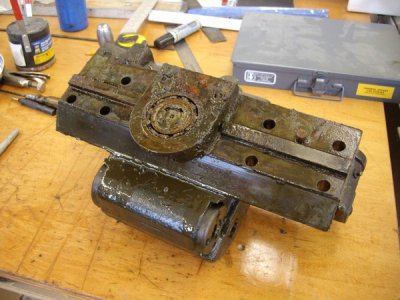
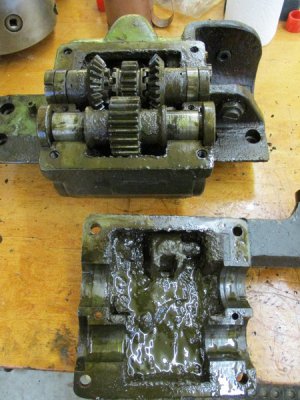
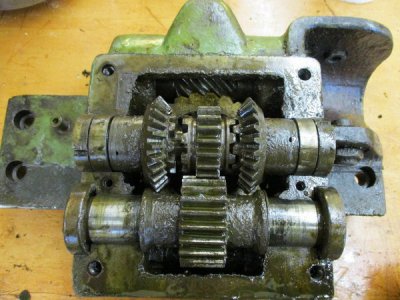
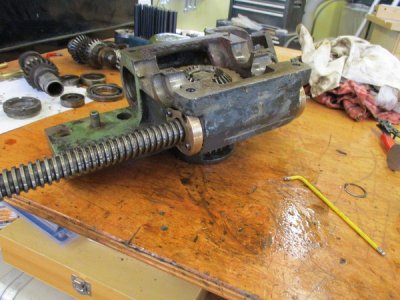
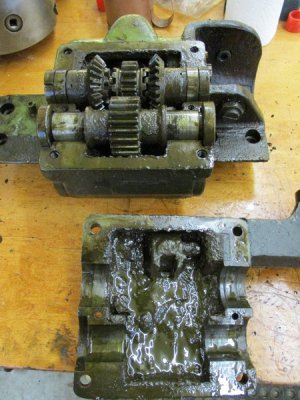
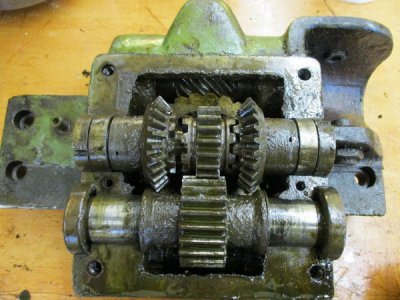
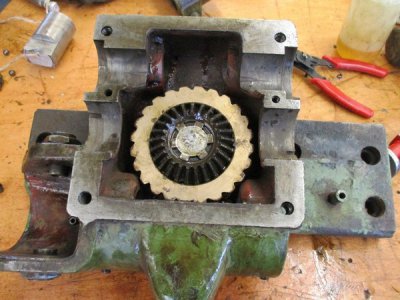
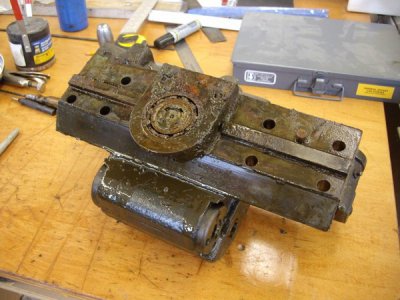
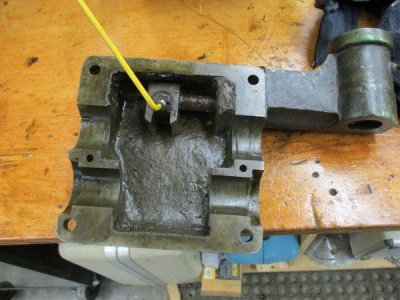
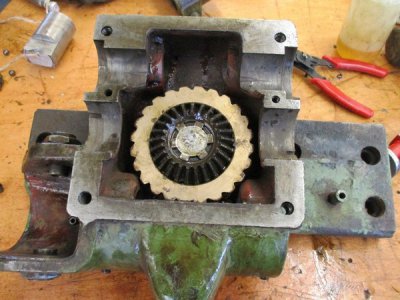
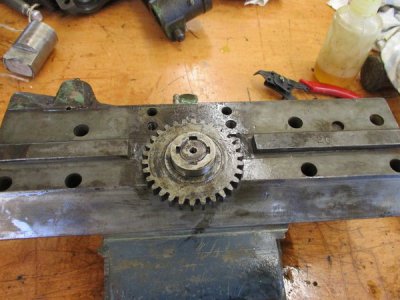
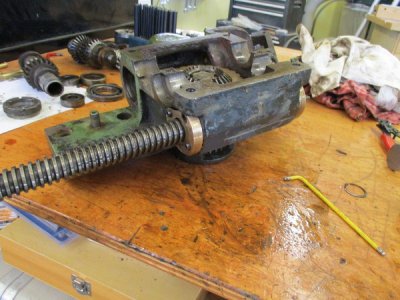
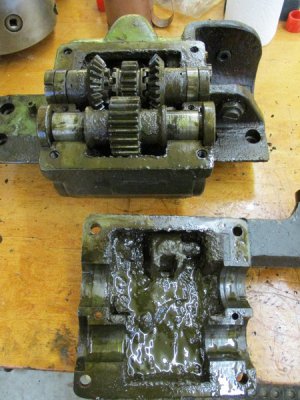
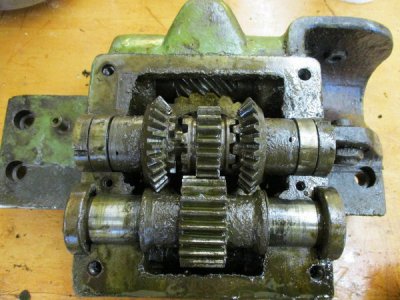
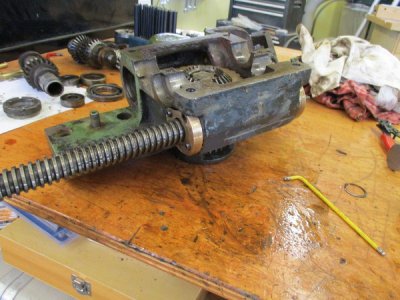
The first thing that needs looking into is the transfer gear box that provides all of the power feeds and direction of feed...

IMGP0184%20800x600_zpsr8f5debu.jpg

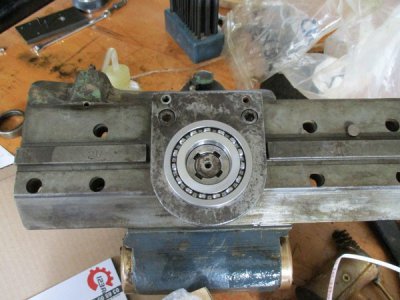
I couldn't keep it filled with oil, as all of the oil seals were shot and I suspected that the bearings were also gone because of coolant infiltration. This mill has had a hard life and was not maintained whatsoever...

IMG_0066%20600x800_zpsak1yccco.jpg

IMG_0067%20800x600_zps3j3oujs3.jpg

IMG_0068%20800x600_zpsbjgmewjg.jpg

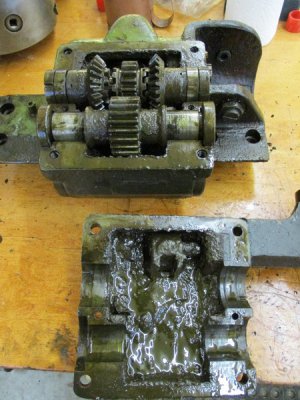
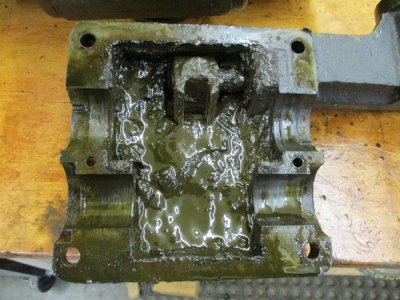
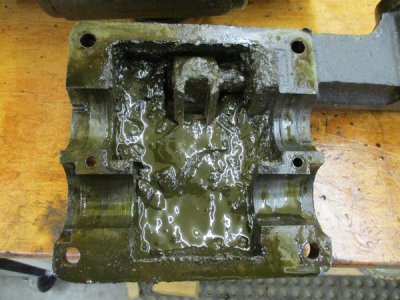
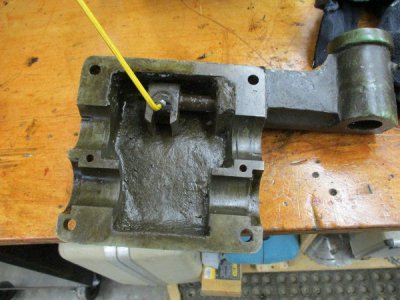
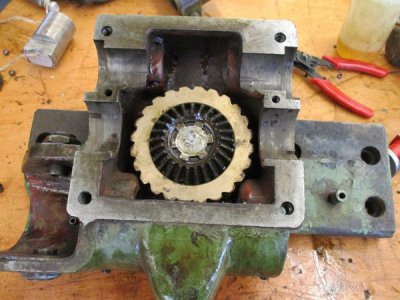
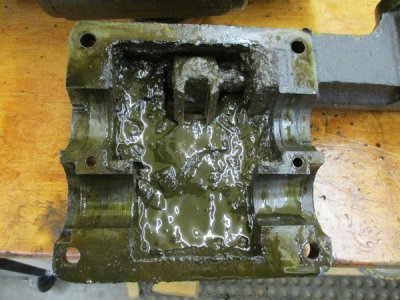
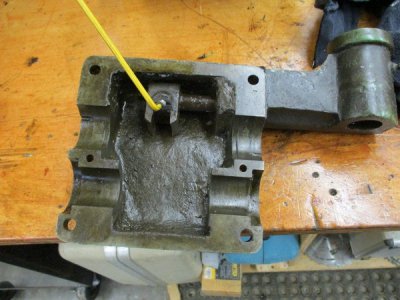
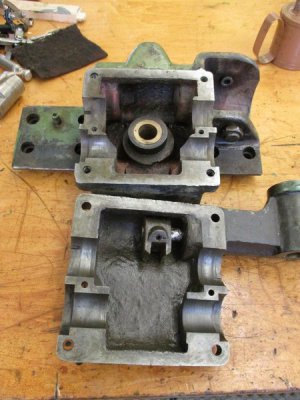
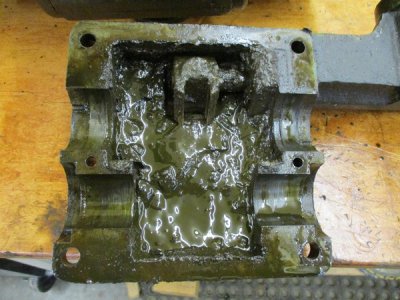
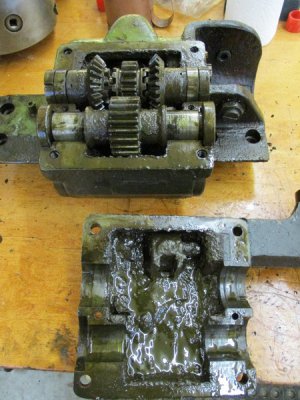
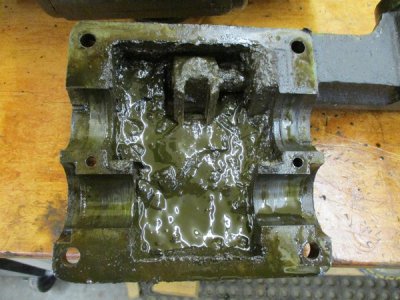
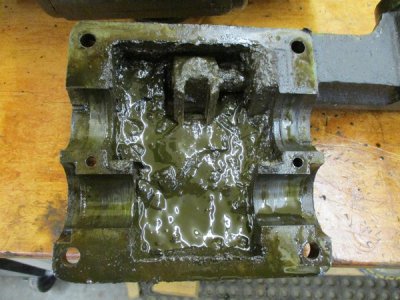
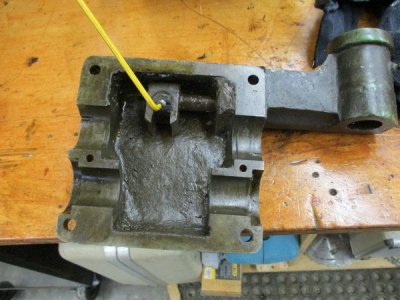
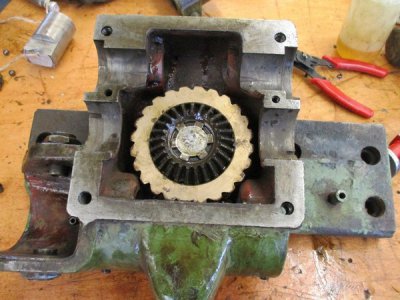
There must have been a half inch of solid "muck" in the case. I managed to free up the change gear fork, remove it and clean up one half of the case...

IMG_0069%20800x600_zpsgcbxkqdz.jpg

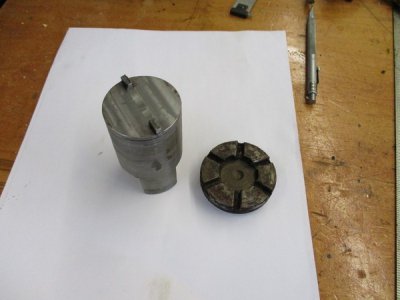
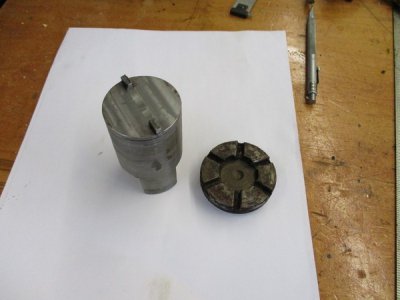
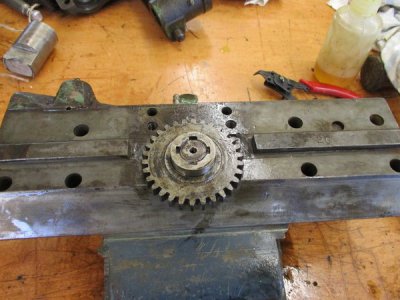
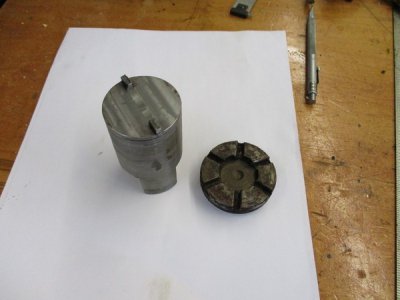
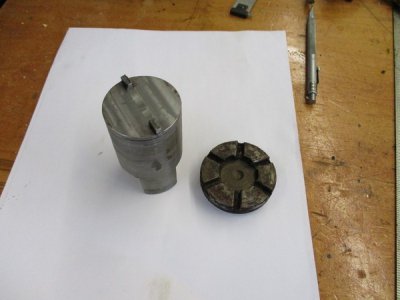
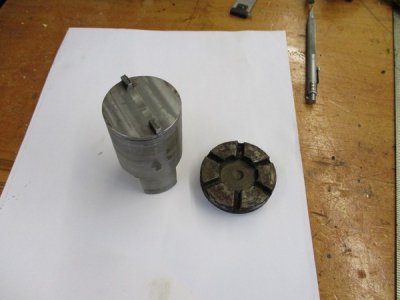
I had to make a tool to remove this plug that held a shaft in place...

IMG_0070%20800x600_zpsymg460tv.jpg

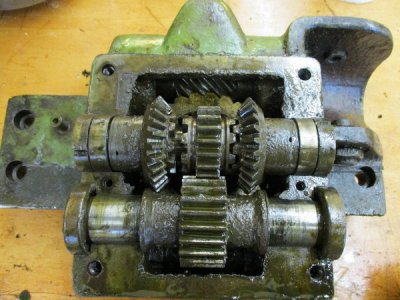
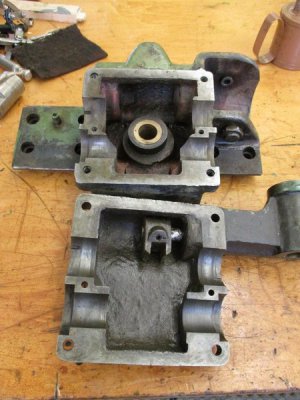
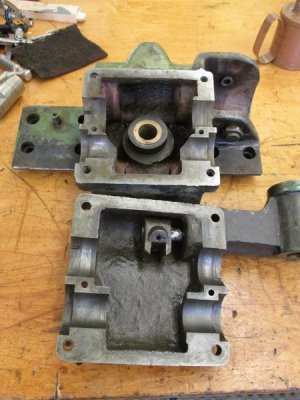
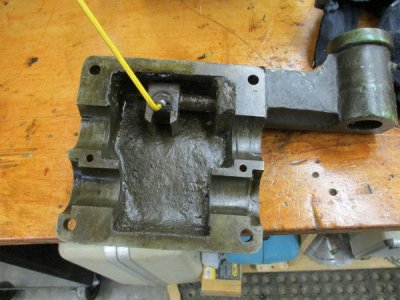
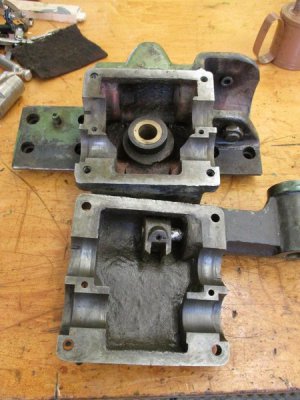
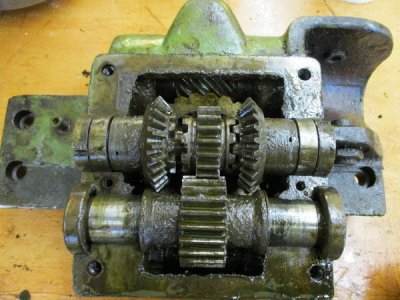
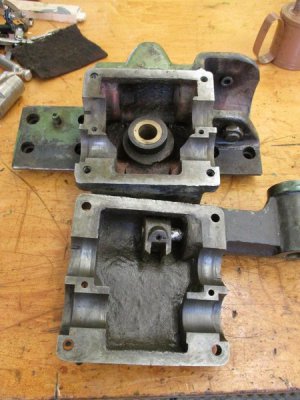
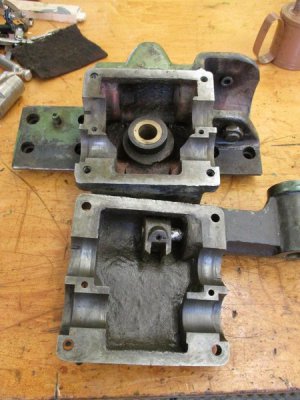
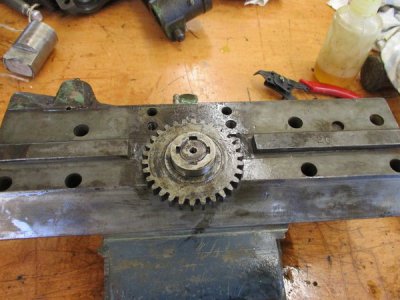
Here's the two halves cleaned and ready for the parts to go back in. All of the oiling holes and passages have been cleaned, as well as all of the threaded holes have been chased with taps...

IMG_0073%20600x800_zps4zq3azcm.jpg

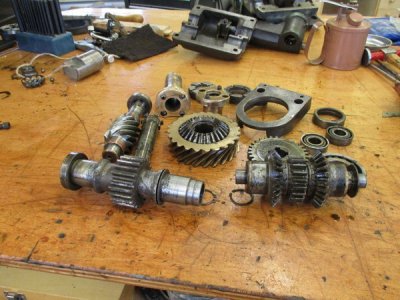
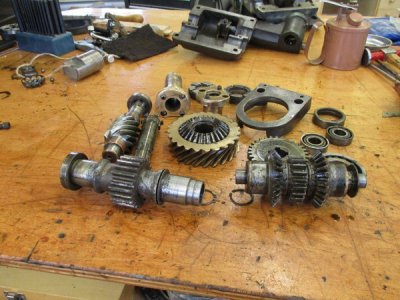
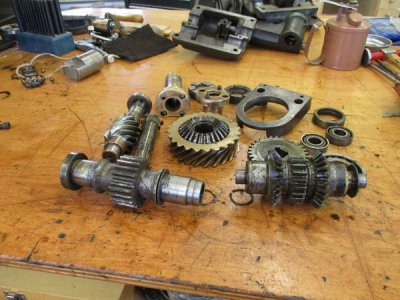
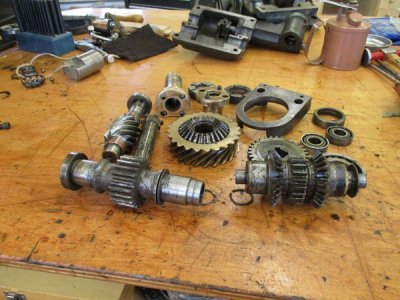
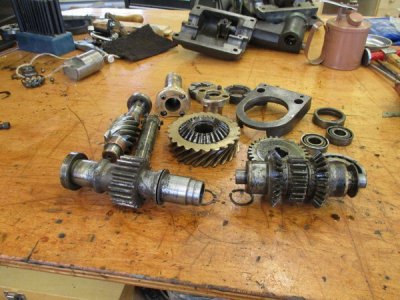
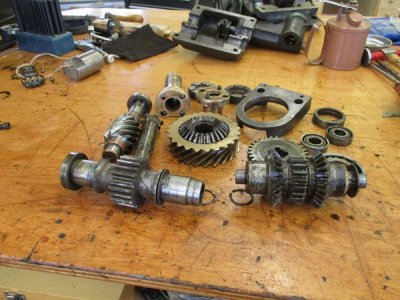
Here's a pile of parts cleaned and oiled...

IMG_0074%20800x600_zps9j9hbzum.jpg

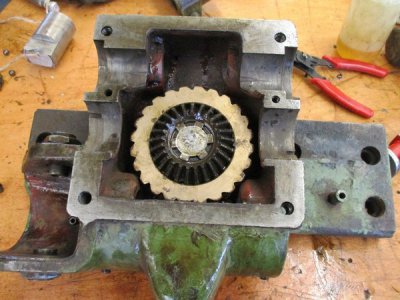
I have three oil seals as well as 5 bearings on order to finish rebuilding the transfer case. I put the parts back in the case that don't have bearings or seals...

IMG_0075%20800x600_zps4t3ev1jd.jpg

IMG_0075%20800x600_zps4t3ev1jd.jpg

IMG_0076%20800x600_zpslynxsk5q.jpg

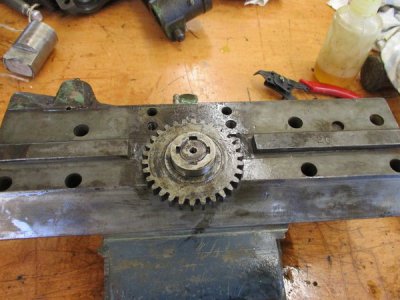
I also installed the split nuts and roughly adjusted them for backlash...

IMG_0078%20800x600_zpsjxgn0slv.jpg

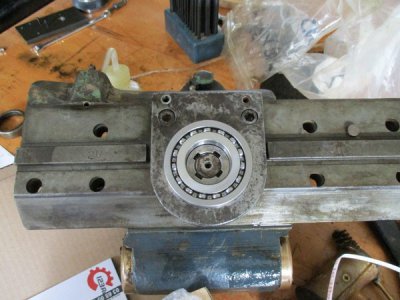
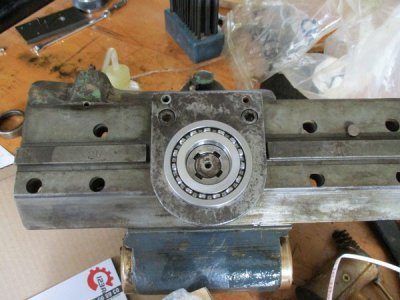
One bearing came in yesterday from France. I will get this pressed in tomorrow. For now, it's just sitting there...

IMG_0081%20800x600_zpspjgldnpm.jpg

Cheers.... :)

Brian
IMGP0179%20800x600_zps3f8bcoe8.jpg

IMGP0184%20800x600_zpsr8f5debu.jpg

IMG_0066%20600x800_zpsak1yccco.jpg

IMG_0067%20800x600_zps3j3oujs3.jpg

IMG_0068%20800x600_zpsbjgmewjg.jpg

IMG_0069%20800x600_zpsgcbxkqdz.jpg

IMG_0070%20800x600_zpsymg460tv.jpg

IMG_0073%20600x800_zps4zq3azcm.jpg

IMGP0179%20800x600_zps3f8bcoe8.jpg

IMG_0074%20800x600_zps9j9hbzum.jpg

IMGP0184%20800x600_zpsr8f5debu.jpg

IMG_0075%20800x600_zps4t3ev1jd.jpg

IMG_0066%20600x800_zpsak1yccco.jpg

IMG_0067%20800x600_zps3j3oujs3.jpg

IMG_0076%20800x600_zpslynxsk5q.jpg

IMG_0068%20800x600_zpsbjgmewjg.jpg

IMG_0078%20800x600_zpsjxgn0slv.jpg

IMG_0069%20800x600_zpsgcbxkqdz.jpg

IMG_0081%20800x600_zpspjgldnpm.jpg

IMG_0070%20800x600_zpsymg460tv.jpg

IMG_0073%20600x800_zps4zq3azcm.jpg

IMG_0074%20800x600_zps9j9hbzum.jpg

IMG_0075%20800x600_zps4t3ev1jd.jpg

IMG_0076%20800x600_zpslynxsk5q.jpg

IMG_0078%20800x600_zpsjxgn0slv.jpg

IMG_0081%20800x600_zpspjgldnpm.jpg

IMGP0179%20800x600_zps3f8bcoe8.jpg

IMGP0184%20800x600_zpsr8f5debu.jpg

IMG_0066%20600x800_zpsak1yccco.jpg

IMG_0067%20800x600_zps3j3oujs3.jpg

IMG_0068%20800x600_zpsbjgmewjg.jpg

IMG_0069%20800x600_zpsgcbxkqdz.jpg

IMG_0070%20800x600_zpsymg460tv.jpg

IMG_0073%20600x800_zps4zq3azcm.jpg

IMG_0074%20800x600_zps9j9hbzum.jpg

IMG_0075%20800x600_zps4t3ev1jd.jpg

IMG_0076%20800x600_zpslynxsk5q.jpg

IMG_0078%20800x600_zpsjxgn0slv.jpg

IMG_0081%20800x600_zpspjgldnpm.jpg
 
Last edited by a moderator:
Back
Top