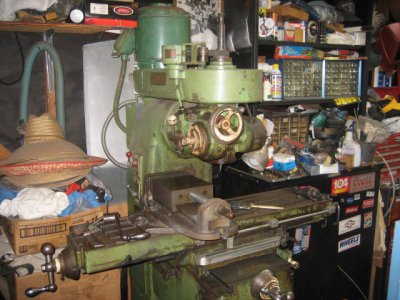
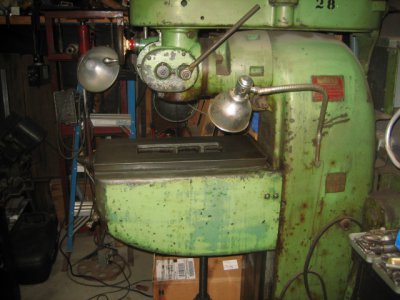
I've had this machine since 1987 and is used sparingly for hobby projects. I've had the use of a CNC Dyna mill for the last couple years and have become quite use to the DRO system on it. Well, all good things eventually end and my son-in-law wants his CNC mill back from my temporary storage. I searched the net looking for anything about adding DRO capability to the 55 but found nothing specific, so I'm adding this to possibly show how I solved the problem. I removed the table and saddle on the 55 and replaced several of the bearings in the saddle and table with parts still available from Wells-Index. The lead screw nut for the table was found to have the cap screws securing it loose but still worn considerably. The nut had been modified at some point (I believe) by cutting it in half and inserting two Allen set screws to vary the distance when securing it back together. I tightened that up a little, but it still has a little play in it. NOTE it isn't necessary to disassemble the table/saddle to add the scales.
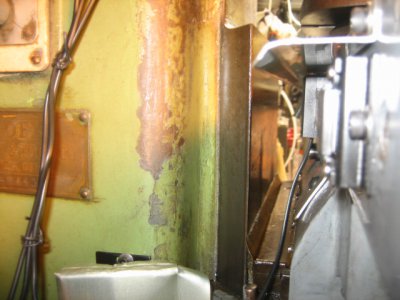
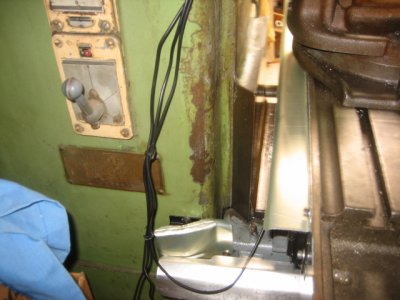
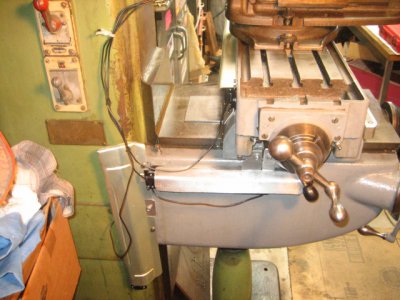
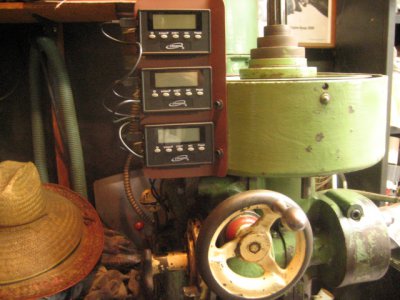
I purchased three Igaging DRO's from Davidh who is a member here on the forum, one 36" and two 12" for XYZ. The mounting was fairly straight forward, and drilling/tapping in the cast iron was quite easy. I had to cut the scale for the "Y" or saddle, which was quite easy with a hacksaw. I mounted a small sheet metal panel on the belt guard and utilized the magnetic capability of the readouts to hold them in place. The wires still require some attention. I added some aluminum shields over all three scales to somewhat control the swarf. I may look into building one of the DRO350 type readouts later on to replace the 3 individual units. I'll attempt to add a few pix to depict the the results.
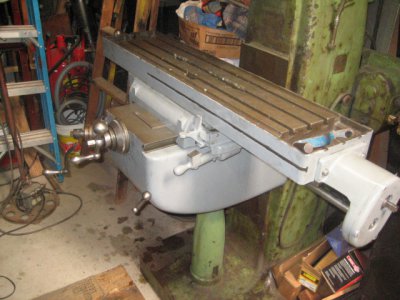
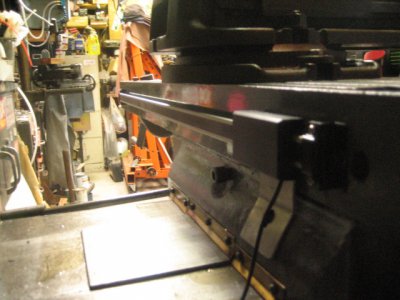
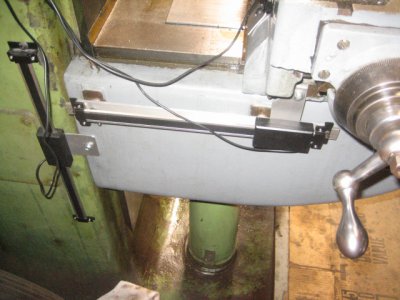
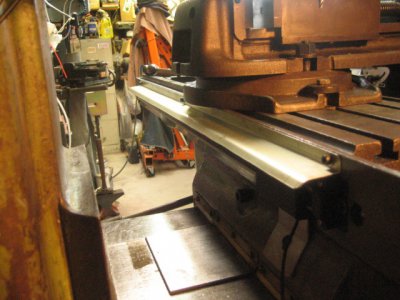
I purchased three Igaging DRO's from Davidh who is a member here on the forum, one 36" and two 12" for XYZ. The mounting was fairly straight forward, and drilling/tapping in the cast iron was quite easy. I had to cut the scale for the "Y" or saddle, which was quite easy with a hacksaw. I mounted a small sheet metal panel on the belt guard and utilized the magnetic capability of the readouts to hold them in place. The wires still require some attention. I added some aluminum shields over all three scales to somewhat control the swarf. I may look into building one of the DRO350 type readouts later on to replace the 3 individual units. I'll attempt to add a few pix to depict the the results.


Last edited:


