Buying a new mill

darkzero, does that mean your going to do something custom to mount the z-axis to the quill? i know it's going to be something good. I really like all the custom things you're doing with your mill and lathe.

Got my ES-12 today! I have some ideas but I need to open up the ES-12 first to verify if I can even add an extra axis to it assuming that's what the "U" can be used for. I just got it mounted up & need to go through the manual. I don't want to eliminate the column Z readout in exchange for the quill Z readout. If it's not possible I'll stick to my setup now.


Here that are side by side. I don't like that that handle in the front is 5" lower than my old one. The heads on both are at their lowest.

Looking good! Base looks beefy! Love the side by side pic. I guess the Taiwanese are taller than the Chinese? I'm Chinese but made in America and without the riser it was too short for me.
:rofl:
 
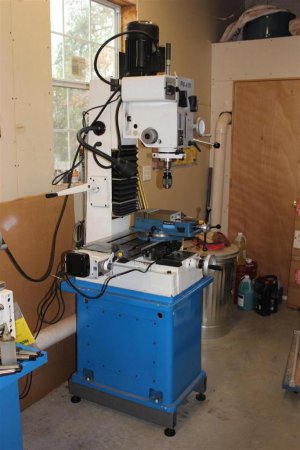
Got my risers under it today. Since I have the cast iron stand I went with 2 unwelded pieces. The steel stand has only one hole on each side basically making you weld a stand together.

I raised it a total of 5 1/2".

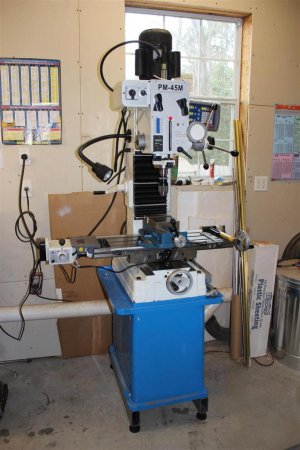
Now a puzzle. See if can tell what is different in this picture to ones in previous posts.


PM45-M 1742.JPG

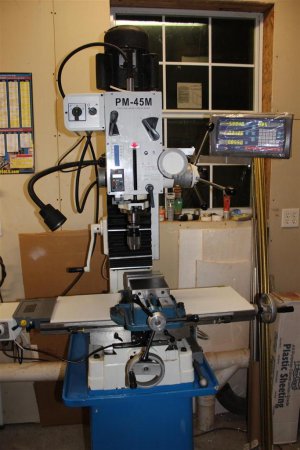
I looks a whole lot bigger with the head raised. There is one thing I am going to work on and that a way to raise the head without either bending over from the front or standing on the side. I will be making something to fix that soon. The ratio of 1/8" travel per revolution is kind of low also.
PM45-M 1741.JPG

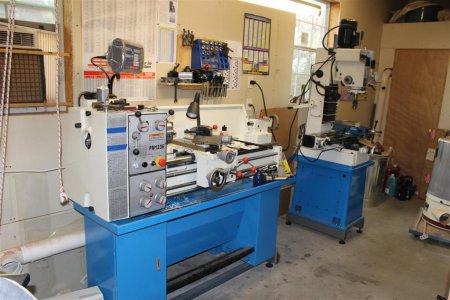
And here are my dynamic duo together.
PM45-M 1744.JPG

To answer my puzzle, it's the handles. I used the steel ones from my old mill. One reason is that they are not plastic but the main reason is that they are smaller in diameter. This means that the handles on my 3 spoke vise handles won't hit them.

Gary

PM45-M 1744.JPG PM45-M 1741.JPG PM45-M 1742.JPG
 
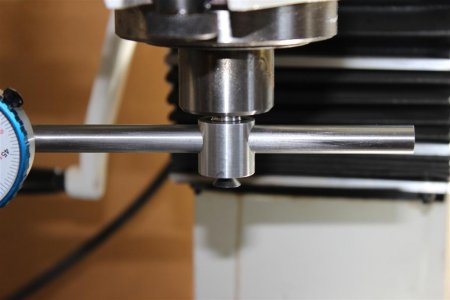
I made my first chips today. I drilled a cross hole in a tramming jig.

PM45-M 1747.JPG

It took a long time to get it done. The closest I could get it was .0005". With a bridgeport it's easy with the bolt to rotate the head. I just had a rubber mallet. Kind of like Fred Flintstone.

PM45-M 1748.JPG

I have a few other things I plan on doing to it before I get to some real work. I'll keep you posted.

Gary

PM45-M 1747.JPG PM45-M 1748.JPG
 
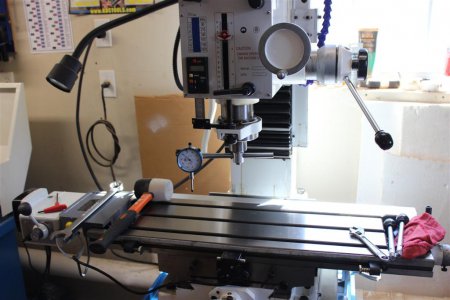
I did a couple of small things today. You can see them both in the picture below.

PM45-M 1752.JPG

After trying unsuccessfully to buy some t-slot covers in 14mm, I decided that I would just cover up the entire table. Found some corrugated material that's made from plastic to use. Being plastic it will clean up real nice and not absorb liquids. Just held in place with some masking tape so it's quick and easy to remove if I needed to.

This will just help crap from falling in the slots, plus give me a quick place to write things down so they are always at hand. Dry erase markers are easy to wipe away

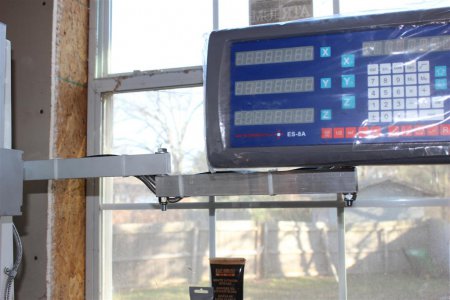
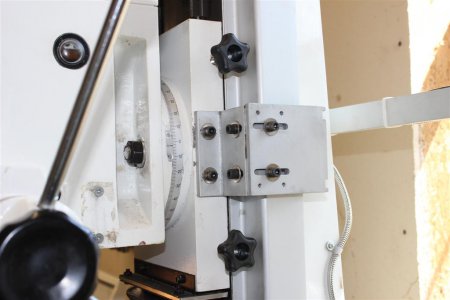
The second thing is I added an additional 12" arm to the DRO mounting arm. Best seen in this picture.

PM45-M 1756.JPG

This is a fantastic addition. First it allows me to position it so I can see it while adjusting the height of the head.
Secondly it moves it closer to the front of the machine so I can easily reach it without bending over the table.

Getting real close to actually making something!

Gary

PM45-M 1752.JPG PM45-M 1756.JPG
 
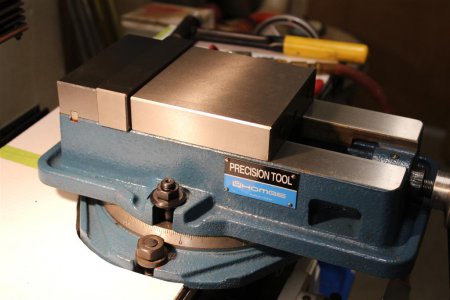
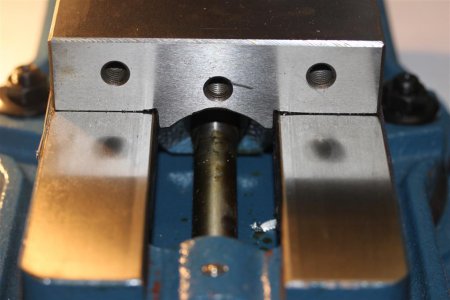
As promised here is the information on the vise.

PM45-M 1759.JPG

First my search centered around a vise with an acme screw. It would be a lot more heavy duty and a show of quality. I looked at Shars, Enco and Grizzly. The all had regular 60° thread screws.

I talked to Matt at QMT and he said that the Homge vises had acme screws. To tell you the truth I still haven't see the acme screw. It's completely covered up with no exposure to chips at all.
Matt has been honest with me so far, so I will take his word for it.

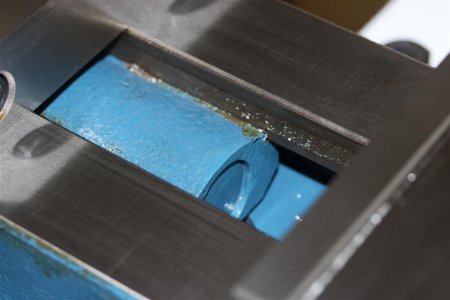
Here are some pictures of the screw:
PM45-M 1773.JPG PM45-M 1775.JPG
These pictures are with the vise completly open and closed. Even the end of the screw has a cap on it.

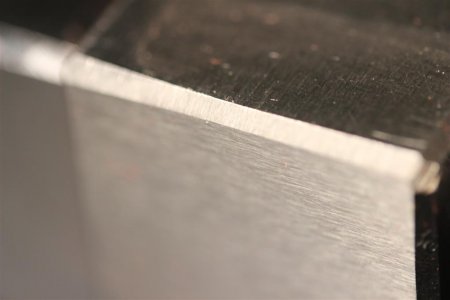
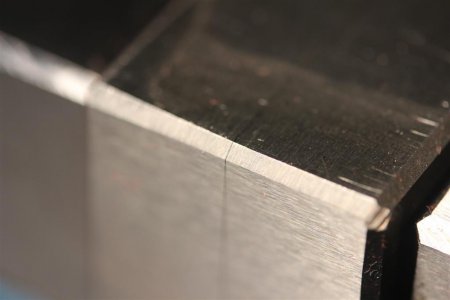
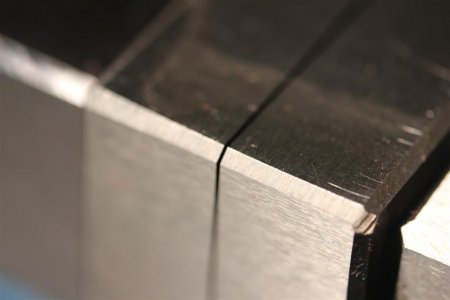
The next series of pictures were taken with a dedicated marco zoom lens hence the lack of depth of field.
They show where the jaws meet. The first pic you can barely see the line where they meet. The second and third picture show the vise slightly open and then even more so.
When closed you can't even feel that are two separate jaws.

PM45-M 1764.JPG PM45-M 1765.JPGPM45-M 1767.JPG

All in all a very well made and precise vise. Well with the money in my book.

Gary

PM45-M 1759.JPG PM45-M 1764.JPG PM45-M 1765.JPG PM45-M 1767.JPG PM45-M 1773.JPG PM45-M 1775.JPG
 
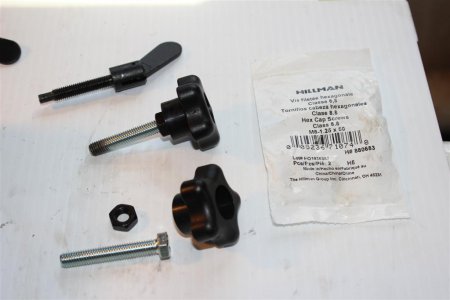
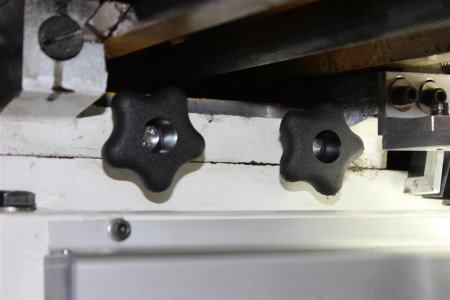
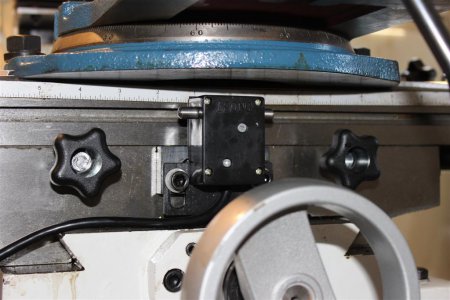
I got my new knobs installed today for tightening the X, Y and head stock.

I took a different tact than darkzero who also replaced his. I used THESE which I bought for $0.82 each and a 50mm bolt from Lowes.
I already had some M8 nuts but they are cheap also.

PM45-M 1776.JPG


The bolt heads press into the knobs, but not good enough for me so I added a nut to keep everything in place for good.
Here they are installed:


PM45-M 1777.JPG


PM45-M 1778.JPG


PM45-M 1779.JPG

Gary

PM45-M 1776.JPG PM45-M 1777.JPG PM45-M 1778.JPG PM45-M 1779.JPG
 
They look good. Do they work good & how do you like them so far?
 
That's a very nice looking mill. Iv'e ben looking at some used bridgeports and people think they are made of gold!! I might have to look at one of these instead.
 
Back
Top