- Joined
- Feb 2, 2014
- Messages
- 1,069
I made a mower for my 1951 WD Allis Chalmers Tractor in 2006 and over the years I have made some improvements and repairs but I knew the mower was getting kind of weak in the knees. I thought I should have a closer look and thought I would just need to do some minor repairs to the frame and be ready for a few more years of use.
I wasn't ready for what I found.
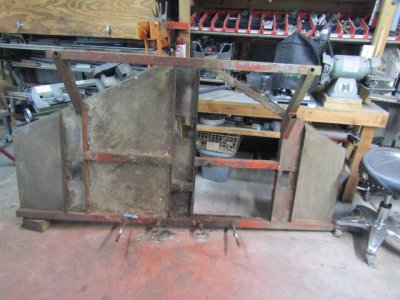
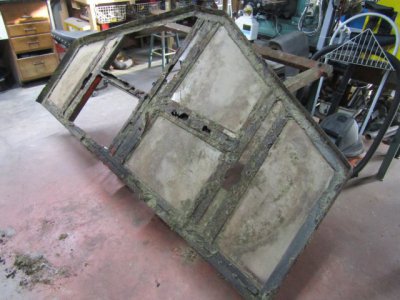
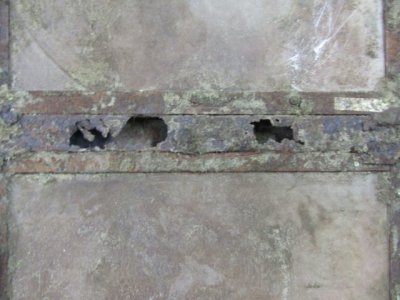
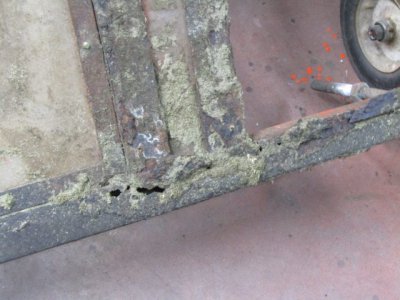
I guess I should be glad that the mower didn't fall apart completely so it is time for a new frame.
This mower is just shy of 8 feet wide and rides on two 12" wheels in the front and is attached to the tractor in the rear. I have 3 acres of lawn to mow usually once a week during most of the year but for the next few months probably only once a month.
That's 17 years of use so I think I got my moneys worth and proven the design is sound.
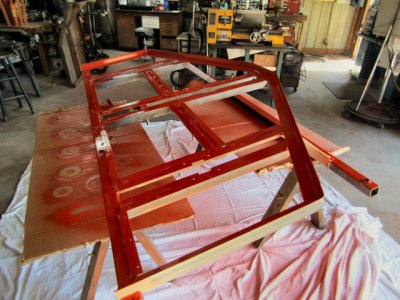
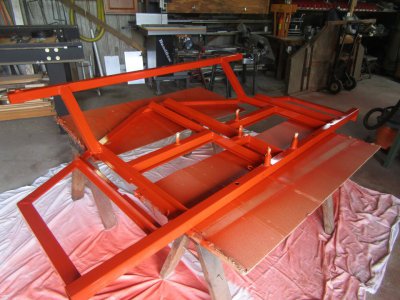
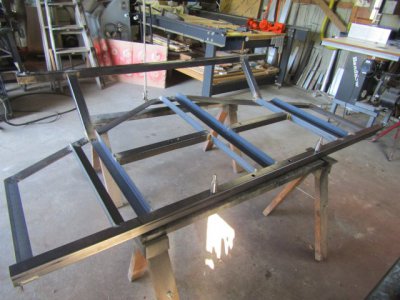
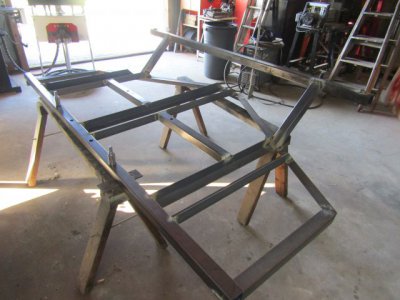
This is where I am now after hours of cutting and welding and $260 of steel.
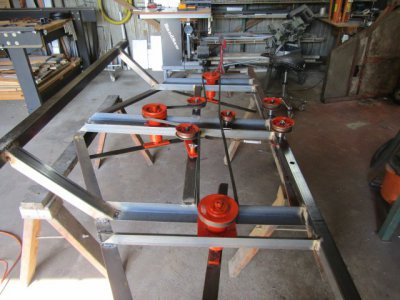
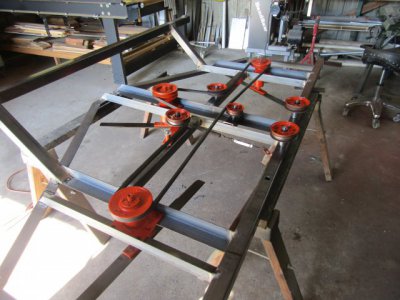
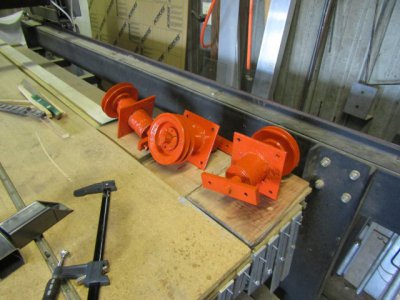
The 3 spindles all overhauled with new bearings and a paint job.
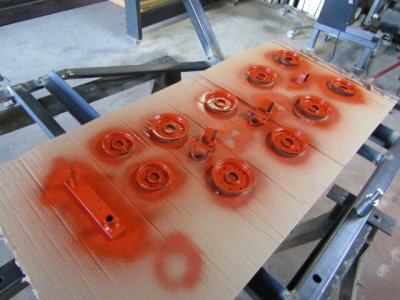
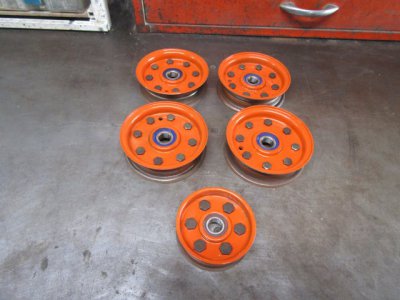
The mower has 5 idler pulleys so I cleaned them up, replaced the bearings and gave them a new paint job.
Next is cutting out for and drilling the holes for the spindles.
Thanks for looking
Ray
I wasn't ready for what I found.


I guess I should be glad that the mower didn't fall apart completely so it is time for a new frame.
This mower is just shy of 8 feet wide and rides on two 12" wheels in the front and is attached to the tractor in the rear. I have 3 acres of lawn to mow usually once a week during most of the year but for the next few months probably only once a month.
That's 17 years of use so I think I got my moneys worth and proven the design is sound.
This is where I am now after hours of cutting and welding and $260 of steel.


The 3 spindles all overhauled with new bearings and a paint job.

The mower has 5 idler pulleys so I cleaned them up, replaced the bearings and gave them a new paint job.


Next is cutting out for and drilling the holes for the spindles.
Thanks for looking
Ray


