Brass threaded inserts what temperature is needed?

WobblyHand

H-M Supporter - Diamond Member
H-M Lifetime Diamond Member
Joined
Dec 18, 2019
Messages
6,527
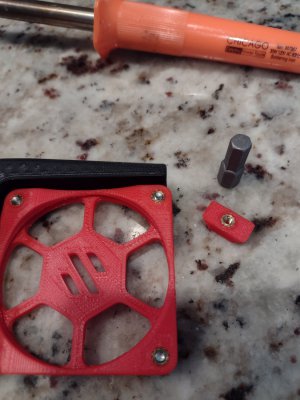
I received some brass M3 inserts for my just recently printed ELS box. Time to insert the inserts! The box is made of PLA. What temperature is "just right" for this process? I will make an insert tip for my soldering iron - gives me a break from all this fiddly electronics assembly and gets me into the shop.
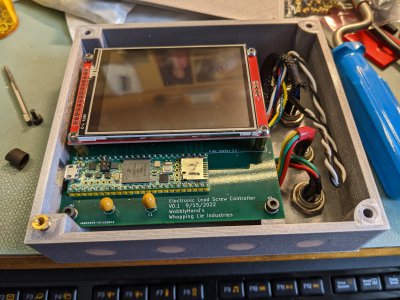
PXL_20221123_183153657.jpg
 
We do this everyday at work. We have the basic 15 watt soldering iron. Just make the tip fit your insert slip fit. Then just set the insert in the hole and place the soldering iron in position and give light pressure. Once it starts sinking in keep even pressure and make sure you are perpendicular. Then once to depth you are set. It is that simple.


Cutting oil is my blood.
 
I received some brass M3 inserts for my just recently printed ELS box. Time to insert the inserts! The box is made of PLA. What temperature is "just right" for this process? I will make an insert tip for my soldering iron - gives me a break from all this fiddly electronics assembly and gets me into the shop.

View attachment 427656

I just did lots and lots of these over the last couple days.

I have no idea what the temp was. My 20 year old radio shack soldering iron doesn't show the temp. It just let the weight of the iron push the insert in untill flush, then let it cool.
 
Apparently the temperature isn't critical. I just didn't want to burn anything or grossly over heat it. I'll go make a tip of some sort and give it a try. Have a 70W Hakko with programmable temperature. I'll try something like 215C or 420F, that's the extruder temperature for PLA and go from there.
 
Apparently the temperature isn't critical. I just didn't want to burn anything or grossly over heat it. I'll go make a tip of some sort and give it a try. Have a 70W Hakko with programmable temperature. I'll try something like 215C or 420F, that's the extruder temperature for PLA and go from there.

That should work just fine. You are only getting to the point of melting the plastic. It will take only 15 seconds or so to melt it in.


Cutting oil is my blood.
 
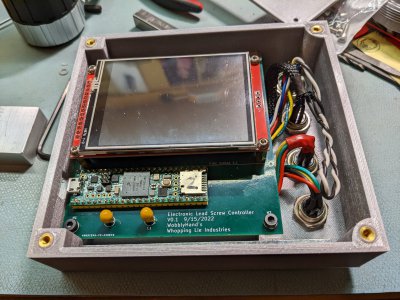
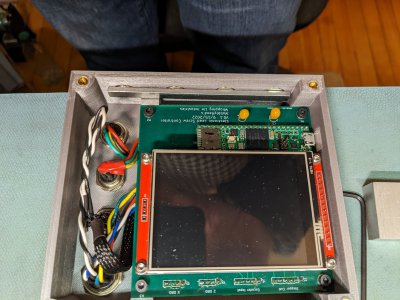
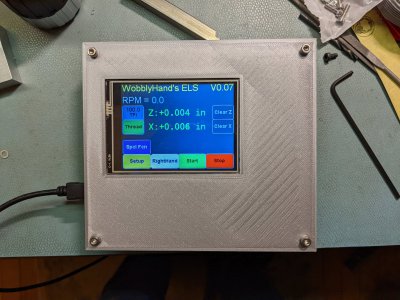
Had a little trouble with the copper soldering iron tip. I machined a tiny "burnt" tip into an insert tool. The copper bent from the cutting tool. Nonetheless finally made the insert tip and used it. Was really simple, although when the insert just went below the surface, it raise a plastic lip. I ended up filing it off. Anyways, mission accomplished. Inserts are done. Magnets pressed into their pockets. Keeper bar made and placed across magnets. Box and lid are assembled. Electronics seem to still work! Bigger test is on the lathe. Yes, I am pleased. I have spent a couple of weeks on this box.
PXL_20221123_221540799.jpgPXL_20221123_221600755.jpgPXL_20221123_222001884.jpg
 
The melted plastic has to go someplace. Some down the hole and some up over. A razor blade makes quick work of the flash. If depth is critical always check that the insert threads did not backfill a tiny bit. If they do a wick clean out with the appropriate drill and cleanup tap.


Cutting oil is my blood.
 
Back
Top