- Joined
- Feb 7, 2013
- Messages
- 2,487
When over at the new Harbor Freight in town, I saw they had some 6x48 sanding belts so bought one for a basis
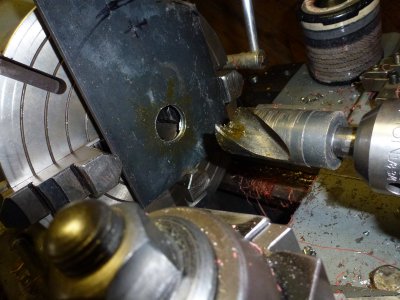
for my own version of a belt sander. There was a thick aluminum tube a little over 12 inches long that ended
up being used for the rollers. I tapered them a little to help keep the thing tracking correctly. A piece of stainless 3/4 inch
rod was used to fit up some used bearings I had laying around. That wasn't the best choice but it is what I had at hand.
It's hard to machine features and get the diameter right for the bearings but that is all done so no need to change it I guess.
There is still a lot of work and configuring to do but it looks like it will be fine in the end. It tracks nicely with the micro adjusters
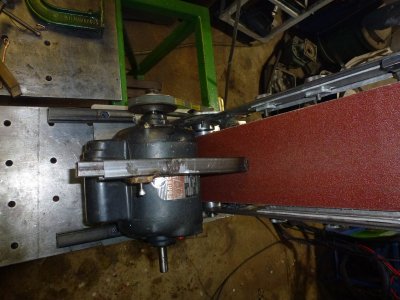
on the top of the sander so happy about that. I need to rig up the mounting plate and make a pulley with a 5/8 diameter hole in it
with a slot of a key way.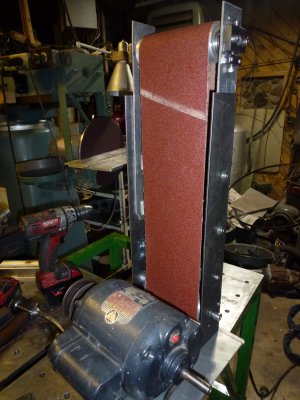
This could possibly be the idea of the setup but not sure. I will become more apparent as I work on it. I had no plans, just
started making parts.
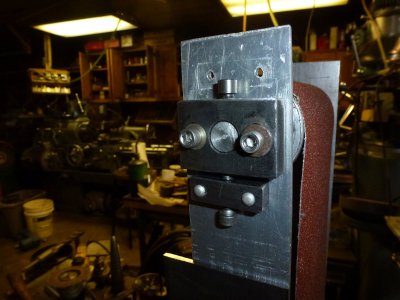
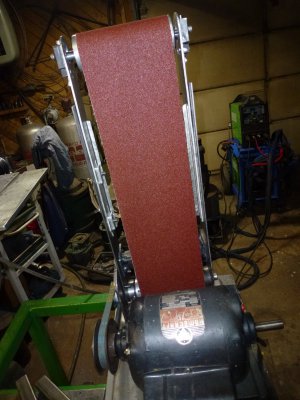
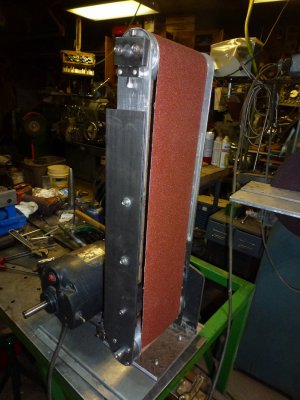
Above is one of the fine adjusters, one on each side. The top screw holds the shaft and the one on the bottom is the fine adjustment.
The two screws in the center need to be loose when making an adjustment, then tightened in place.
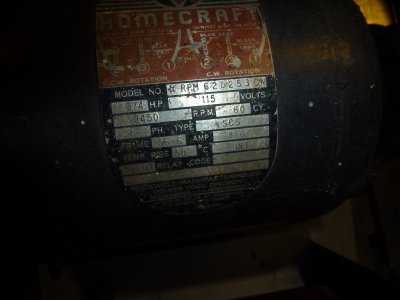
Below is the motor tag, a 3/4 horse Homecraft from an old table saw I think. It was a scrapyard find several years ago. It has adjustable
sheaves on it so will be able to change the speed.
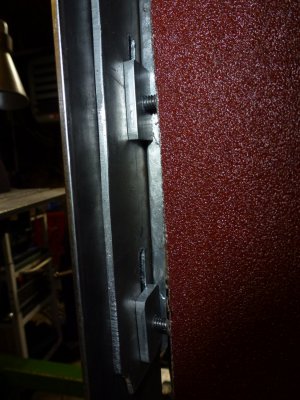
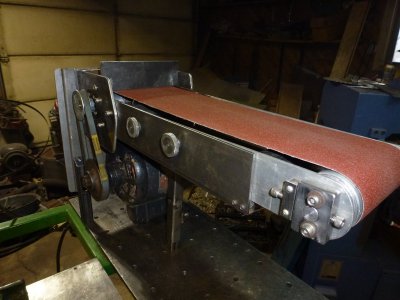
Above is the coarse adjustment that allows for changing belts when needed.
So far I have less than $25 in the project. I will need a smallish belt to drive the belt and a piece of flat stainless behind the
belt would probably be the best to use. Maybe a small rest would be in order too. So far that's all bouncing around in the gray matter
at present. So the shop is a mess with chips everywhere and tools laying about. I'm done for today so will tidy up the shop and
get ready for another session.
I will make another post when it is up and running. I don't have a surface grinder so this will be an inexpensive way to take machining
marks off parts and I'm sure lots of other things as well.
for my own version of a belt sander. There was a thick aluminum tube a little over 12 inches long that ended
up being used for the rollers. I tapered them a little to help keep the thing tracking correctly. A piece of stainless 3/4 inch
rod was used to fit up some used bearings I had laying around. That wasn't the best choice but it is what I had at hand.
It's hard to machine features and get the diameter right for the bearings but that is all done so no need to change it I guess.
There is still a lot of work and configuring to do but it looks like it will be fine in the end. It tracks nicely with the micro adjusters
on the top of the sander so happy about that. I need to rig up the mounting plate and make a pulley with a 5/8 diameter hole in it
with a slot of a key way.

This could possibly be the idea of the setup but not sure. I will become more apparent as I work on it. I had no plans, just
started making parts.

Above is one of the fine adjusters, one on each side. The top screw holds the shaft and the one on the bottom is the fine adjustment.
The two screws in the center need to be loose when making an adjustment, then tightened in place.
Below is the motor tag, a 3/4 horse Homecraft from an old table saw I think. It was a scrapyard find several years ago. It has adjustable
sheaves on it so will be able to change the speed.


Above is the coarse adjustment that allows for changing belts when needed.
So far I have less than $25 in the project. I will need a smallish belt to drive the belt and a piece of flat stainless behind the
belt would probably be the best to use. Maybe a small rest would be in order too. So far that's all bouncing around in the gray matter
at present. So the shop is a mess with chips everywhere and tools laying about. I'm done for today so will tidy up the shop and
get ready for another session.
I will make another post when it is up and running. I don't have a surface grinder so this will be an inexpensive way to take machining
marks off parts and I'm sure lots of other things as well.
Last edited:


