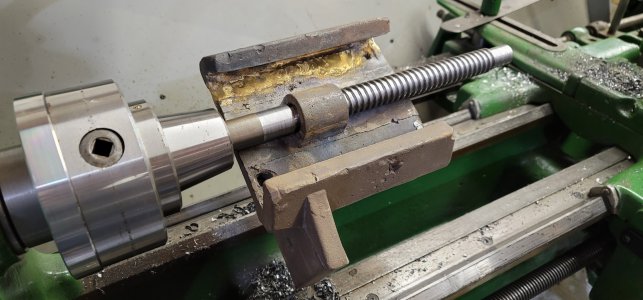
Mr. Whoopee suggested I detail my experience and first real use after building his Thread Stop System for my SB 13. A few months ago I contacted him about purchasing one of his Retractors and after several back and forths I purchased the retractor and started fabrication of the stop system. As a preface, I'm a complete novice when it comes to machining. I'm having fun learning but at times its been a real challenge!
Prior to fabricating and installing the stop system I had never attempted threading on a lathe in my life. My driving goal was to be able to turn a 4 TPI ACME on a shaft for my 32" Crescent band saw. After much reviewing of Mr. Whoopee's photos and various discussions with him I finally got the system completed just recently.
My first attempt at threading was more about creating a 1/2"-13 thread just to ensure the system with retractor actually worked than creating a working thread. The thread itself was pretty much a disaster because of the large stick-out from the lathe chuck and no lubricant and not setting things up properly with the retractor retracted instead of extended. The 1/2" bar had a lot of flex and I didn't use a live center. The second attempt went better and even though the nut actually threaded onto the shaft, the threads themselves were very ugly.
Here's a video of the first threading attempt that created a crappy thread.
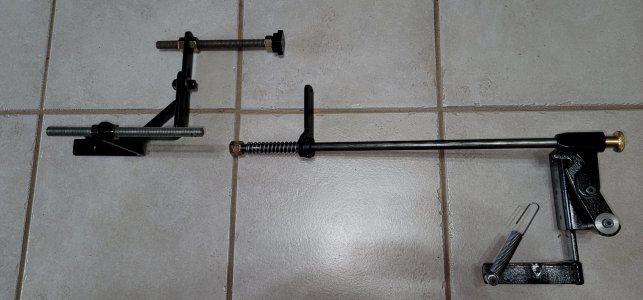
The various bits and pieces that make up the disconnect system.
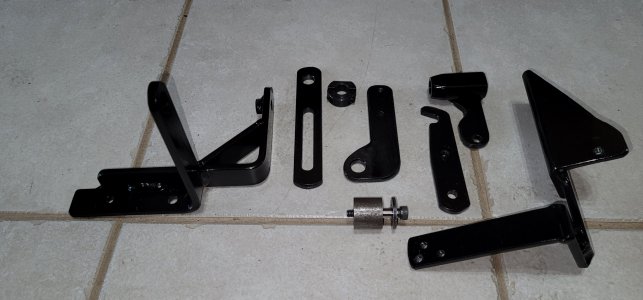
The sub assemblies.
Ok, I'm now ready to try cutting the ACME thread

I couldn't use the retractor mechanism for cutting the ACME thread because the 4 ACME insert is 22ER and the retractor uses 16ER. However, the stopping mechanism was worth it's weight in gold and it performed flawlessly. The overall length of the ACME thread is 9". Due to the speed (lathe running in back gear on 2nd slowest speed) the threading dial turns for a 4 TPI thread I was pretty sure I would have problems getting the threading dial engaged correctly. I should mention, the thread is actually a 4 TPI Stub ACME thread so at the suggestion of Mr. Whoopee I ground the carbide insert to match the original shaft.
After more discussions with Mr. Whoopee we came up with the following steps:
1: Turn a lead-in to the thread about 1" long that was the same as the minor diameter of the thread. This would tell me when I had reached full depth of the thread.
2: Turn a relief at the end of the thread for the cutter to stop in (without a retractor this was a must).
3: Move the carriage to the start of the lead-in.
4: Turn the lathe off and then engage the half nuts.
5: Set the thread depth for the cut.
6: Turn the lathe on, at which point it makes a threading pass and the half nuts disconnect in the relief cut (automatically

)
7: Retract the crossfeed and move the carriage back to the start of the lead-in.
8: Turn the lathe off.
9: Reset the cross feed to zero.
10: Adjust the compound.
11: Turn the lathe on.
12: Repeat steps 3 thru 11 until the lead-in is contacted.
This process worked flawlessly.
Here's the final result.
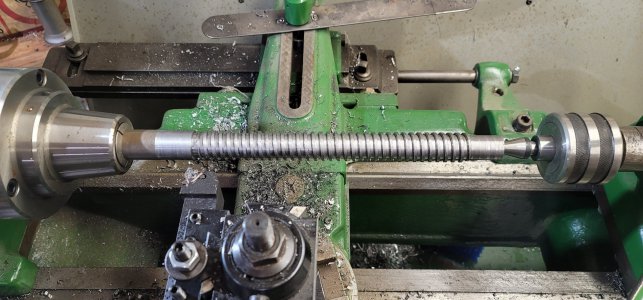
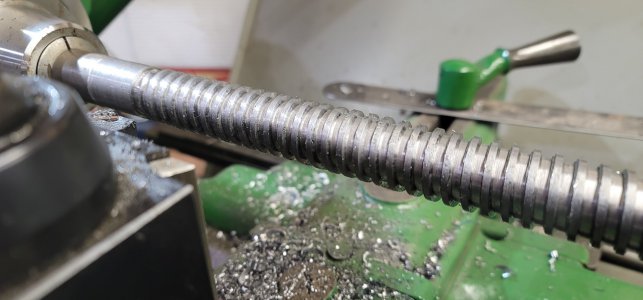
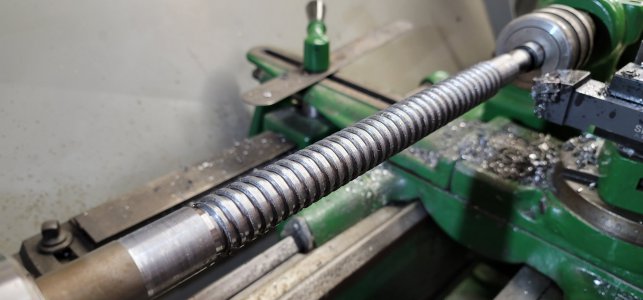
The carriage for the band saw threaded onto the shaft nicely.
