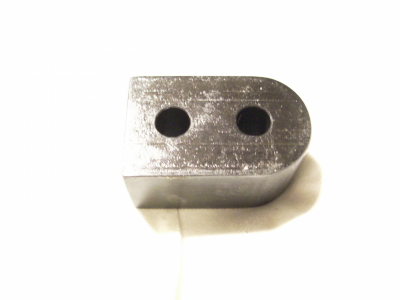
Advice on making rounded end on a flat bar

While we are on this subject, there's a method of cutting a radius on a rectangle stock . but if we are talking about flat bars, I would go straight to my belt sander if the radius (as others have already suggested) is not critical.
 
The rotary table is the hard way.

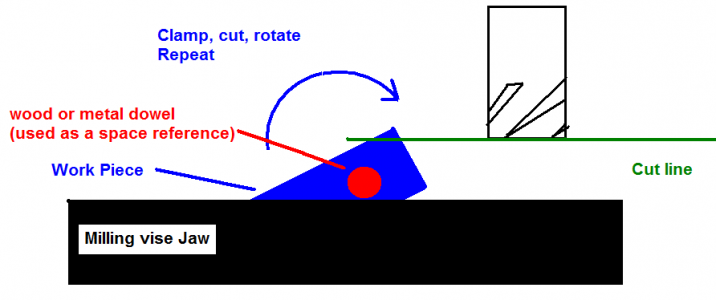
the way I do it creates a very accurate curve, even if it isn't needed. This may be what @Winegrower is saying, but I thought I'd add a diagram in case our approaches differ, and to make my suggestion clear:


CuttingRadius.PNG

This is surprisingly fast and accurate - with about 10 cuts file cleanup is minimal.

[edit] I hit send as Ken was updating!

Second update: cutting from the top is stronger and saves your flutes. I have 40 year old endmills that still have the same diameter, but have been resharpened 10 or more times...
 
Stupotty has the answer I would propose if you don't have a rotary table. You put a pin in and turn around it. I would add a longer handle to control the piece being cut. It works well.
 
belt sander
No mill in my shop (yet), so count me in for abrasives too. I use a 12" disc for roughing and a 1x42 belt for finishing. A variety of knife sharpening grits will get it down to a fine polish in less than the setup time on the mill.

That said – this sort of non-critical learning exercise is exactly what I'll use a mill for when I get one. 8^)

[Her] Don't you already have a tool for that?
[Me with bewildered look and mouth agape] ...You look really nice today.
 
the way I do it creates a very accurate curve, even if it isn't needed. This may be what @Winegrower is saying, but I thought I'd add a diagram in case our approaches differ, and to make my suggestion clear:


View attachment 447954

This is surprisingly fast and accurate - with about 10 cuts file cleanup is minimal.

[edit] I hit send as Ken was updating!

Second update: cutting from the top is stronger and saves your flutes. I have 40 year old endmills that still have the same diameter, but have been resharpened 10 or more times...
 
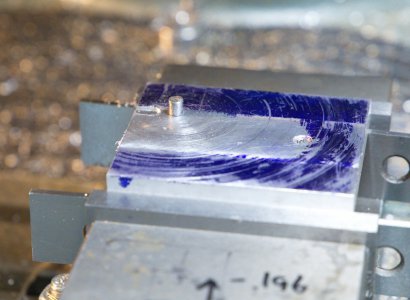
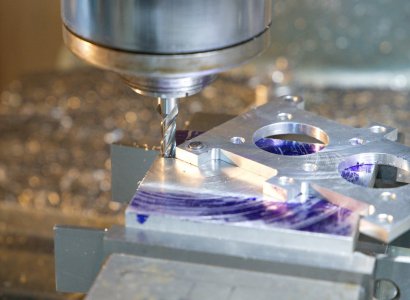
For the rotary table, just stick a pin in the center the size of the hole in your part, indicate it to the center of your spindle, then rotate at the correct diameter. Of course you will need a sacrificial piece under it so that you do not cut into your RT.

I do it Stu’s way. If the part is long enough, I just hold the part and take light cuts, otherwise I use a clamp to hold on to the part or make a carrier plate that acts as a turning handle and just nibble away by rotating it until you are at the desired diameter.


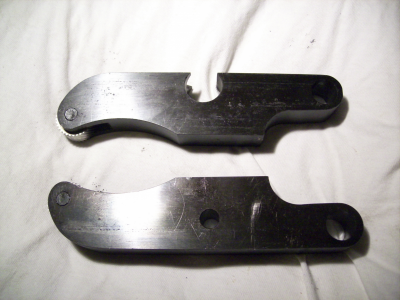
IMG_1091_FB.jpgIMG_1092_FB.jpg
 
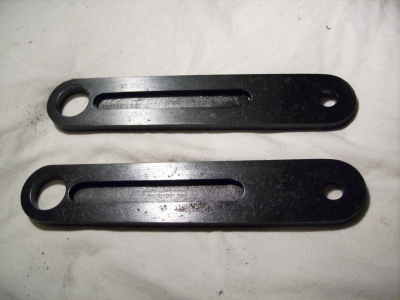
Well, as it turns out, there’s not enough clearance under the stylus for the assembly. So no need to round the end of a piece of flat.

I’ll still make a holder, but it will just be a simple turning to hold a piece of Magic Eraser. Will make a second one to hold sone watchmakers putty as well.

But this has been a good learning experience for me for a couple techniques all the same!

Thanks to all that offered a solution.
 
+1 on a belt sander. I don't have a mill, so I did these with a belt sander. I build plywood bases, then inserted a wooden dowel the same size as the hole on the radius, then clamped the base to my belt sander table. I would sand off, move base closer to belt, sand off, move base closer to belt - repeat as needed until I achieved the finished radius. On some of the heavy pieces, heat would force me to wait until it cooled down, but the end results were excellent. The thicknesses from top to bottom are 1/4", 3/4" and 3/4". Material: low carbon steel.

1684263664449.png

1684263701756.png

1684263736755.png
 
Easy.

Put a bolt in the center of rotary table.

Place part on bolt, the bolt being the center of the arc of the curve.

Place the rotary table below spindle such that an end mill just touches the flat on the end, at the center of the face.

Rotate table both ways to remove material, you may need to move it away from the spindle a bit.

Sent from my SM-G781V using Tapatalk
 
Back
Top