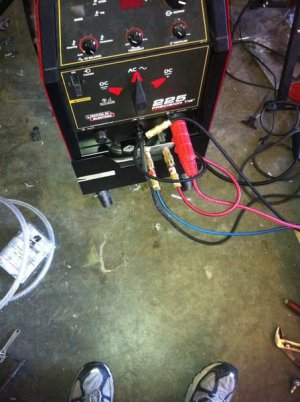
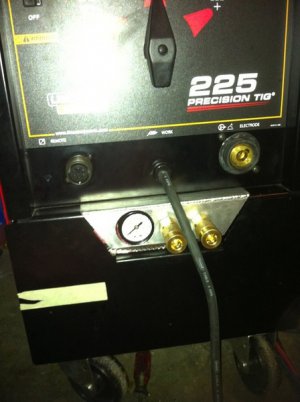
Work on welder

churchjw

Active User
Registered
Joined
Oct 4, 2011
Messages
727
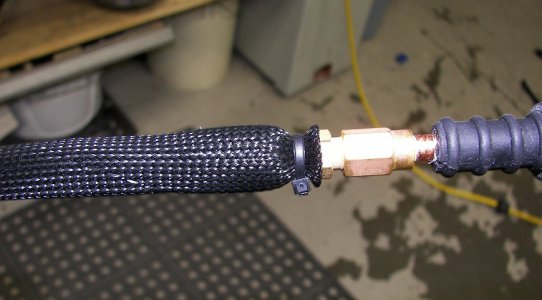
Got some time in the shop today. The first thing was to repair the cable shield on my Lincon 225 TIG. I was disappointed that the cloth cover only lasted two years. I only do bench welding so its not like it is dragged to job sites. I covered it with expandable braided sleeve. It is very abrasive cut and resistant but I am watching it to see how it does around the heat.
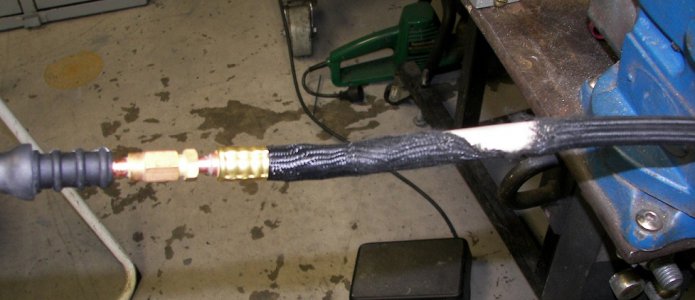
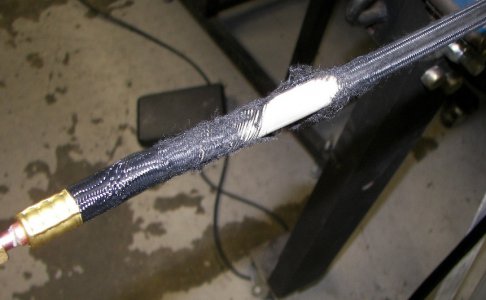
100_9684.JPG100_9685.JPG100_9686.JPG

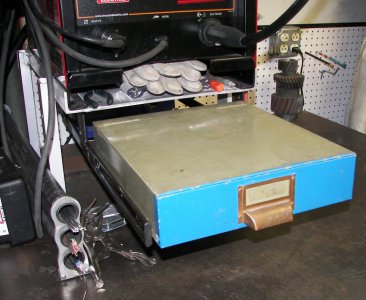
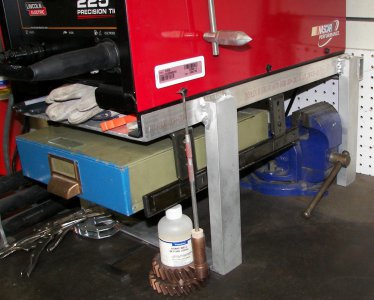
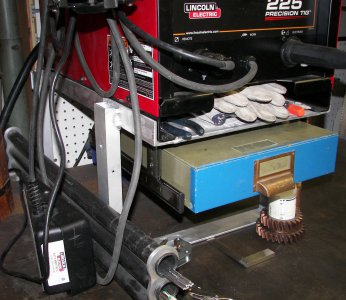
Next I built a short stand to get the welder up off the bench and to add a drawer to hold supplies.
100_9689.JPG100_9690.JPG100_9691.JPG

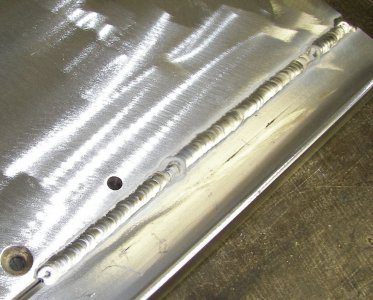
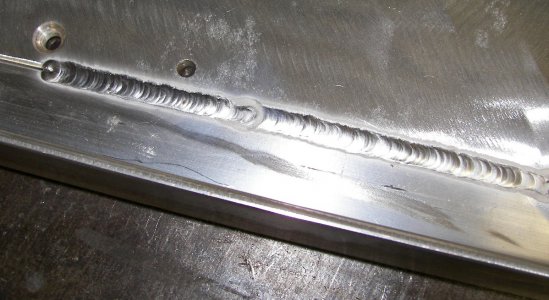
I wish every weld I did looked like this.
100_9687.JPG100_9688.JPG

Sometimes my welds look like crap but sometimes it actually works.

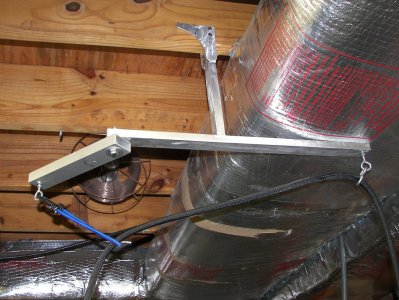
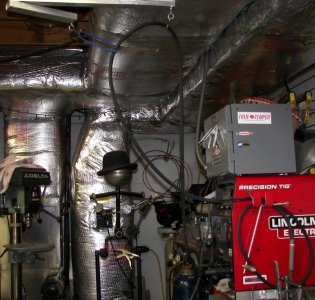
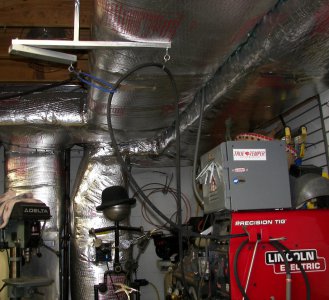
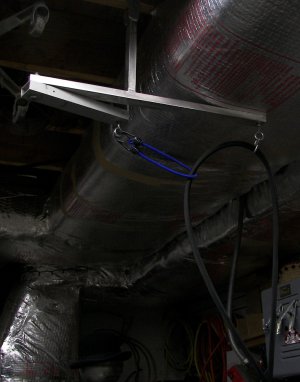
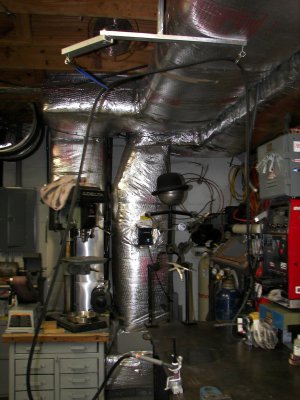
Finally I made an overhead arm to hold my torch lead up off the floor and out of my way. It swings at the end so I can put it where I need it. The blue bungee cord lets it flex and can be let out to give me more lead. It also swings in for storage.
100_9692.JPG100_9693.JPG100_9694.JPG100_9695.JPG100_9696.JPG

Jeff

100_9684.JPG 100_9685.JPG 100_9686.JPG 100_9689.JPG 100_9690.JPG 100_9691.JPG 100_9687.JPG 100_9688.JPG 100_9692.JPG 100_9693.JPG 100_9694.JPG 100_9695.JPG 100_9696.JPG
 
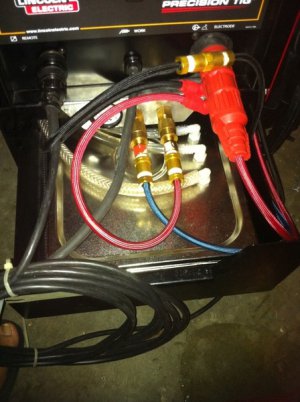
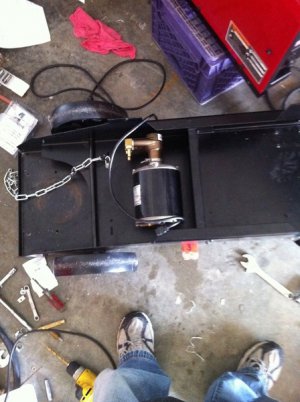
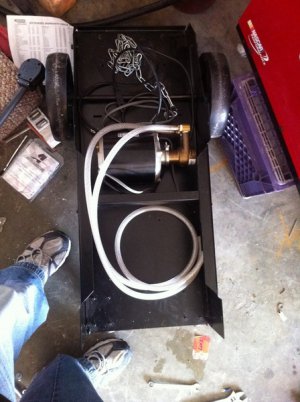
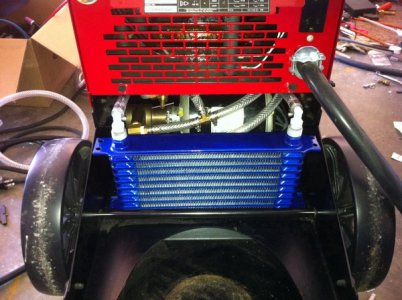
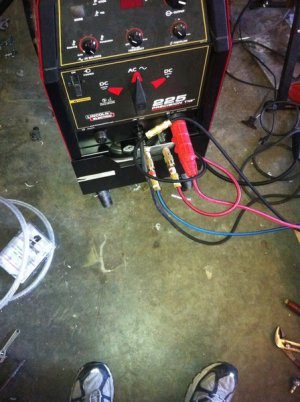
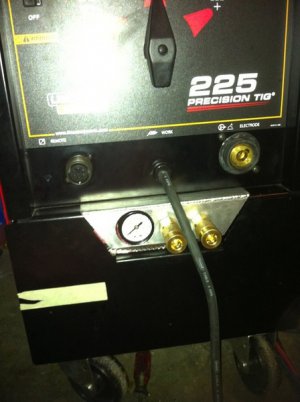
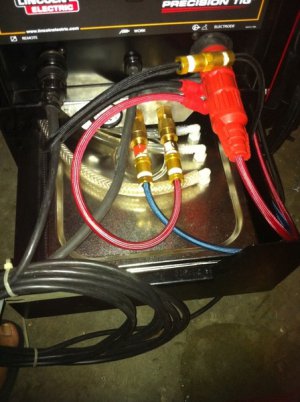
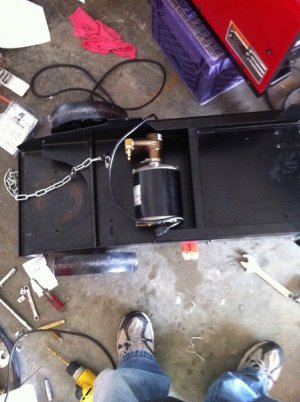
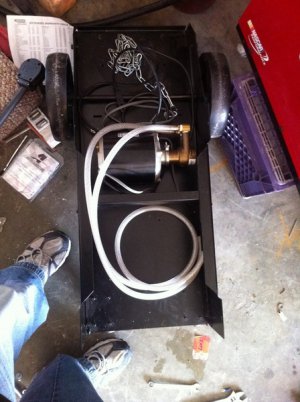
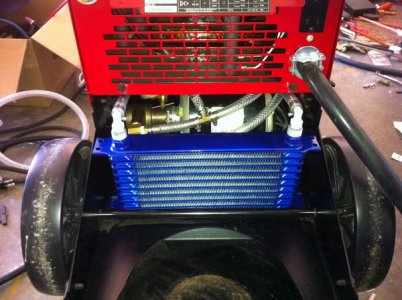
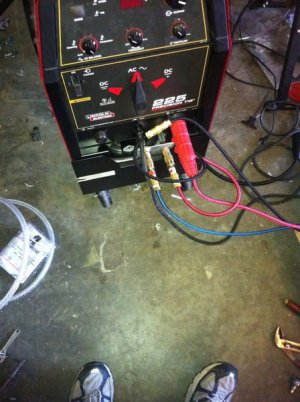
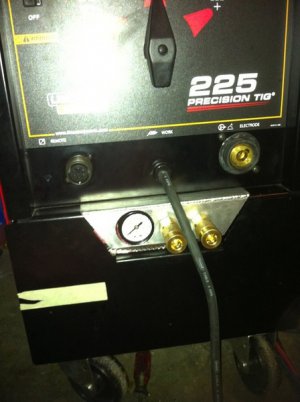
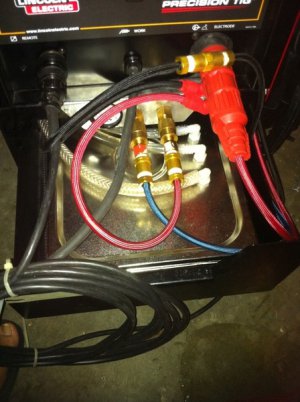
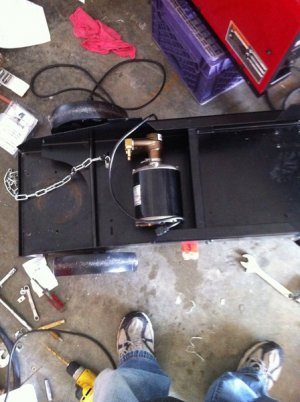
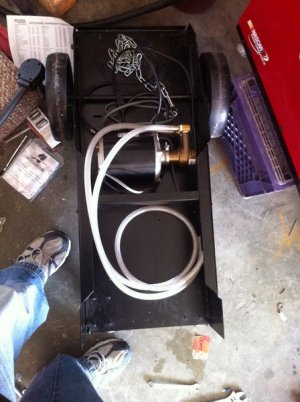
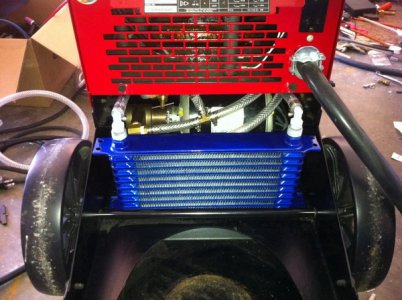
I have one of those welders. Best thing i done to it is going with a water cooled torch. I went with a ck. I got my welder with the ready cart, so i used the drawer space to add the water cooler. Total i have like 100$ into the cooler. Heres some pics of the build. I also added some fans to the radiator
b1ce870ec48d42b5100ad9efb6b75a29.jpg82d2a4d0248d959296f8036e6f5b01c3.jpgc349fae0af08b59c206c32f69453fc81.jpgf0360709e57686212327842817a41a73.jpgd64f1b112b3279fdf6258abe064dfa4c.jpg9e43c0605085a2409a866f320301db28.jpg

b1ce870ec48d42b5100ad9efb6b75a29.jpg

82d2a4d0248d959296f8036e6f5b01c3.jpg

c349fae0af08b59c206c32f69453fc81.jpg

f0360709e57686212327842817a41a73.jpg

d64f1b112b3279fdf6258abe064dfa4c.jpg

9e43c0605085a2409a866f320301db28.jpg

b1ce870ec48d42b5100ad9efb6b75a29.jpg

82d2a4d0248d959296f8036e6f5b01c3.jpg

c349fae0af08b59c206c32f69453fc81.jpg

f0360709e57686212327842817a41a73.jpg

d64f1b112b3279fdf6258abe064dfa4c.jpg

9e43c0605085a2409a866f320301db28.jpg
 
Thanks for the post I never though of building a cooler myself but this looks doable. When I upgrade torches I might do this.

Jeff
 
Great job! Stand looks nice and looks very effective! Super sweet! If I may give a bit of advice with aluminum welding... that crater at the end of you weld will end up stress cracking. When you come to the end of the weld, drop the amperage slowly as the puddle cools if you have a foot pedal while feeding just a bit of filler rod. If you don't have a foot pedal back over the weld just a bit and run the arc back over the weld for a quick second so the puddle cools. Again your stand looks great!
 
I am working on my endings. The 2 pics with the large craters are in the middle of the welds. I keep going till the end of the plate. Will it cause the cranking if I continue the weld filling the crater in? I still have problems getting the puddle started and spanning the parts, constant rod dipping, and the ending, but I am getting better.

Thanks,
Jeff
 
Back
Top