- Joined
- Feb 2, 2013
- Messages
- 3,916
I'm a novice woodworker at best.
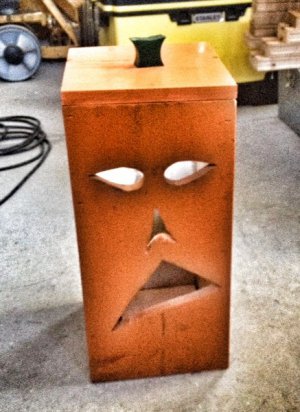
I made a wooden, scary faced, pumpkin for a Halloween decoration that can be used for many years to come.
The pumpkin is constructed from reclaimed lumber and scrap lumber mostly construction fir and pine.
The stalk was rendered from a beautiful piece of maple from an 60's vintage dining room table that i just couldn't throw away.
i'll repurpose the old tables components into other useful items .
The dimensions on this pumpkin are 20" to the top of the stalk 10" wide per side.
The bottom is inset into the box, the top is removeable to insert a cheap LED lamp.
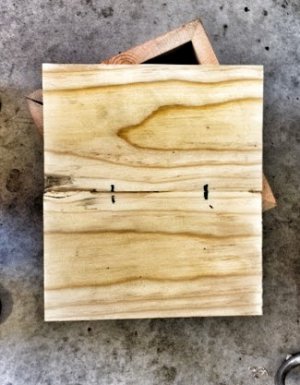
The first picture is of my first successful use of a plate joiner (biscuit joiner)


I got the plate joiner at the fleamarket 2 weeks ago and put it to actual work!!!
I used the shopsmith, a jigsaw, a biscuit joiner, chopsaw, jointer, and 18ga stapler to make the cuts, miters, and assemble the beast.
Here's the picture of my first successful biscuit joint using #20 biscuits and yellow wood glue.
i clamped the assembly overnight before further processing.
I did the same thing for the top and bottom, joinin' 2 narrow pieces together then make the other part
and the finished product, less theatrical additions that i'll add later on to the thread.
For photogenic purposes i installed a led flashlight for effect.
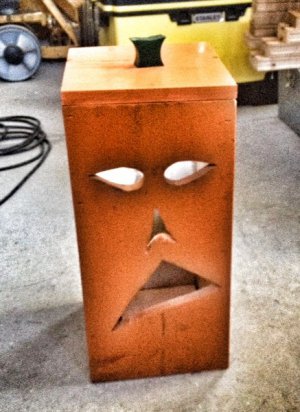
It weighs in at 25 lbs or so i'd have to guess , it's solid for sure.
thanks for reading, it was a lot of fun to build!
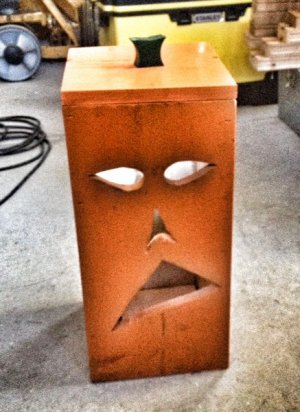
I made a wooden, scary faced, pumpkin for a Halloween decoration that can be used for many years to come.
The pumpkin is constructed from reclaimed lumber and scrap lumber mostly construction fir and pine.
The stalk was rendered from a beautiful piece of maple from an 60's vintage dining room table that i just couldn't throw away.
i'll repurpose the old tables components into other useful items .
The dimensions on this pumpkin are 20" to the top of the stalk 10" wide per side.
The bottom is inset into the box, the top is removeable to insert a cheap LED lamp.
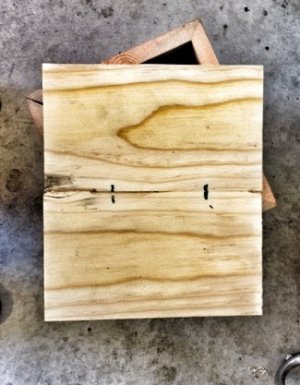
The first picture is of my first successful use of a plate joiner (biscuit joiner)


I got the plate joiner at the fleamarket 2 weeks ago and put it to actual work!!!
I used the shopsmith, a jigsaw, a biscuit joiner, chopsaw, jointer, and 18ga stapler to make the cuts, miters, and assemble the beast.
Here's the picture of my first successful biscuit joint using #20 biscuits and yellow wood glue.
i clamped the assembly overnight before further processing.
I did the same thing for the top and bottom, joinin' 2 narrow pieces together then make the other part


and the finished product, less theatrical additions that i'll add later on to the thread.
For photogenic purposes i installed a led flashlight for effect.

It weighs in at 25 lbs or so i'd have to guess , it's solid for sure.
thanks for reading, it was a lot of fun to build!


Last edited:

 .
.