- Joined
- May 7, 2014
- Messages
- 776
Hi CNC group. My son and have our first real project where we make something usefull for the Plasma table from aluminum stock. A few quick Q's and feel free to just point me w/ the right terminology and I'll google away also.
1) For the holes- .25 think aluminum. Do I peck drill routine these? or just drill it as it's aluminum? what's your process w/ good results.
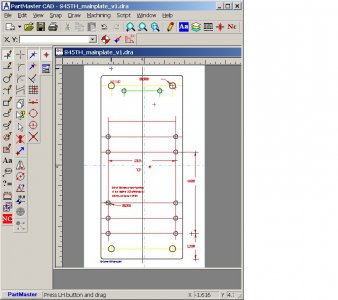
2) the 4" x 9" plate in image 1 is what I want to end up. How would you cut out from a larger 6061 aluminum .25 think stock?
my thoughts: I will place over wood. mount all down well, set the cutter to say .2 below the bottom. run it in say a pair 3/16 passes?
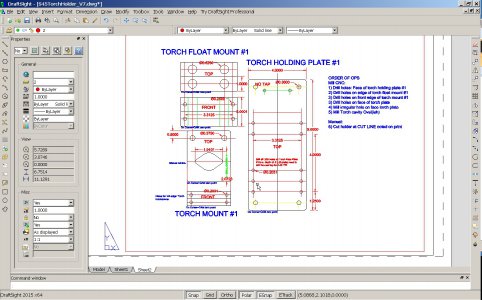
3) In image 2 I have some .625 OD brass bushings to insert into the Float mount. I'll need to undersize them by a few thou? (.003 in some threads I've seen??) and press fit them. Would you mill these or how do I go about getting an undersized 5/8 hole? It's not critical stuff here so I think just milling would be ok? Is that common or a real oh-no newbie move?
Enjoy the summer all!
CG jeff & mitch.


 At 0.25 it's a bit of a wobbler, I might use 1 or 2 pecks just because I don't like long stringy chips.