I'm hesitant to post this issue as I'm sure I'll get insulting and stupid answers from people who won't bother reading my post but here goes.
I can't get the mill to tram correctly and stay in tram. I've been working on this issue for days.
Today I trammed the spindle to the table within 0.0002" in a 4" circle with my Starrett back plunger indicator. I was very careful to have the x, y, and z locked while I did it. I checked the tram again in 4 locations on the table. In one location it was 0.001" off on the Y plane. The other 3 within 0.0002"
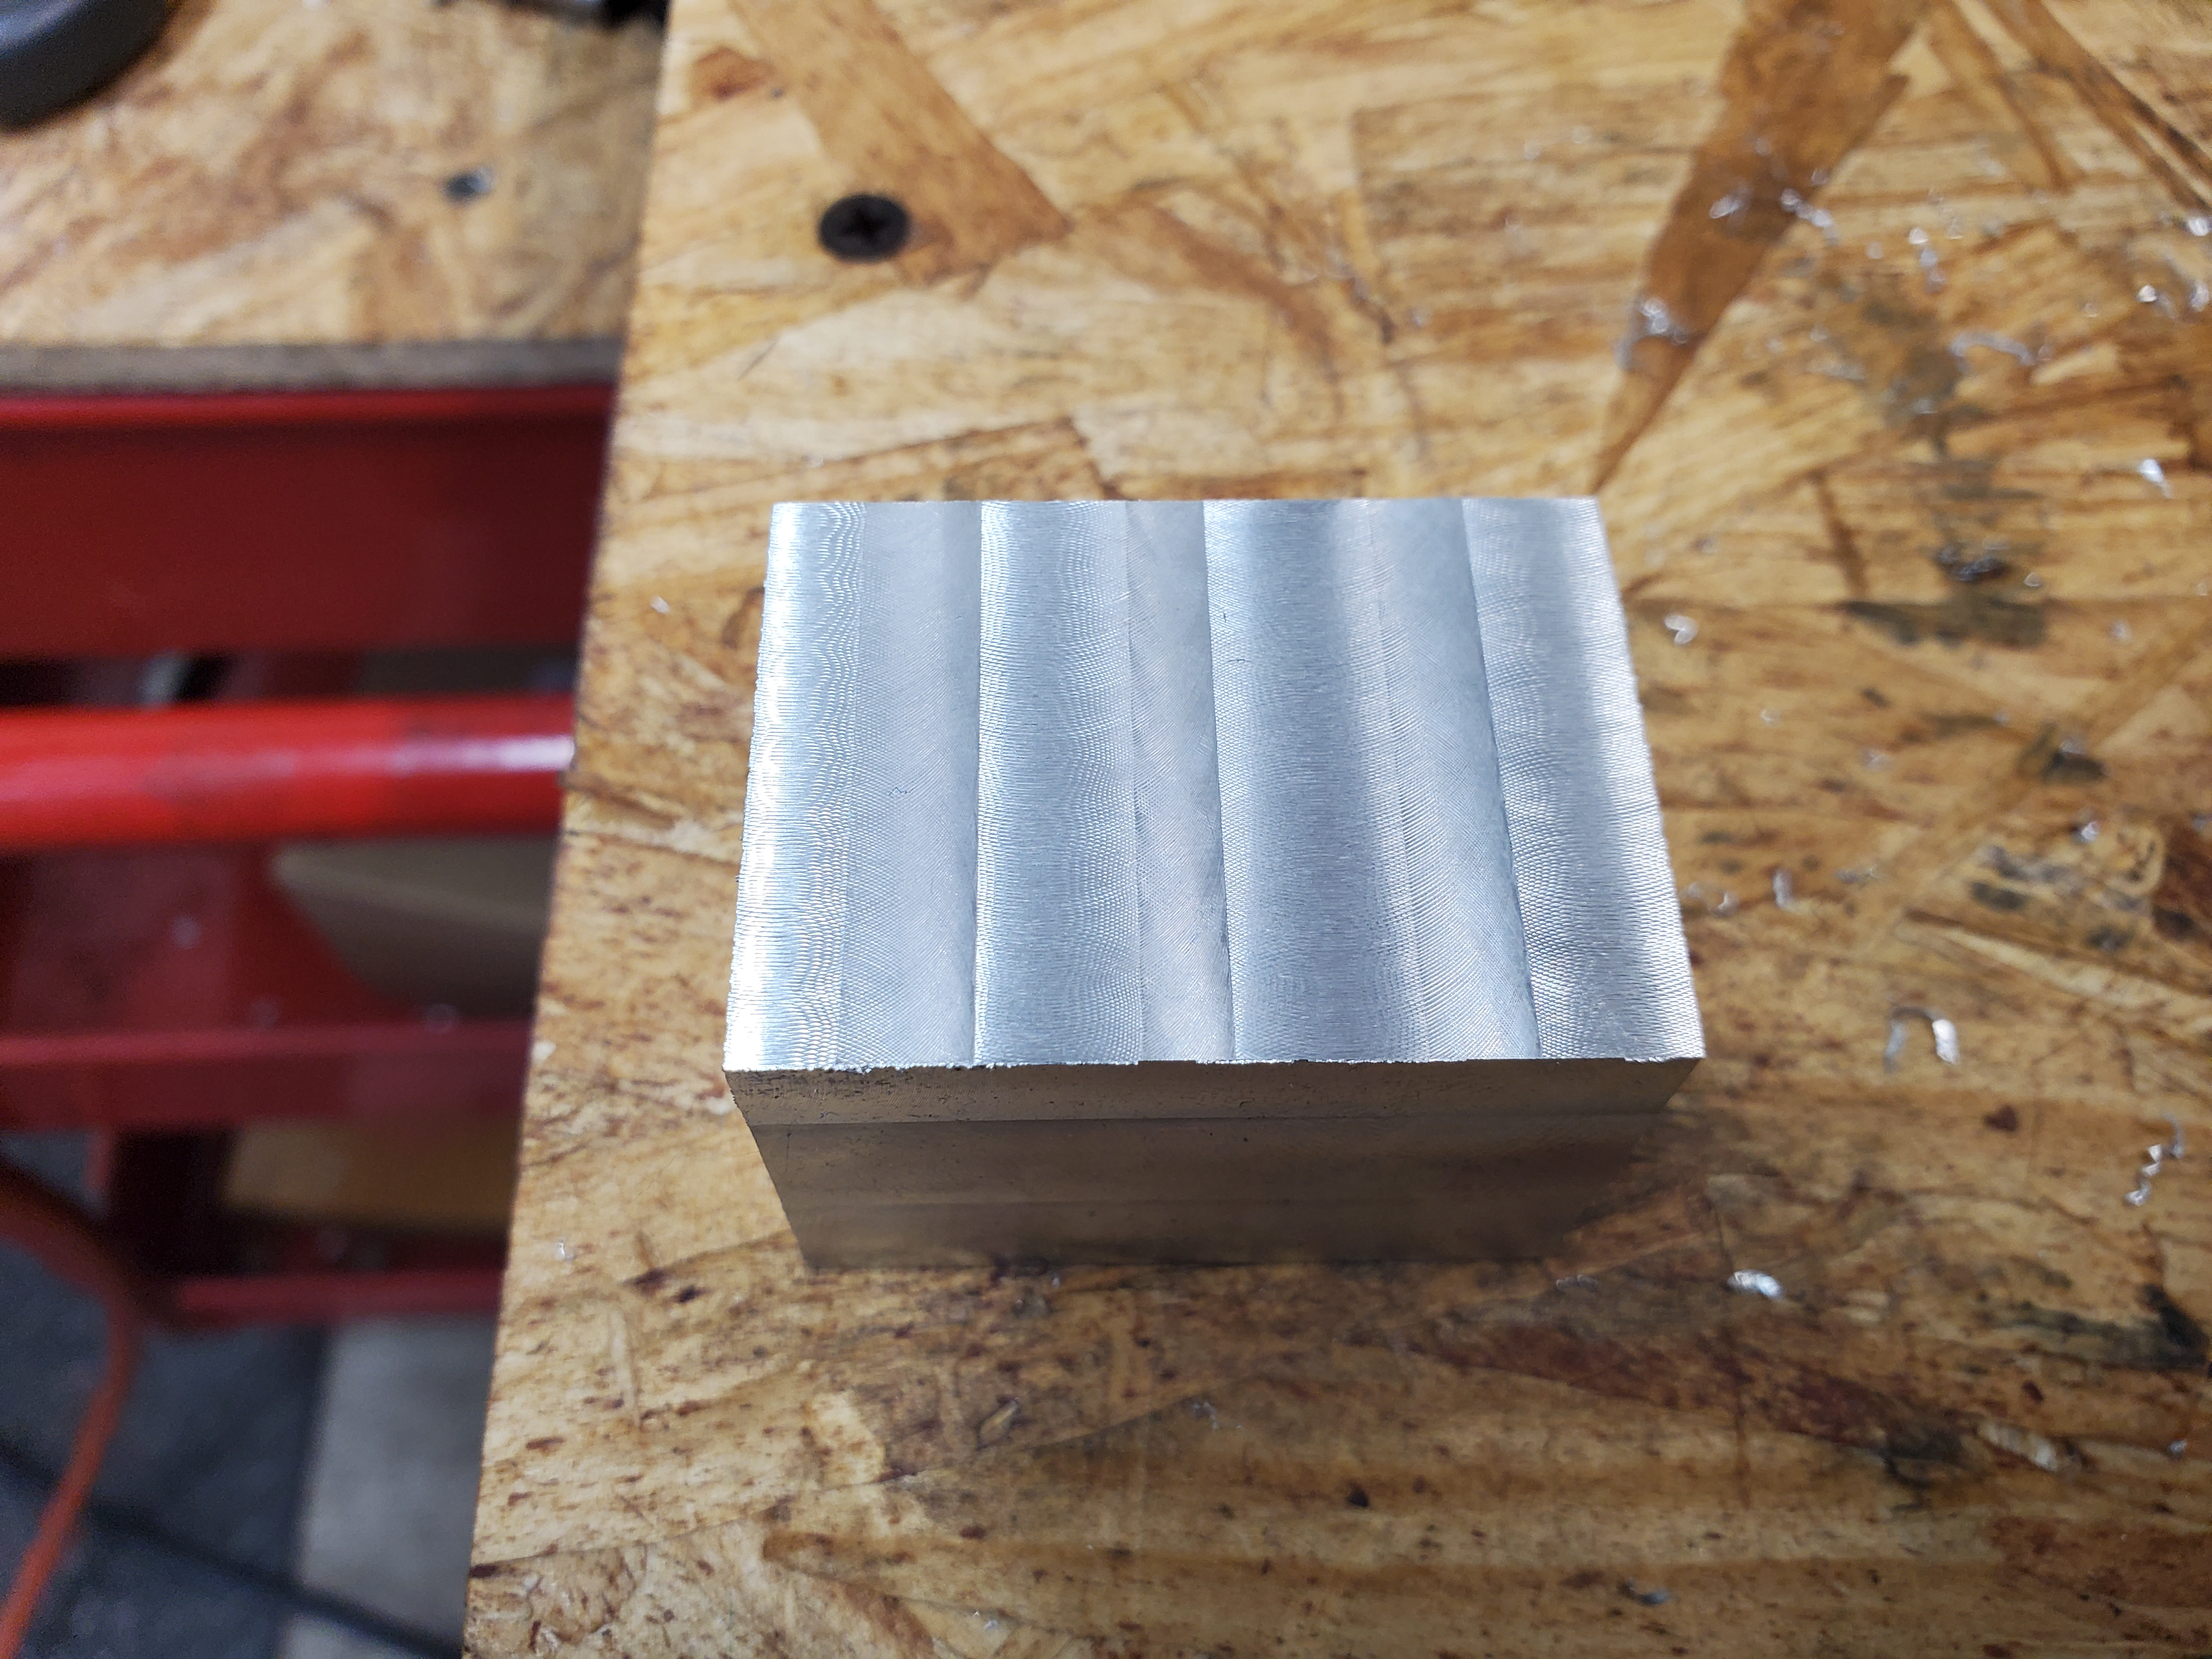
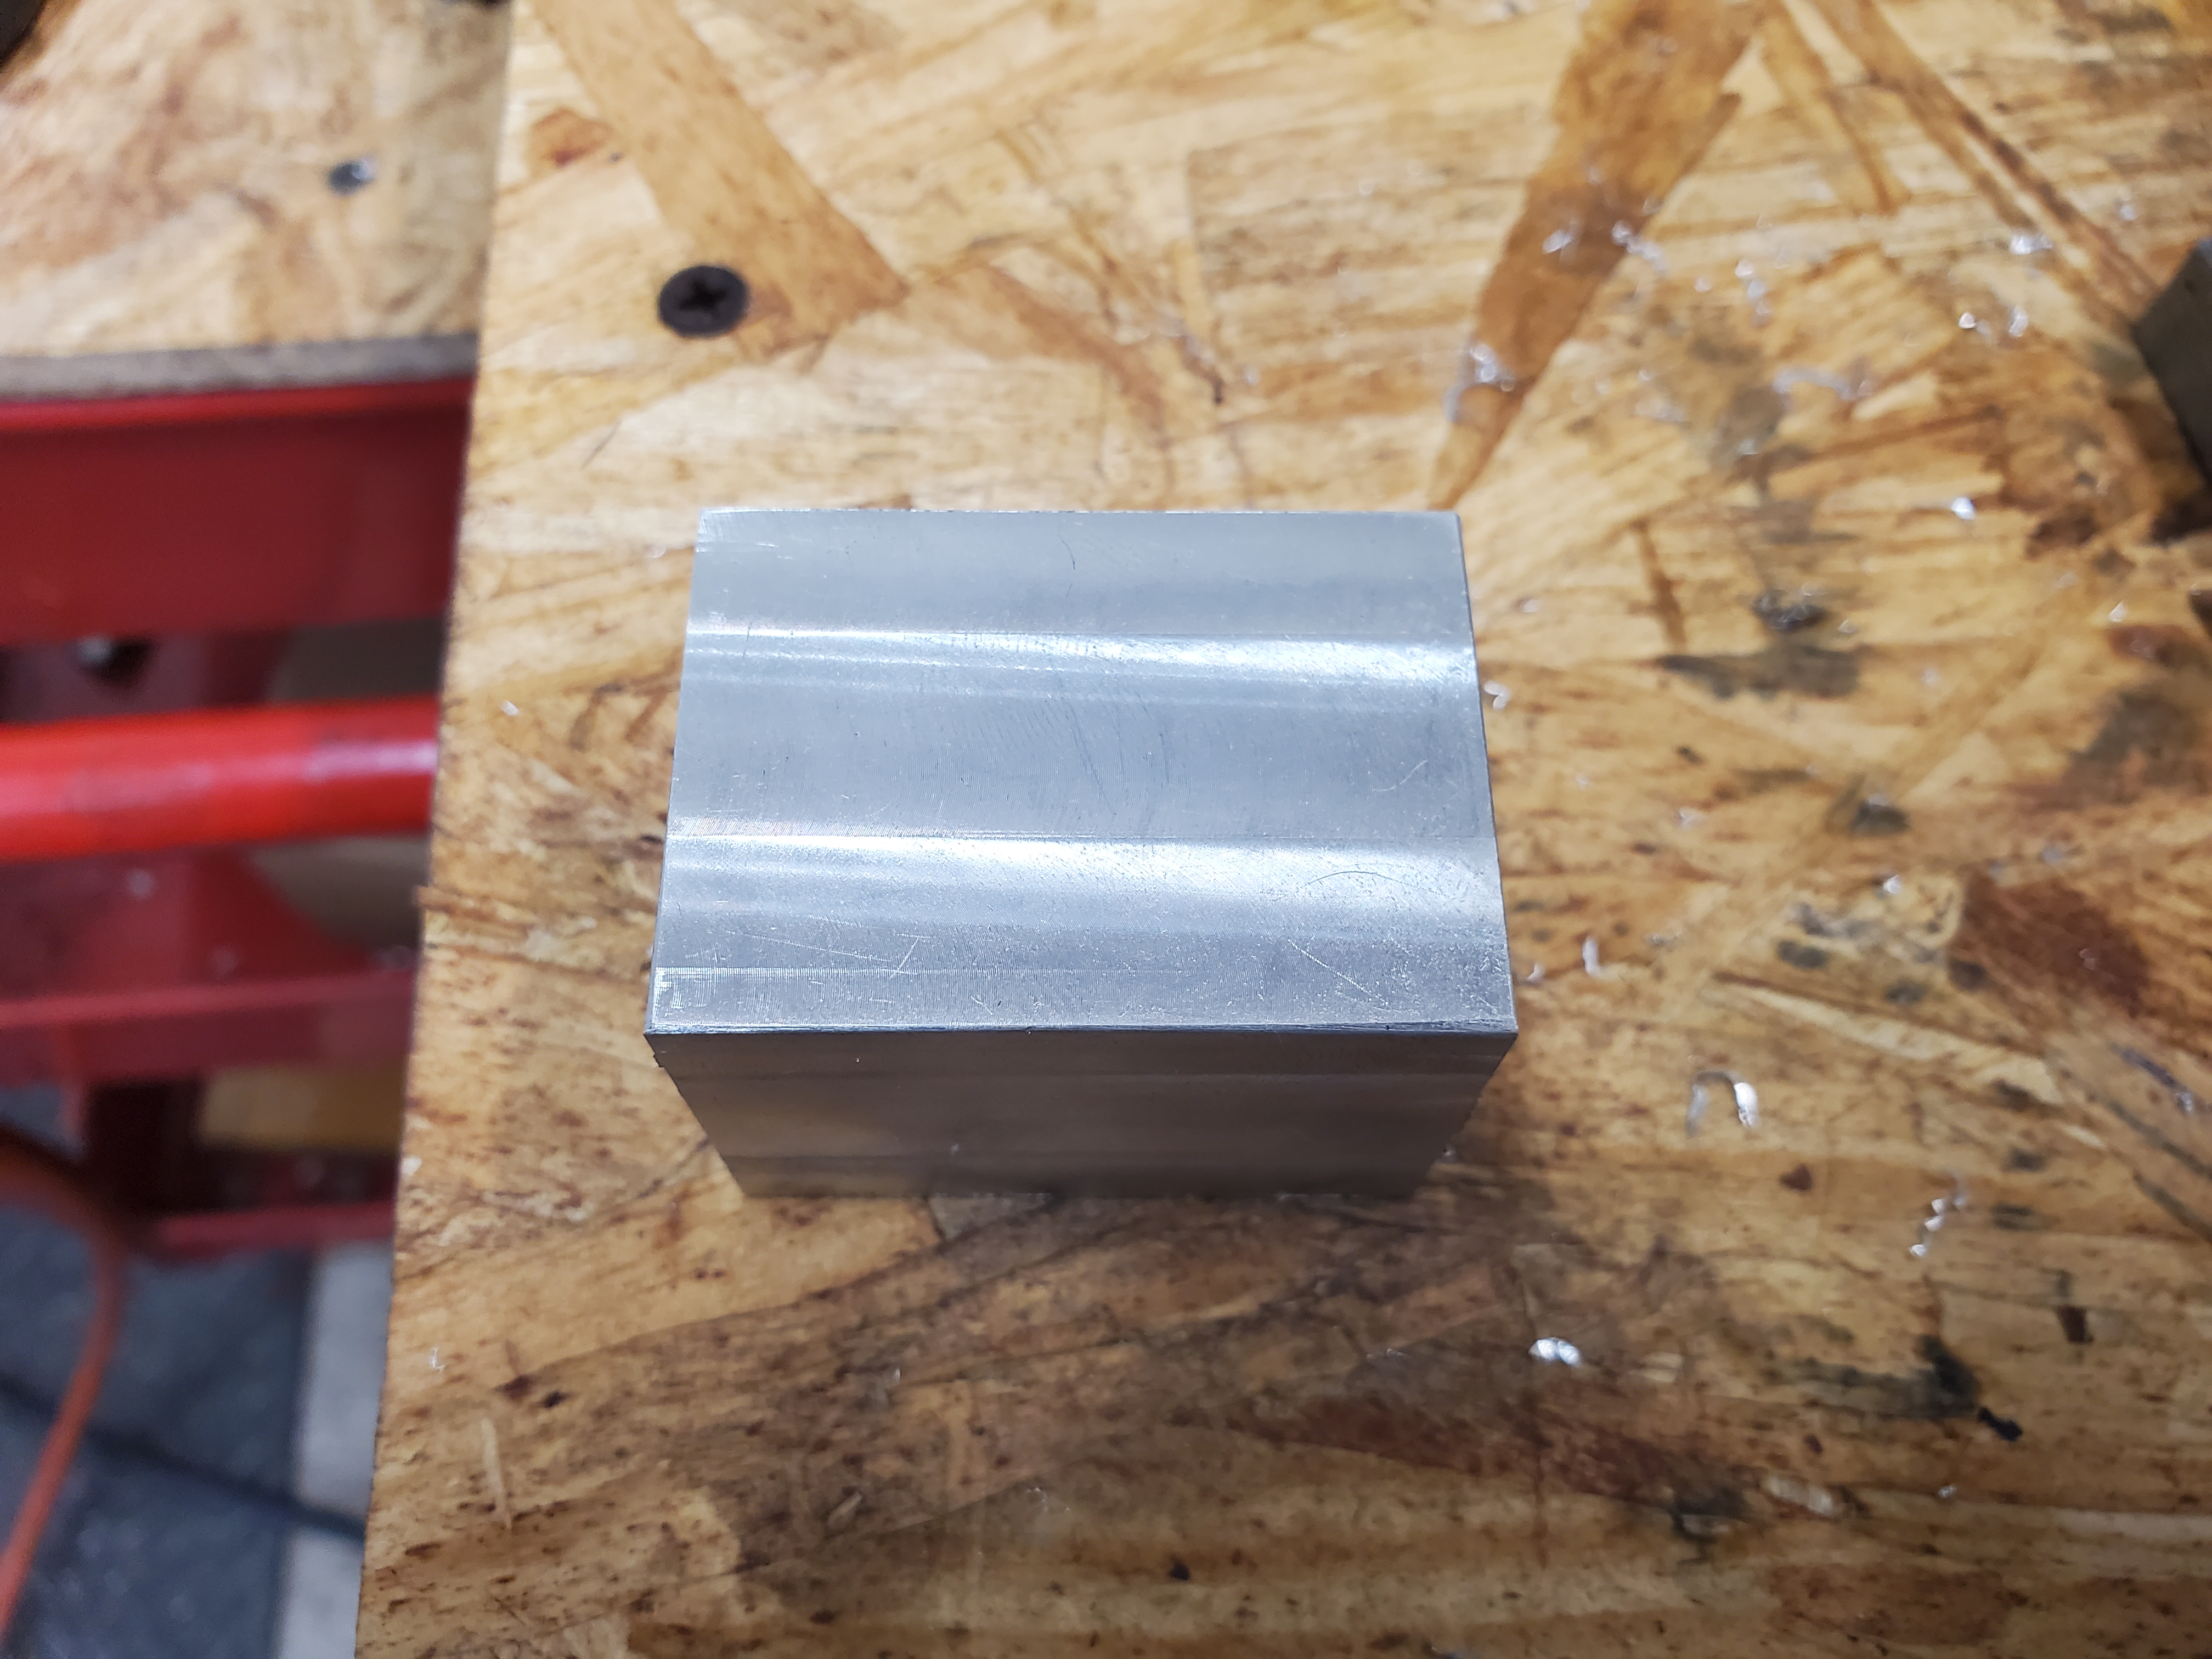
Cutting with any type of cutter I get the back end of the cutter dragging in only one direction. Left to right. I cannot get cross hatching on the X plane at all. It doesn't matter the diameter of the circle I tram or the type of indicator used or how the indicator is attached to the spindle.
With a 3/4" endmill in aluminum I get a couple tenths difference between the right and left side of the cut along the X axis travel along with all the tool marks showing the same radial direction no matter which direction I feed.
I get cross hatching on the Y with much less measurable steps in the cut.
I trammed the spindle and test cut dozens of times yesterday. It's not some one off issue. It seems impossible to get the measurements of the spindle to the table to translate into actual squareness during a cut.
Y feed

X feed

I have less than 0.001" table droop that goes away tightening the table locks. The table reads within 0.001" running back and forth under the spindle with very little droop if any at all. I checked it meticulously.
I can't get the mill to tram correctly and stay in tram. I've been working on this issue for days.
Today I trammed the spindle to the table within 0.0002" in a 4" circle with my Starrett back plunger indicator. I was very careful to have the x, y, and z locked while I did it. I checked the tram again in 4 locations on the table. In one location it was 0.001" off on the Y plane. The other 3 within 0.0002"
Cutting with any type of cutter I get the back end of the cutter dragging in only one direction. Left to right. I cannot get cross hatching on the X plane at all. It doesn't matter the diameter of the circle I tram or the type of indicator used or how the indicator is attached to the spindle.
With a 3/4" endmill in aluminum I get a couple tenths difference between the right and left side of the cut along the X axis travel along with all the tool marks showing the same radial direction no matter which direction I feed.
I get cross hatching on the Y with much less measurable steps in the cut.
I trammed the spindle and test cut dozens of times yesterday. It's not some one off issue. It seems impossible to get the measurements of the spindle to the table to translate into actual squareness during a cut.
Y feed
X feed
I have less than 0.001" table droop that goes away tightening the table locks. The table reads within 0.001" running back and forth under the spindle with very little droop if any at all. I checked it meticulously.

