- Joined
- Nov 23, 2014
- Messages
- 2,632
I took advantage of a recent Grizzly 10% off coupon and bought a model T10502 taper attachment for my model G0709 14” x 40” gunsmithing lathe. I have a number of items on my wish list for this lathe: 8” 3-jaw chuck, 5-C collet chuck and a taper attachment. Maybe my wife will read this write-up and take care of the first two items this Christmas!
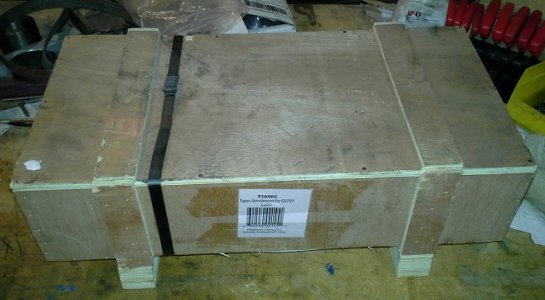
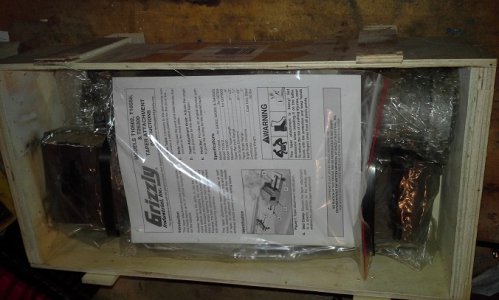
The following is my experience installing the accessory. Pros and cons will be covered. First, the packaging which was excellent. The attachment came in a tightly packed small crate, shipping weight was 55 lbs.
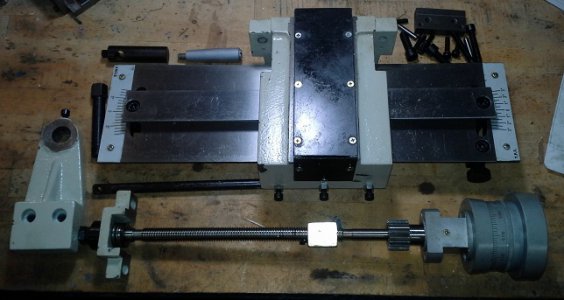
Grizzly manuals have been considered the industry standard. No exception here except my attachment varied slightly in some areas from the manual. Everyone in our “trade” is mechanically inclined, so there’s nothing anyone of us couldn’t figure out. The thrust bearing arrangement at the new cross feed hand wheel bracket was different than the manual parts diagram. Not a problem as I noted how things went together before taking them apart during installation. The manual differences might be because the instructions are shared between the taper attachments for the G4002/3, G0750 and G0709 lathes. The attachment for the G0709 lathe has a maximum of 12” of travel, the manual states it is 9”. Most likely those are the specs for the 12” lathe(s) attachments.
By the way, the Grizzly manual for this taper attachment is available on-line. Go to Grizzly.com, search for G0709, click on the taper attachment at the bottom and click the link to the manual. I used their names for the parts described in this review.
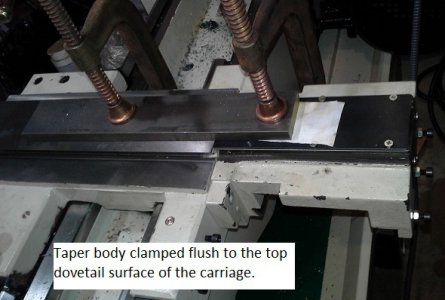
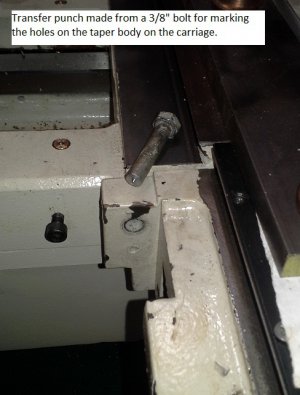
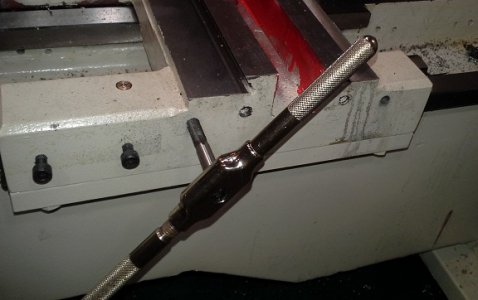
The instructions say to align the taper body flush with the top of the cross slide dovetail, punch/drill/tap holes to attach the body to the carriage. The casting is shaped as such so normal transfer punches won’t work. I made up a stubby punch out of a 3/8” bolt turned down to tightly fit the holes in the body bracket. Only needed for two hits through paint into cast iron so it wasn’t hardened. The top of the cross dovetail is not a “datum” surface. As a result, the body was too high by about 0.060” on my installation. The cross slide lead screw nut moved uphill as it travelled across the carriage. The cross feed handle was very stiff because of the bind. I had to slot the body bracket holes at the top by about 0.070” so the cross slide nut moved parallel to the saddle dovetail surface.
If I had it to do all over again, I’d clamp a couple of bars to the two lower dovetail surfaces on the carriage and extend them out and over the taper body. I’d sub-assemble the new cross feed lead screw to the alignment block and install it to the carriage. Then clamp the taper body to the two pieces of bar stock and run the cross feed nut back/forth checking it for flushness to the top surface of the carriage dovetail. If the nut runs uphill as in my initial installation, shim the taper body down appropriately before punching/drilling and tapping the holes to the carriage.
The supplied bolts (25 mm long, parts list shows 30 mm long) for attaching the taper body to the carriage were a little short for my liking, only about ¼” of engagement to the carriage. As designed, no flat/locker washer are used either. I substituted bolts about ½” longer and added flat washers and lock washers. Probably a case of overkill on my part, but I prefer the belt and suspenders.
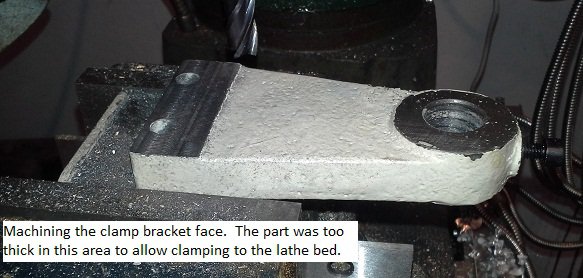
The bed clamp bracket was about 0.030” thicker than the bed. As a result the bed clamp block bottomed out on bracket bottom before clamping up to the lathe bed. I machined 0.050” off the surface of the bed clamp bracket above the bed clamp block so it would clamp properly to the lathe bed.
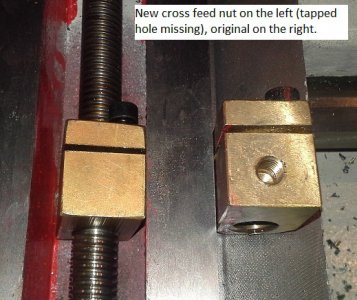
The new cross slide nut was not tapped for screwing to the cross slide. I drilled/tapped an M8 x 1.25 thread for the attaching screw. Maybe this is a generic taper attachment for 14” lathes, maybe there are variations in the location and thread size of the tapped hole. I merely measured the original nut and matched the hole location. I didn’t mic the new lead screw vs. the original, but they are subtly different. I couldn’t thread the original nut on the new lead screw, both are 10 tpi.
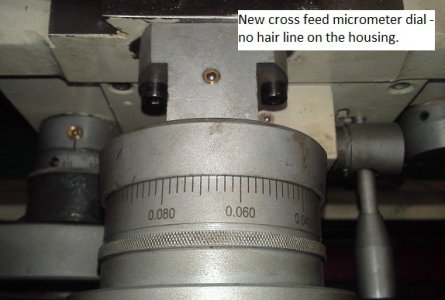
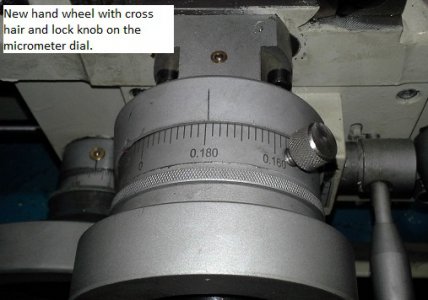
Curiously, the new cross feed mounting bracket had no cross hair line for reading micrometer dial settings. I cut a line with a machinist square and carbide scribe. The original bracket has the cross hair line and notes that the graduations are 0.002” apart. The new micrometer dial has the 0.002” note on it instead. My presumption is the cross hair line needs to be scribed by the user by design, no idea why it wouldn’t be factory scribed.
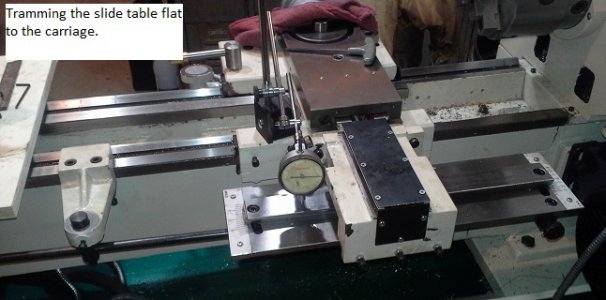
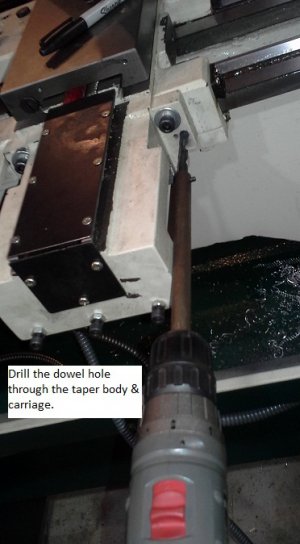
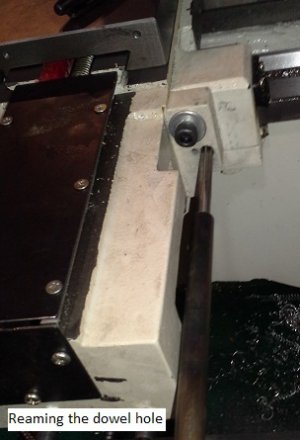
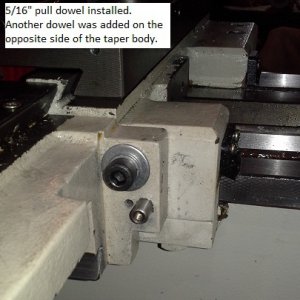
The kit includes pull dowels to hold the position of the body bracket to the carriage, but nothing is mentioned about them in the instructions. Moreover, the parts lists shows spring pins. You would think the dowel holes would be match drilled/reamed into the carriage once the slide table is indicated as flat to the carriage. However, the dowel holes are inaccessible as designed. I ended up drilling additional holes outboard of the original ones in the taper body for doweling. I made extensions for drilling/reaming the holes for 5/16” pull dowels.
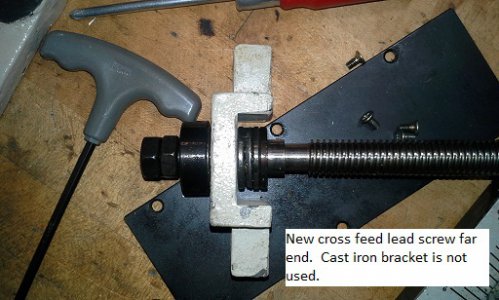
The new cross feed lead screw far end is attached to the alignment block with thrust bearings on either side of the block and nuts on the far side. I had to add a couple of spacer washers so the cross feed lead screw was tight to the alignment block. Otherwise the cross slide would “chuck” back/forth. The taper attachment came with a bracket not used on the Grizzly lathe. My presumption is the alignment block is thinner than the bracket not used thus requiring the added spacer washers.
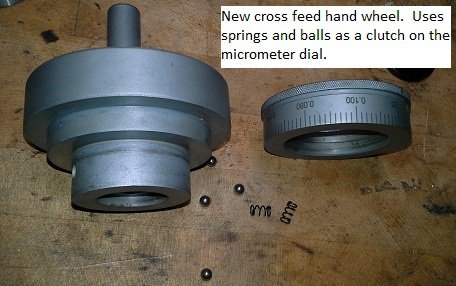
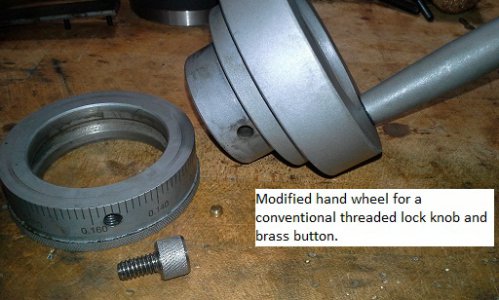
Personal preference: I don’t like the clutch drive adjustment system for the micrometer dials. Give me a good old lock screw with a free-spinning dial! I drilled/tapped a ¼-20 hole for a new 303 stainless lock screw/brass button. Again, just my preference as I was concerned about turning the cross feed crank slightly as the micrometer dial was zeroed.
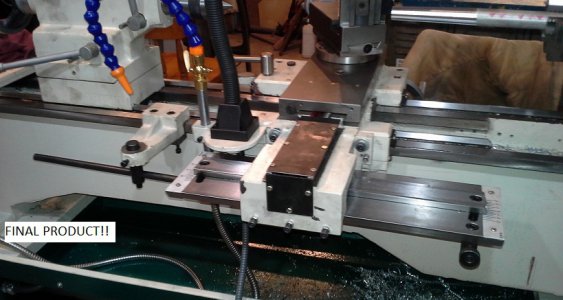
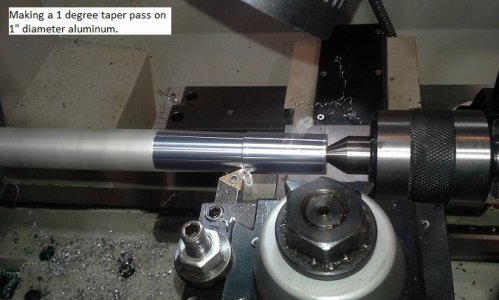
The installation took me about 4 hours. Happy? You betcha! You’ve got to love a telescoping taper attachment over the plain type! No need to disconnect the cross slide lead screw nut when tapering, plus the cross feed stays fully functional. Tapering is just a matter of setting the angle between the pivot block and angle scale plate and locking the bed clamp bracket to the lathe bed. The taper attachment performs well, seems rigid for the cuts made so far. Not an accessory I will use every day, but I do have a couple of jobs that require it. Very nice addition to a very nice lathe.


