- Joined
- Oct 7, 2024
- Messages
- 11
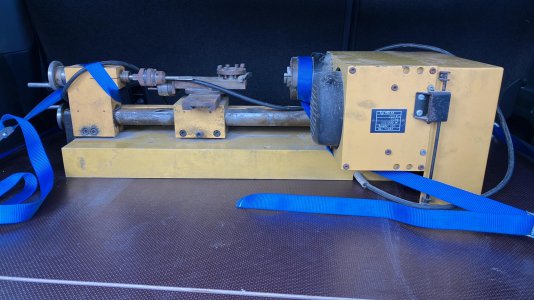
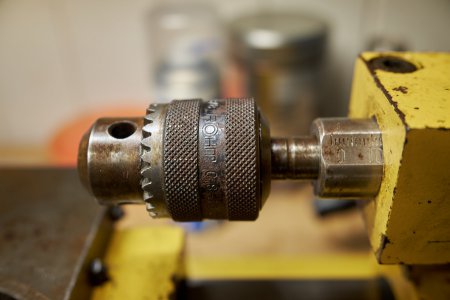
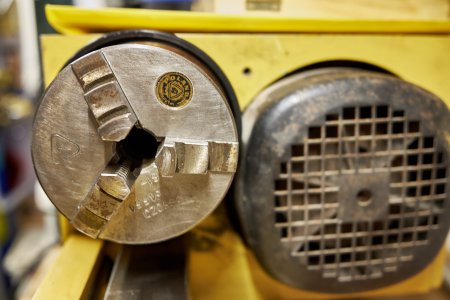
So here's another story of one of these machines, a Hobbymat MD65. Shown below in the back of my van, ready to go home with me. Serial number and baujahr should be clearly visible. I bought it from the grandson of the first owner. Drive belts were gone, but motor ran, and reportedly it had'nt been used much. Bearings sounded fine. It was stored in a garage, had been used for wood working until one of the drive belts broke, and was quite stained. I coulnd't see what was rust and what was just dirt.
My interest in lathes started 30+ years ago when I learned to operate a one during a three week university metalworking course. Turning things is a kind magic! I still have the alumininum+steel+cast iron candle holder I made then.
Since then I started dreaming about owning my own lathe and I made a promise to myself that one day I'd do it. But I was looking for big machines, and I knew I couldn't fit one in my workshop.
But when a friend sent me a picture of his Hobbymat, I realized that a lathe didn't have to be a huge floor standing machine. A smaller one could be useful too! This particular one was the cheapest one on the market at the time, located a few hours drive away price at the equivalent of 350$. I love repairing and restoring old stuff and I thought this would be a fun project. It has not let me down!

