Last winter I got the idea to cut a stone with an abrasive band saw blade in my horizontal Kalamazoo. Not sure why. Maybe I had been staring at rocks too long. Then it occurred to me I could make a gift of sorts out of this and get myself out of a Christmas gift dilemma.
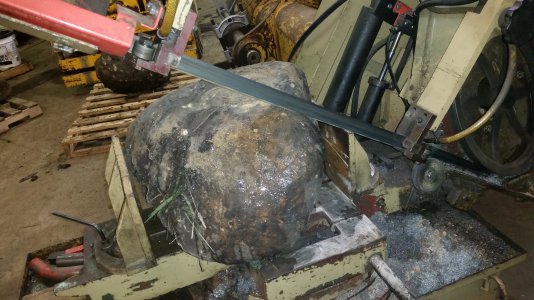
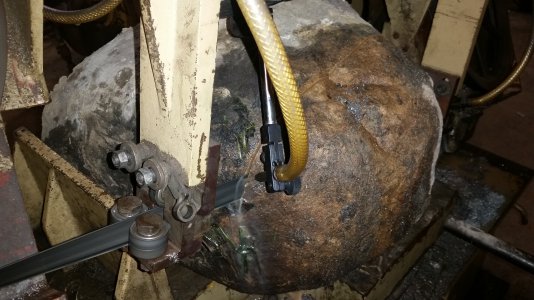
I ended up finding a blade on ebay that was too long but otherwise the correct dimension and cut it down and soldered it to length. I grabbed a stone and slowed the saw as slow as it will go which seems to be around 40 FPM. Clamping a round object like stone was a bit of a problem, but with enough steel pieces wedged in some spots it seemed stable.
The cutting was very slow. This particular cut took about 1.5 hours. The solder joint broke a couple times, which I re welded. I ended up moving the coolant jet to be right at the entry point of the cut. It seemed to really quiet things down compared to spraying the blade at the guide rollers. I think it also helped to flush the cut. The cut was pretty straight until I soldered the joint once and must have messed up the alignment. The end product has a bit of a bow to it, but it really doesn't matter for what I was doing.
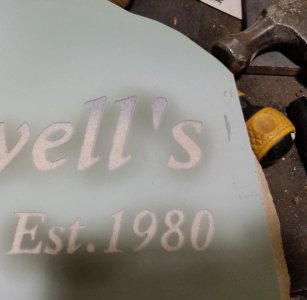
After finishing the cut I found a tough vinyl/super plastic sandblasting mask that is adhesive backed which I cut out with a razor. I printed out the pattern and taped it to the sandblasting mask and used that as a guide. I sprayed the stone face with brake cleaner, let it dry and applied the mask. I use a rubber mallet to tamp it lightly. The small dot in letters like "e" I used a small punch and light taps from a tack hammer. I was concerned they would not adhere and blow off.
When sandblasting it is surprising how quickly the stone erodes. It is very important to keep the nozzle 90 degrees to the face. I had a few areas where the sandblaster undercut the mask because i deviated too much. After I had achieved a depth of about 1/8 to 3/16" depth I stopped. I think to achieve a deeper depth a thicker mask would be needed. I painted the letters for contrast using a black paint. I probably should have got a special masonry paint, but time was running short.
I was pretty happy with the end product, but it does make a mess on the band saw. I scraped/flushed stone grit from everywhere on that saw. The flushed particles almost have the size of a very coarse lapping compound. I was happy it worked but not so sure I am inclined to do it again.


![20150413_120045[1].jpg 20150413_120045[1].jpg](https://www.hobby-machinist.com/data/attachments/56/56829-590d033c88a627e8b91d655ece5fe04a.jpg)
