- Joined
- Sep 22, 2010
- Messages
- 7,222
Ok, since there has been no negative response towards the large picture size I asked...Here you go.
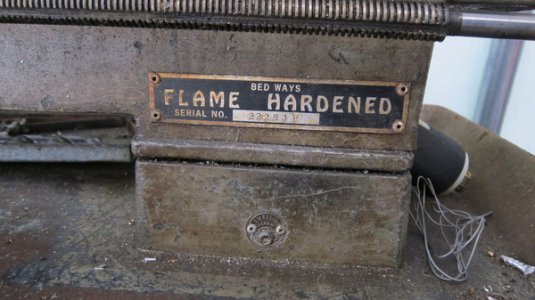
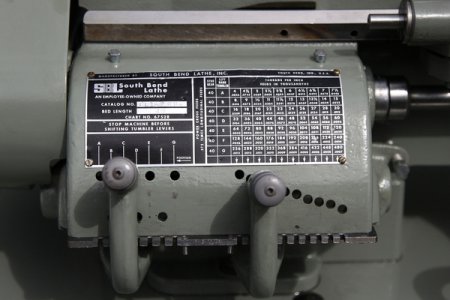
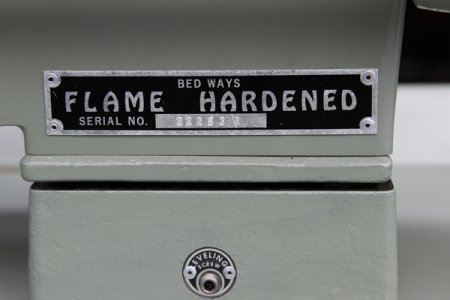
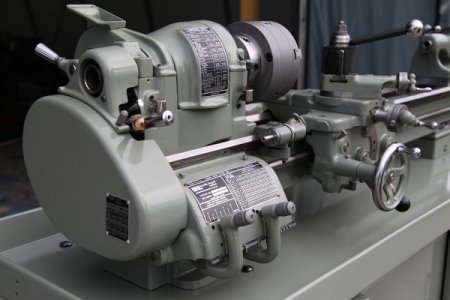
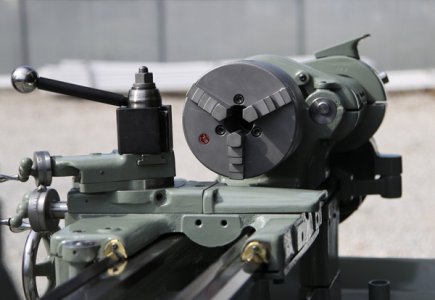
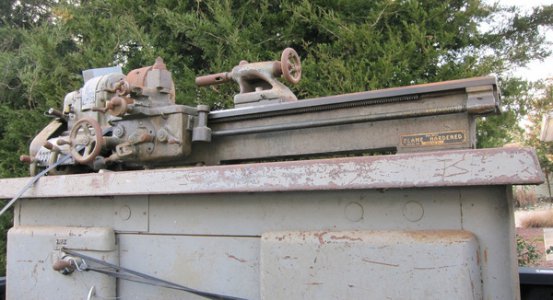
It was a 1982 heavy 10R that was headed to the scrap yard....I intercepted it.
A little rusty from being left outside. I planned on cleaning it up, without getting crazy making it a museum piece.
...Gordon
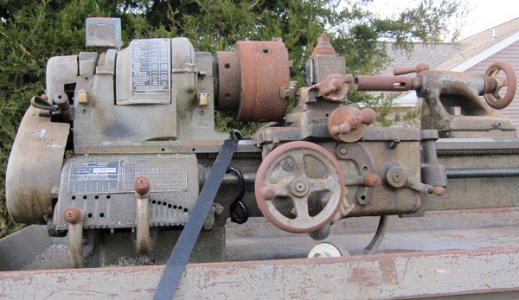
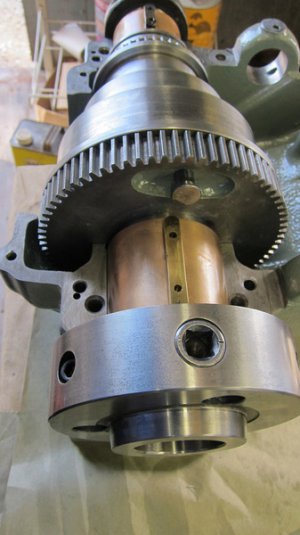
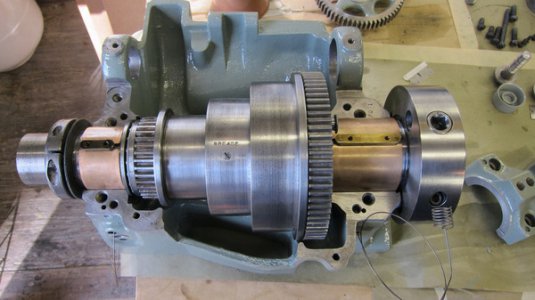
Disassembly was pretty much straight forward, with the taper pins being the only fun. It actually had a easy life (not much wear & tear).
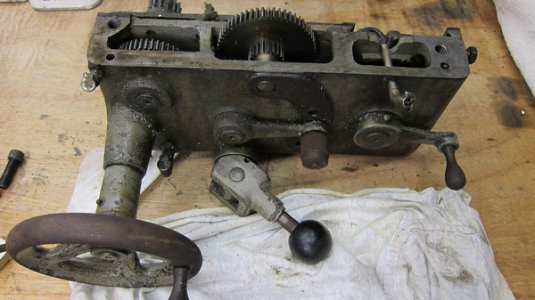
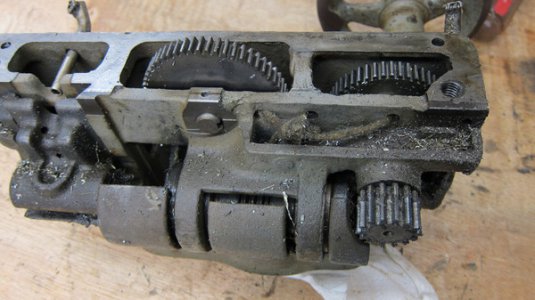
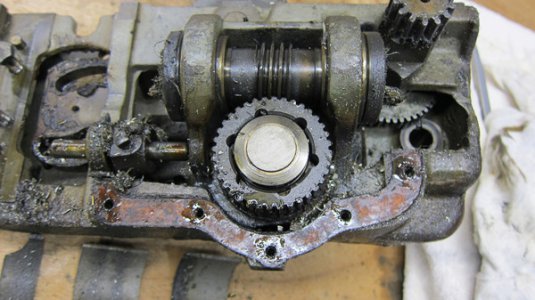
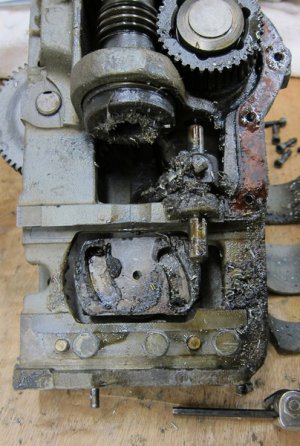
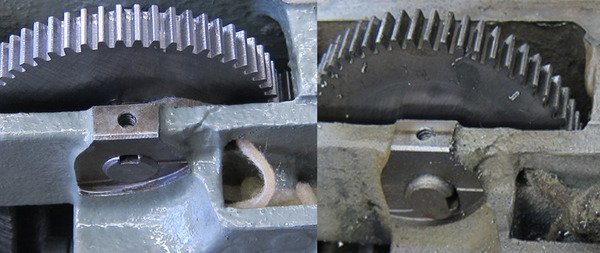
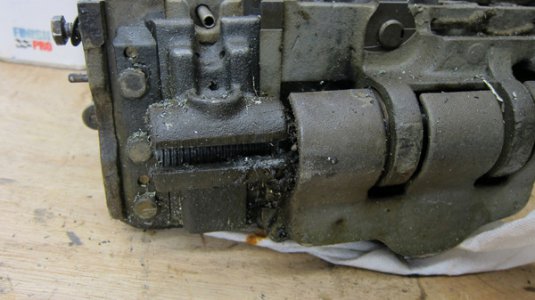
A close look at the half nut revealed very little use, a good thing.
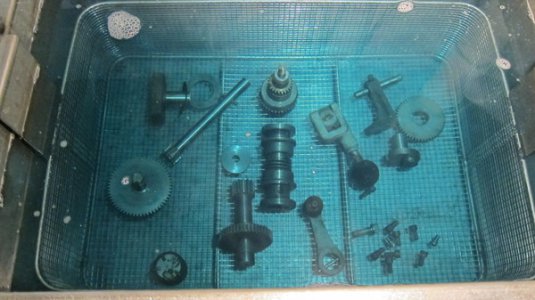
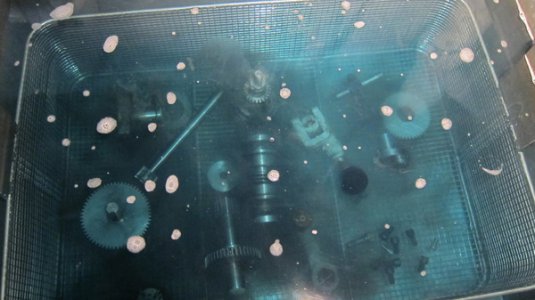
Working on projects like this requires a mixed array of cleaning methods/techniques. Luckily, (over the years) I've been getting things together to make that job easier. Unfortunately, there isn't just one thing that works the best. My latest tool for cleaning stuff is this really sweet 10gal. 1000w ultrasonic cleaner (about 3 years old now). Boy,does this thing do a great job! It helps to first soak the real greasy parts in the standard "gunk tank" first, then run them in the ultrasonic cleaner to get them spotless (of grease & crap). Here's a couple pictures of a fresh clean tank with some apron parts in it. The greasy film just turns into a cloud and leaves the parts sparkling (a real time saver).
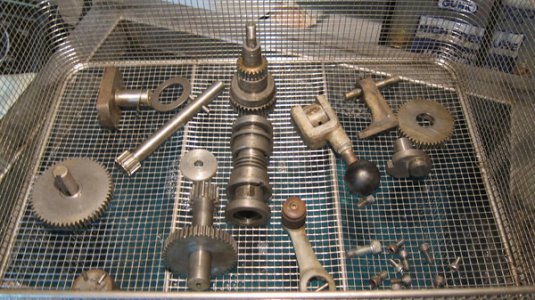
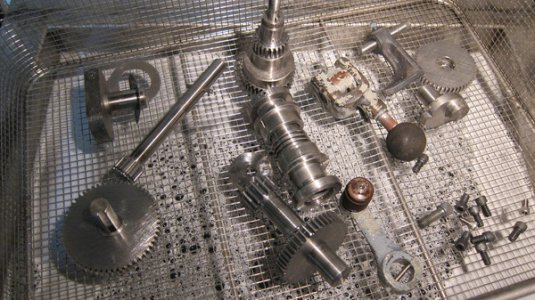
Fresh out of the "tank".
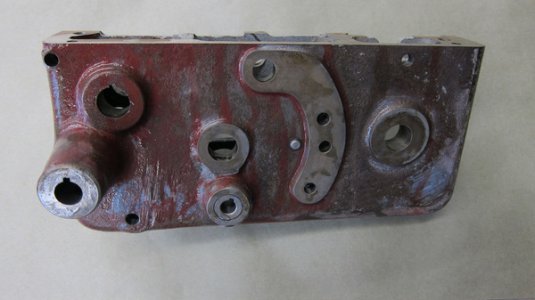
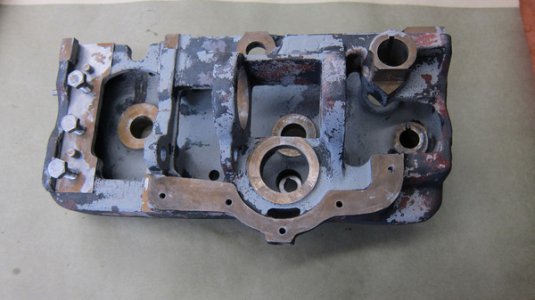
Most of the factory filler/primer fell off the apron casting from the tank cleaning. It looked like some old 'nitro stan' red putty that filled some casting imperfections and grind marks.
Just backing up here a bit, I'd like to thank all of you guys for the helpful posts over the years. This place is a wealth of experience & knowledge for anyone who wants to mess with this historic "South Bend Iron". I've learned a lot! And still learning. Take notes boys! Thanks!!!
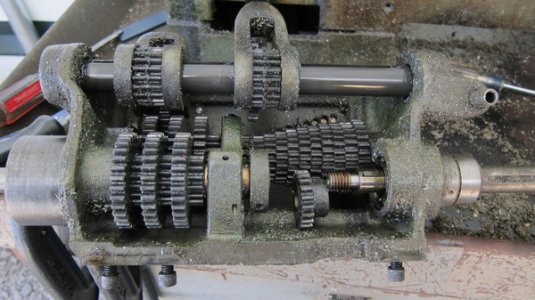
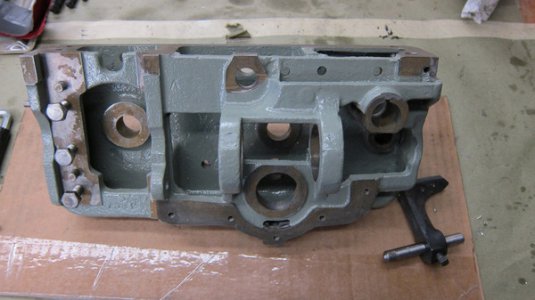
After those parts were all cleaned and ready for paint, I moved over to the QC gearbox next. All this time I kept glancing at the cabinet, thinking it will be the biggest part of the cleanup job....Saving that for last.
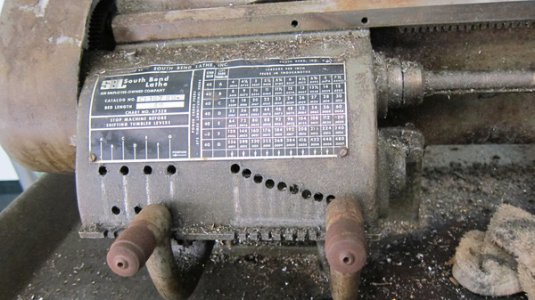
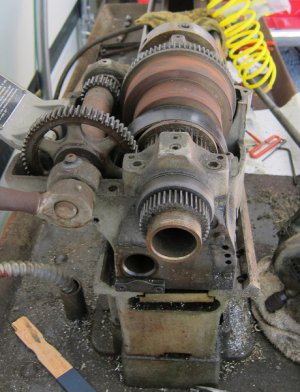
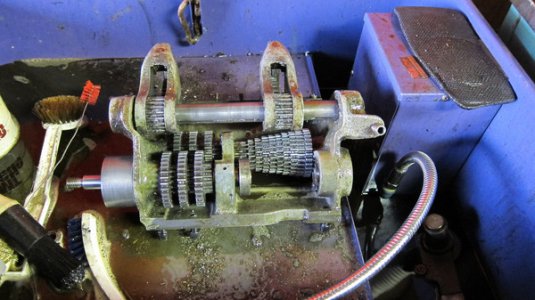
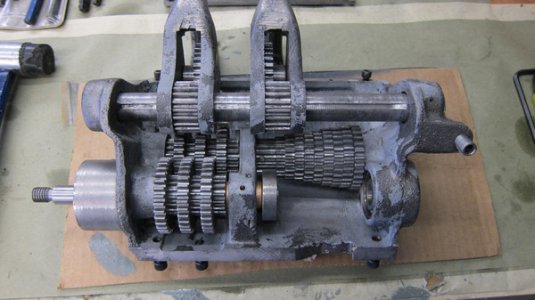
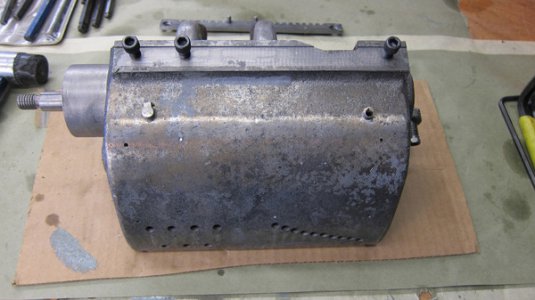
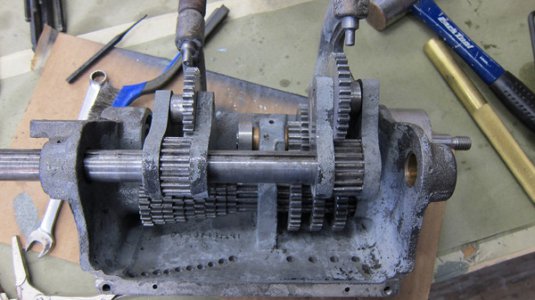
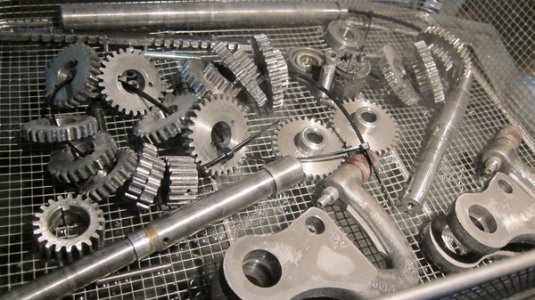
My basic cleaning procedure...a general guide.
1- Brush/scrape off most of the loose stuff
2- De-grease parts in standard gunk tank
3- De-gunk parts in the ultrasonic tank
4- Remove any excess material in the blast cabinet (using the appropriate blast media for the final finish needed).
5- Final cleaning prep for paint (or if bare metal finish, brush on some Corrosion X).
6- Prime, Paint, Re-assemble.
Some more pix...
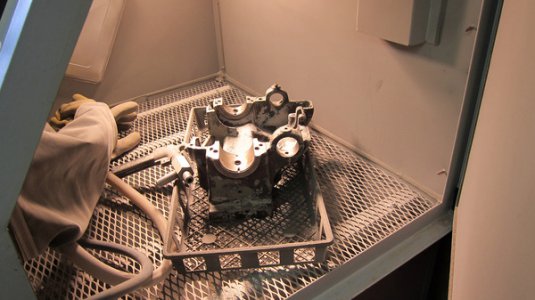
Plastic blast media does a fantastic job without etching or removing any metal. The original die grinder marks are still visible like the day it was ground, inside the QC housing.
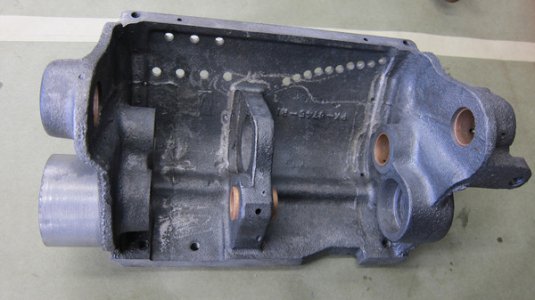
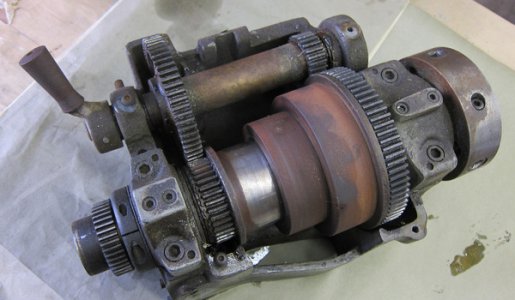
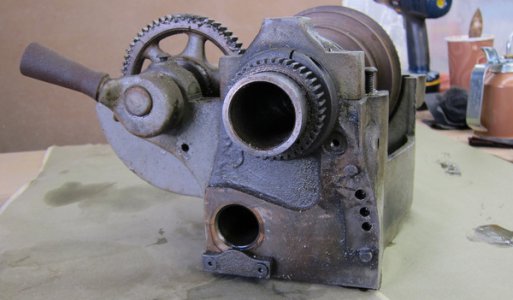
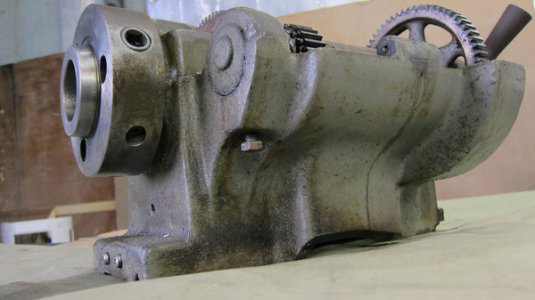
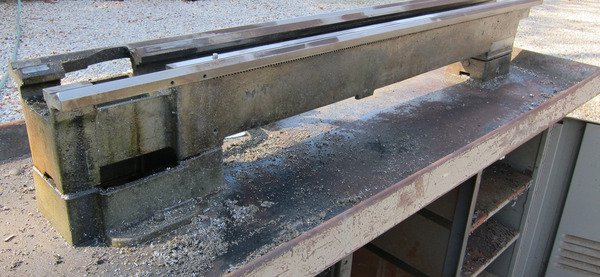
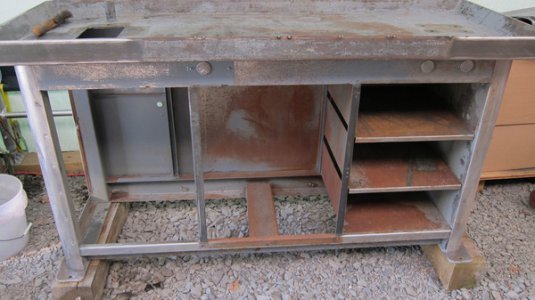
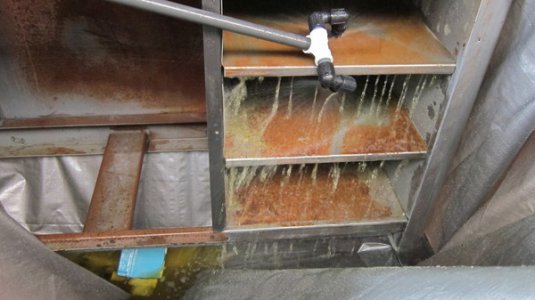
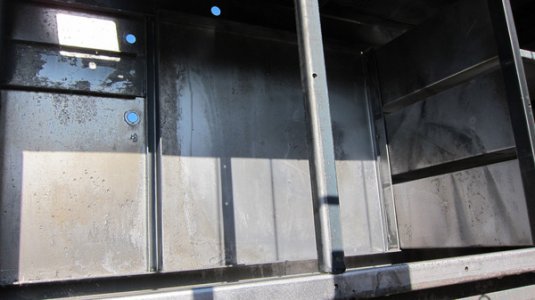
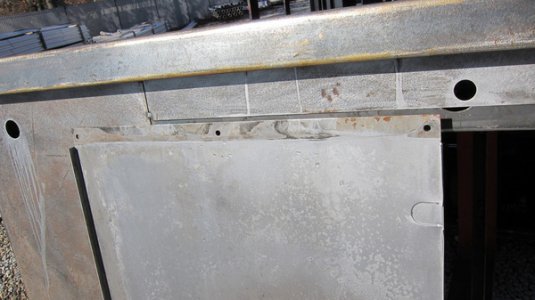
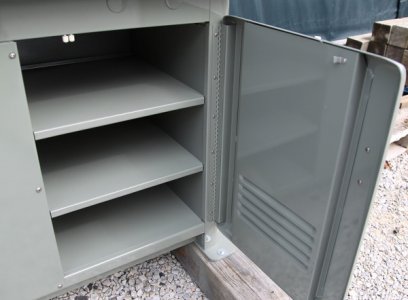
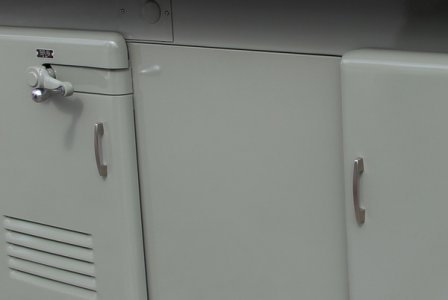
Oh boy...the dreaded cabinet!!!
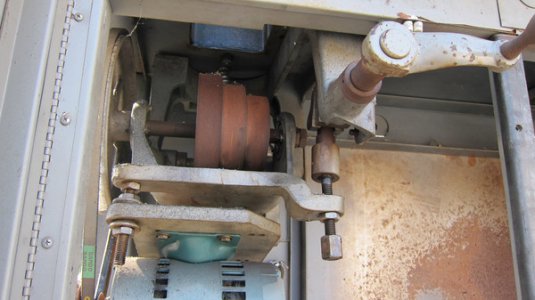
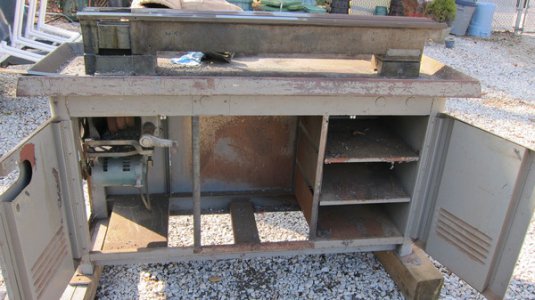
Head stock housing getting the plastic bead blast treatment.
Final cleanup before paint....
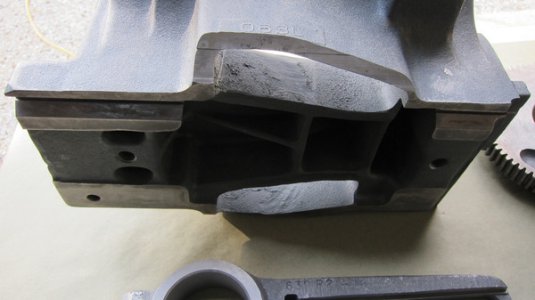
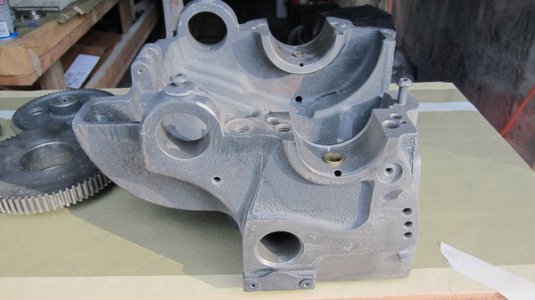
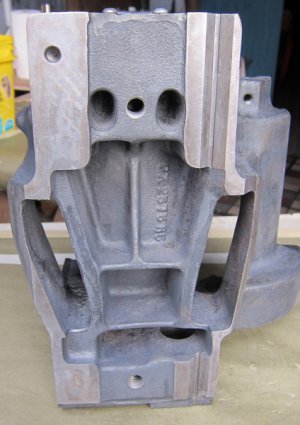
Moving along to the bed... Too big to fit in my blast cabinet
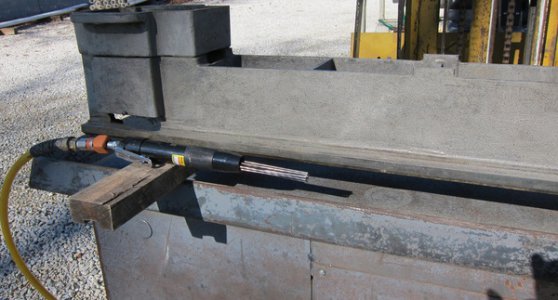
I tried aircraft paint stripper, but it was too cold to work for the thickness of buildup (would have taken days). A cheezy HF needle scaler actually tore the paint & filler up pretty quick....
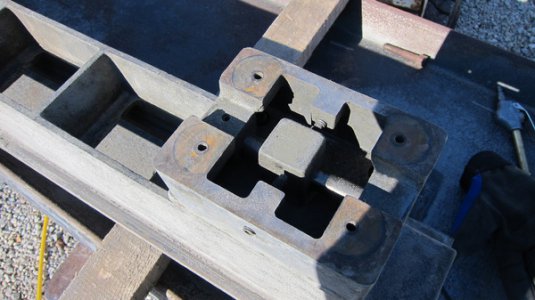
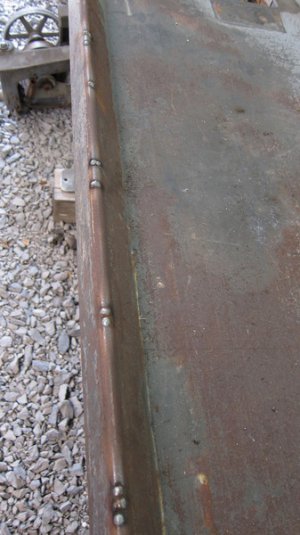
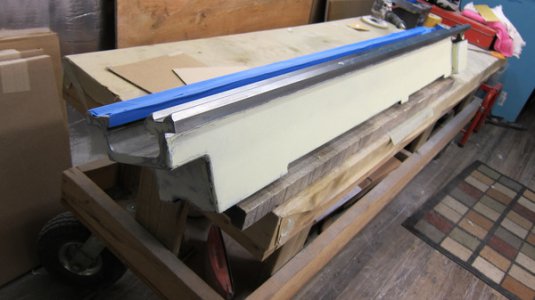
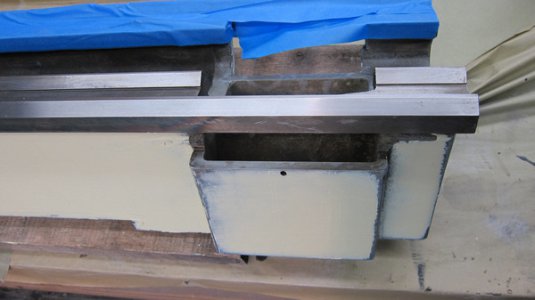
Here's a couple of shots showing,(where I got crazy) the 2 coats of "bondo" on the bed. Actually the filler I use is the U-pol brand, that comes in a big bag, kinda like toothpaste. It's expensive as filler goes, but the mixing, applying, and easy sanding qualities out weighs the cost.
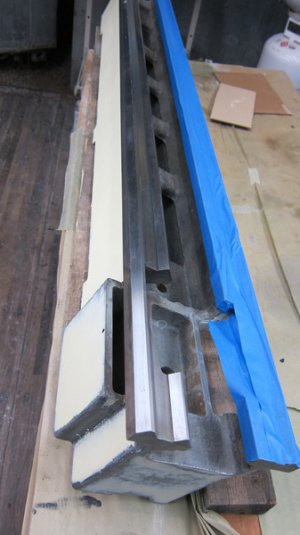
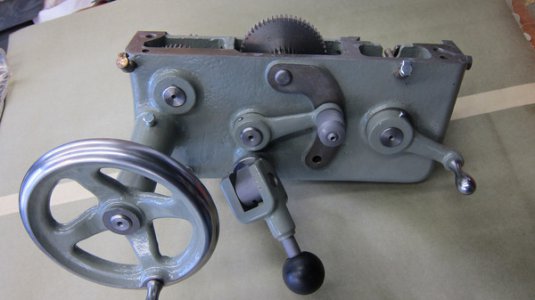
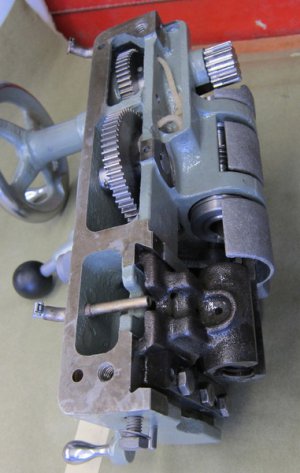
At this point I decided to start to get some sub assembly's together....time for PAINT! The final color decision was a tough one. I sent my nephew down to the local autobody supply house with a NOS carriage stop, (the most expensive thing I bought for this so far) to match up the color. He came back with a couple of quarts of Limco 2 acrylic enamel that matched perfect (code 15491). I see most everyone uses regular enamel....but to be honest with you, I hate that stuff. It takes forever to "dry" and isn't very durable. Catalyzed acrylic enamel is lots easier to work with, especially in a cool shop.
It was a 1982 heavy 10R that was headed to the scrap yard....I intercepted it.
A little rusty from being left outside. I planned on cleaning it up, without getting crazy making it a museum piece.
...Gordon


Disassembly was pretty much straight forward, with the taper pins being the only fun. It actually had a easy life (not much wear & tear).


A close look at the half nut revealed very little use, a good thing.

Working on projects like this requires a mixed array of cleaning methods/techniques. Luckily, (over the years) I've been getting things together to make that job easier. Unfortunately, there isn't just one thing that works the best. My latest tool for cleaning stuff is this really sweet 10gal. 1000w ultrasonic cleaner (about 3 years old now). Boy,does this thing do a great job! It helps to first soak the real greasy parts in the standard "gunk tank" first, then run them in the ultrasonic cleaner to get them spotless (of grease & crap). Here's a couple pictures of a fresh clean tank with some apron parts in it. The greasy film just turns into a cloud and leaves the parts sparkling (a real time saver).


Fresh out of the "tank".


Most of the factory filler/primer fell off the apron casting from the tank cleaning. It looked like some old 'nitro stan' red putty that filled some casting imperfections and grind marks.
Just backing up here a bit, I'd like to thank all of you guys for the helpful posts over the years. This place is a wealth of experience & knowledge for anyone who wants to mess with this historic "South Bend Iron". I've learned a lot! And still learning. Take notes boys! Thanks!!!
After those parts were all cleaned and ready for paint, I moved over to the QC gearbox next. All this time I kept glancing at the cabinet, thinking it will be the biggest part of the cleanup job....Saving that for last.


My basic cleaning procedure...a general guide.
1- Brush/scrape off most of the loose stuff
2- De-grease parts in standard gunk tank
3- De-gunk parts in the ultrasonic tank
4- Remove any excess material in the blast cabinet (using the appropriate blast media for the final finish needed).
5- Final cleaning prep for paint (or if bare metal finish, brush on some Corrosion X).
6- Prime, Paint, Re-assemble.
Some more pix...
Plastic blast media does a fantastic job without etching or removing any metal. The original die grinder marks are still visible like the day it was ground, inside the QC housing.


Oh boy...the dreaded cabinet!!!


Head stock housing getting the plastic bead blast treatment.

Final cleanup before paint....


Moving along to the bed... Too big to fit in my blast cabinet
I tried aircraft paint stripper, but it was too cold to work for the thickness of buildup (would have taken days). A cheezy HF needle scaler actually tore the paint & filler up pretty quick....


Here's a couple of shots showing,(where I got crazy) the 2 coats of "bondo" on the bed. Actually the filler I use is the U-pol brand, that comes in a big bag, kinda like toothpaste. It's expensive as filler goes, but the mixing, applying, and easy sanding qualities out weighs the cost.


At this point I decided to start to get some sub assembly's together....time for PAINT! The final color decision was a tough one. I sent my nephew down to the local autobody supply house with a NOS carriage stop, (the most expensive thing I bought for this so far) to match up the color. He came back with a couple of quarts of Limco 2 acrylic enamel that matched perfect (code 15491). I see most everyone uses regular enamel....but to be honest with you, I hate that stuff. It takes forever to "dry" and isn't very durable. Catalyzed acrylic enamel is lots easier to work with, especially in a cool shop.


