Welcome,
Some forums can be brutal. You are welcome here sir.
What are you doing about the bearings?
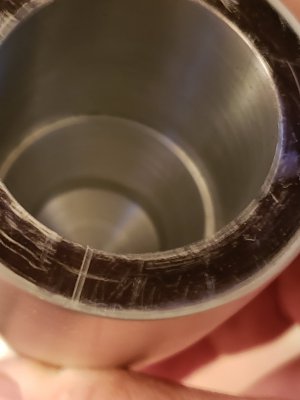
You mentioned one was messed up. How's the spindle? It should be highly polished.
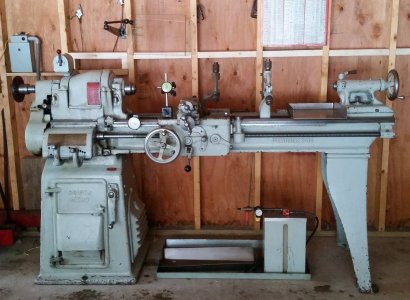
Long story short, I bought a South Bend Lathe 13"x72", 1960 model that was only 850 plus miles away. That was April, 2019. I had a cousin and neighbor drive me up from Theodore Alabama and we picked it all up. I turned it on and it was running on low speed. This was the only speed that
the guy who sold it ran it on. Joe, owner had just bought it from an old machinist but he had to have an emergency surgery and ended up having to sell what he bought. I got it home and started cleaning on it as I could depending on how much energy I had. I was asked if I could make a cone
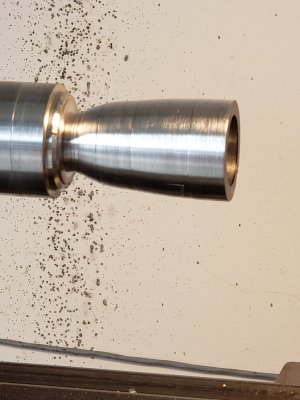
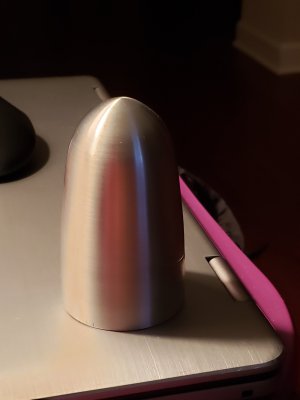
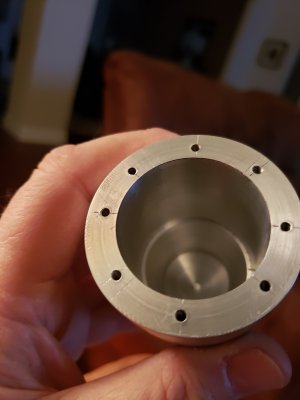
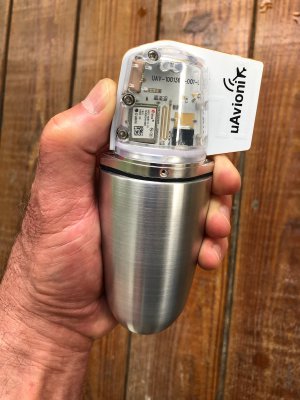
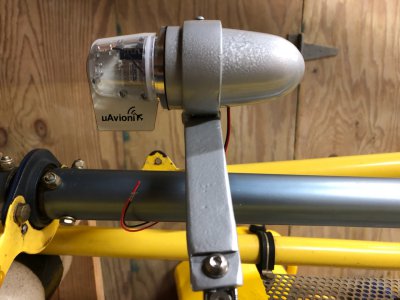
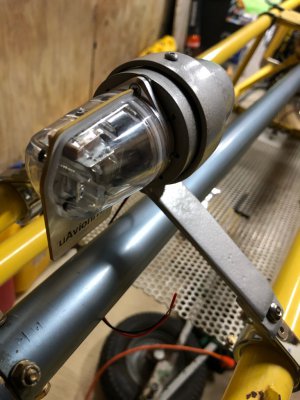
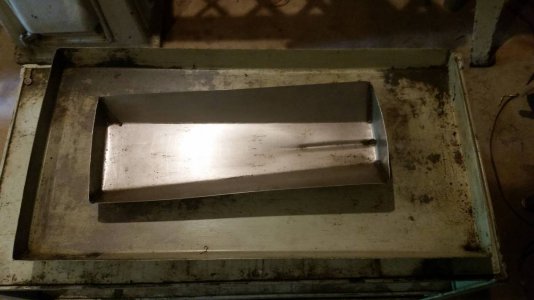
to house a GPS device for a one man helicopter. Everything went great until I went to a higher speed to polish and then the rear bearing over heated and locked up. The cone turned out good, no rocket science and random holes on the end to hold it in place.
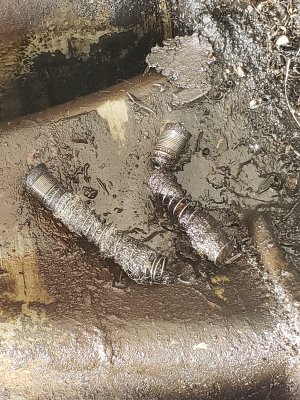
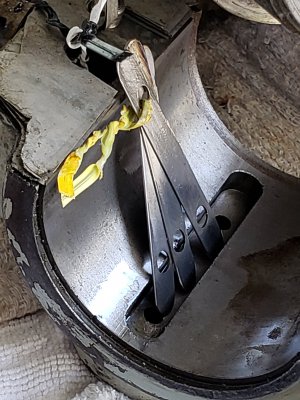
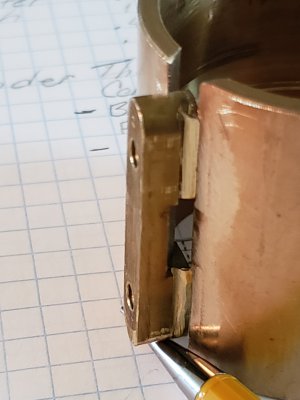
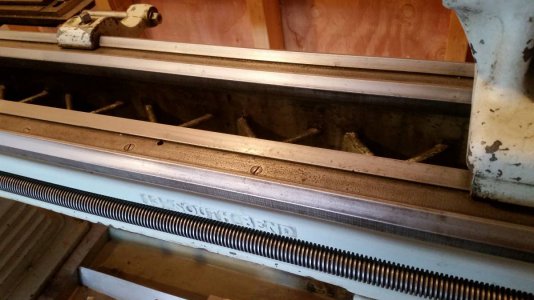
I had no choice but to remove the bearing caps and see what was going on. The capillary spring oilers were shot, the small bearing capillary broke in half. On the front the old machinist put 3 shims that sat on top of the expander. There was 0.010 difference between the inside and outside of
the rear bearing and on the front I will have to look at my notes to tell you but it was about .008 difference between side to side when it's said not to have any difference more than .001 from inboard to outboard.
I went through a year long ordeal because of a lack of experience on the South Bend. PM members did a lot to help me understand even when I got off on a tangent. I bought new shims but the rear bearing was shot too. Somebody putted the expander through it. I had to buy a new bearing
and it set me back $186.00 then I found a used one that looked brand new on eBay for $49.00. I removed the out of normal 3 metal shims for the expander on the front bearing and put it back together. No matter what I did the rear bearing ran hot when you tried to adjust it according to the
South Bend 4 page pamphlet. The spindle would not spin at all just sitting in the Headstock with the bearing caps off. In fact it would spin before I took it apart and had to use the 4 jaw chuck key to pull it around.
So I went on a rant on PM saying the bore was out the bearing cap was out the spindle was out and so on. This was after doing the lift test and bearing clearance reading maybe 100 times over a course of a year.
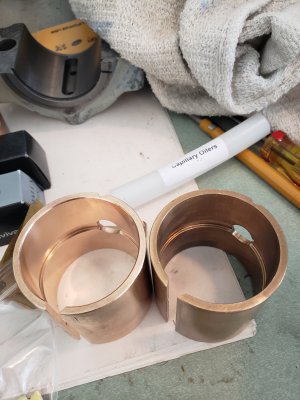
I had 1 post that said, "I don't trust any of your measurements or readings and I think you need to start over with new capillary oilers and shim packs and change the felt out from the expander on the rear bearing.
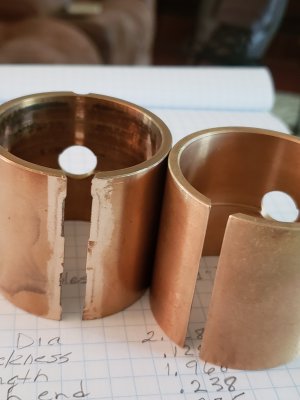
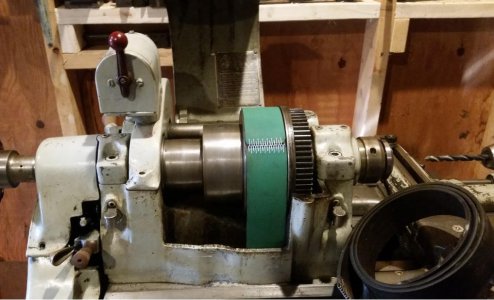
So I did. I soaked the oilers for days along with the felt. Polished out the rear bearing and spindle, which is a used but good spindle from a running lathe and started with the shim pack all the way around at 0.0325"
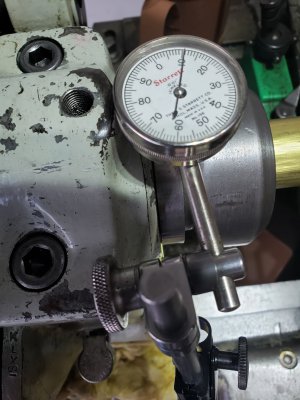
Using my lift method I have peeled off shims down to 0.025 front and .008 clearance and rear down to 0.0265 and clearance of .006 I have a little ways to go but I'm stopping here because I don't trust my indicator is accurate. My spindle spins like a top and I can run at any speed for as long as I want with no rear heating issues.
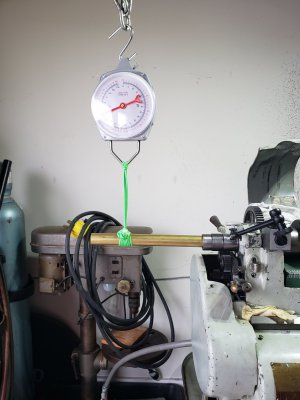
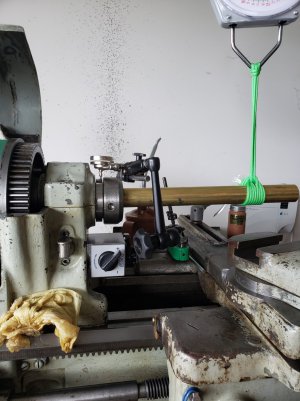
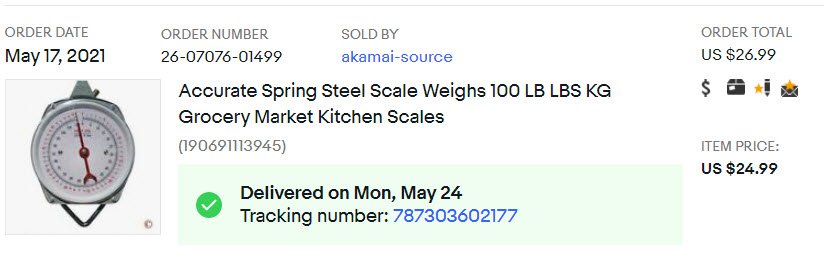
Yes, I do need to get down to the correct bearing clearance of 0.0007 to 0.015 or if I hit 0.002 I'm leaving it there. Time to finish cleaning it up and start making chips. I'm using a brass bar that is 24"x1.125" marked at the half way point and the rigging is 2-1/2" from the end to make each lift the same.
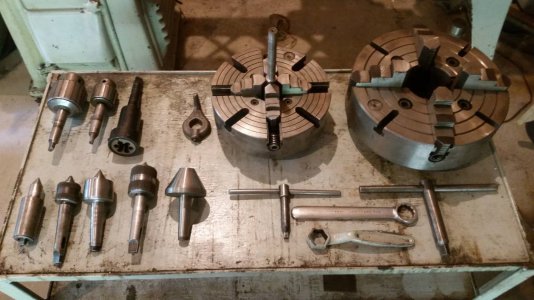
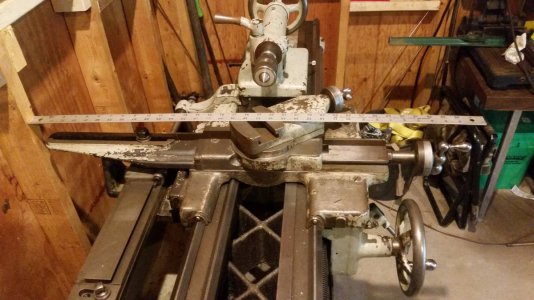
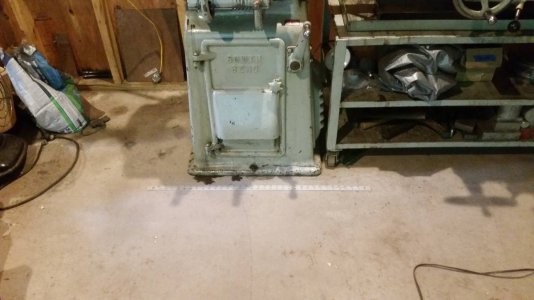
This is the first time since I got this lathe In 2019 that it has been up and running. I'll post a few pictures of it from eBay.