- Joined
- Mar 28, 2023
- Messages
- 23
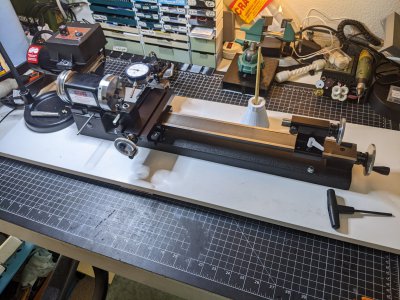
I picked up a Sherline 4400 C package in March and just recently got to finishing my first few projects. I've been on machinist YouTube for a couple years, so it was great fun to start making chips myself!
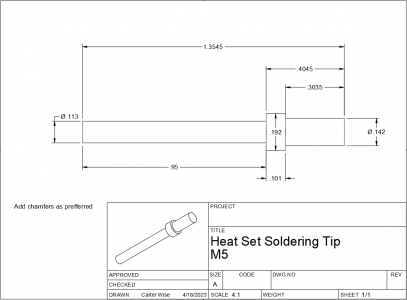
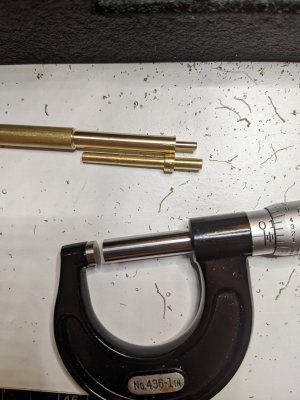
These are soldering iron tips for installing threaded inserts into 3D prints. The sizes are for the M5, M4, and M3 inserts I have, and I made them in that order. I measured my iron and existing tips and modeled the M5 version in Fusion 360. I used that design as base dimensions but ended up adjusting the dimensions by test fitting everything as I went.
I started out practicing in aluminum, which was good because I needed about three practice pieces before I ended up with something that was even approximately correct (the top one). The funny shape came from accidentally feeding the back of a tool in my two-position toolpost into the tip as I was trying to cut with the main tool.
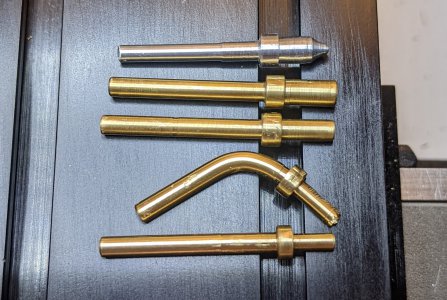
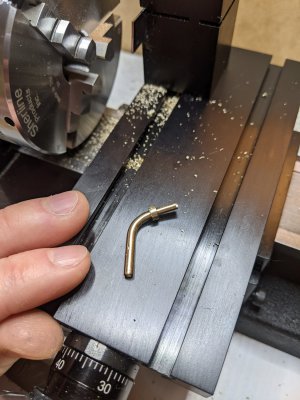
I struggled with how to cut both of the shoulders around the widest middle part. I got the M5 and M4 ones done in mildly sketchy ways that barely worked. The M3 being thinner on the end caused me trouble ending in a scare, the bent one. It got loose in the chuck and was thrown out! Thank goodness I was wearing eye protection.
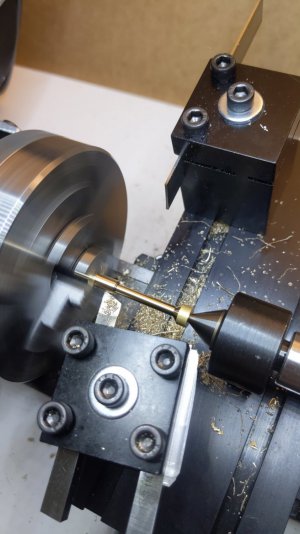
I planned out the final try at the M3 better than before and got it done I ended up using the below setup where I kept one end long with a thicker part to support the live center. Didn't end up perfect but certainly good enough for use in a soldering iron.
It's really incredible how much I learned making these parts. Excited to continue the journey!

These are soldering iron tips for installing threaded inserts into 3D prints. The sizes are for the M5, M4, and M3 inserts I have, and I made them in that order. I measured my iron and existing tips and modeled the M5 version in Fusion 360. I used that design as base dimensions but ended up adjusting the dimensions by test fitting everything as I went.

I started out practicing in aluminum, which was good because I needed about three practice pieces before I ended up with something that was even approximately correct (the top one). The funny shape came from accidentally feeding the back of a tool in my two-position toolpost into the tip as I was trying to cut with the main tool.

I struggled with how to cut both of the shoulders around the widest middle part. I got the M5 and M4 ones done in mildly sketchy ways that barely worked. The M3 being thinner on the end caused me trouble ending in a scare, the bent one. It got loose in the chuck and was thrown out! Thank goodness I was wearing eye protection.

I planned out the final try at the M3 better than before and got it done I ended up using the below setup where I kept one end long with a thicker part to support the live center. Didn't end up perfect but certainly good enough for use in a soldering iron.


It's really incredible how much I learned making these parts. Excited to continue the journey!
