- Joined
- Dec 8, 2015
- Messages
- 127
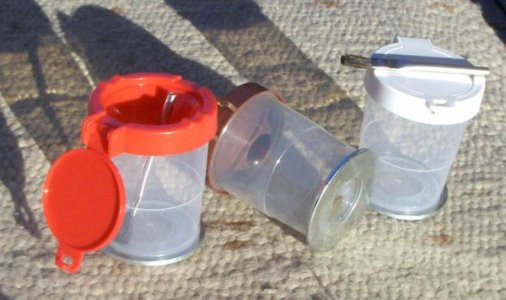
I was looking at the spill proof oil containers. I found the Spillmaster which was pretty nice. Also found spill proof paint cups for children, that works on the same principle. The cost was cheap enough – but I hate paying more for shipping than what I paid for the item. I decided to make one for myself.
Apologies if anyone else has posted something like this. I did not see any similar builds, so I wanted to payback- and share what I came up with. It is simple, cheap and quick to build.
If you are familiar with how the Spillmaster works, this will be self explanatory .
Here is the completed container.
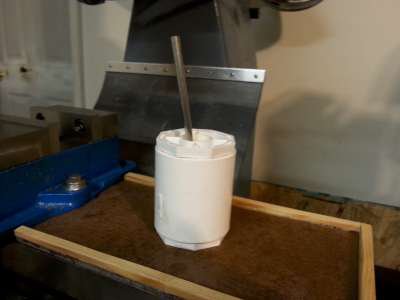
I purchased the parts at Lowes.
[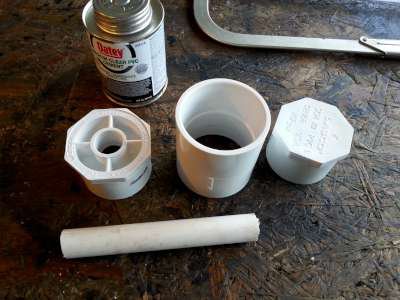
1 pc. 2” x ½” PVC SCH40 Bushing @ $1.29
1 pc. 2” PVC SCH40 Coupling @ $0.98
1 pc. 2” PVC SCH40 Plug @ $2.37
I had the ½” PVC pipe and the pipe cement.
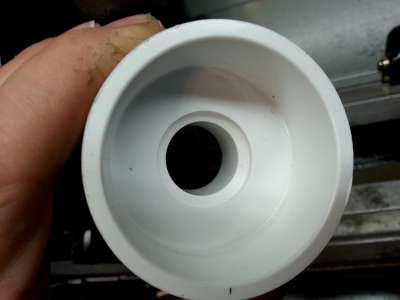
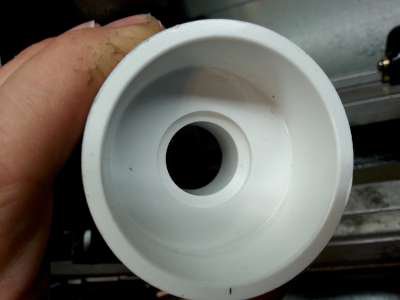
The tube will get pushed through the bushing. To do this you first need to removed the “tube stop” ridge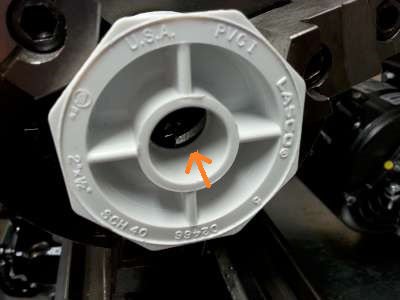
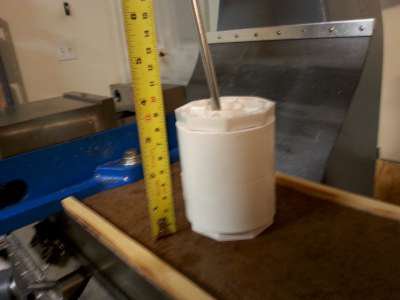
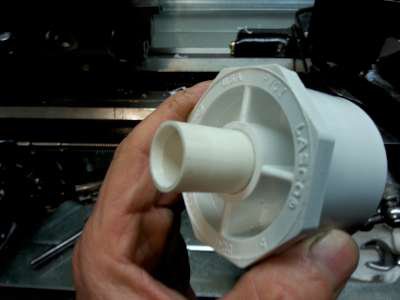
I then calculated how long of tube I wanted then marked it so that it would stay about ½ to 5/8” from the inside bottom of the container. After marking insertion depth on the tube, I applied cement and pushed the tube through the bushing to the mark.
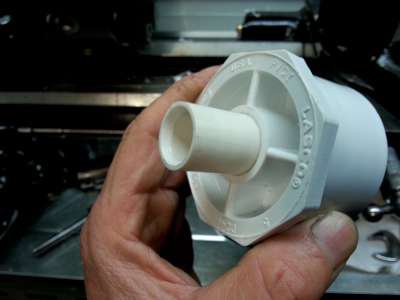
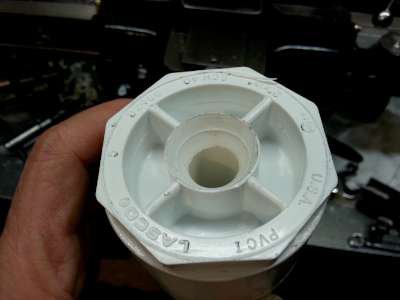
Topside view
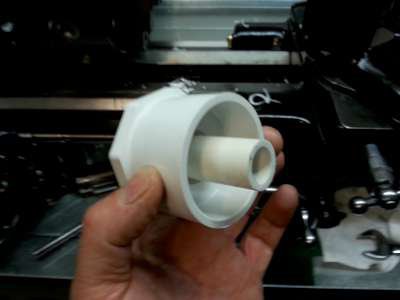
Inside view.
Using Cement I assembled the three pieces.
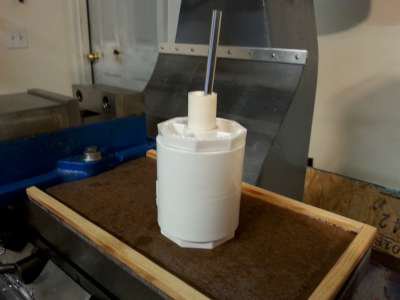
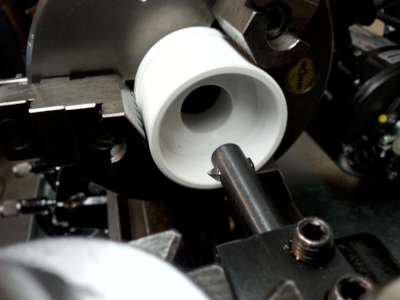
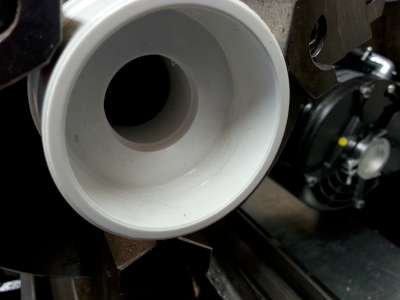
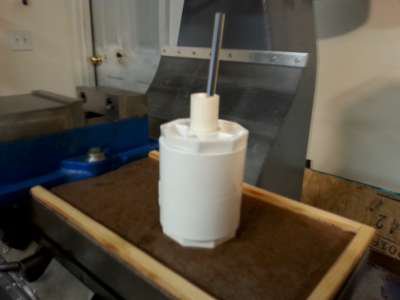
I did not like the tube extending above the cup. I put the assembly in the lathe,cut off the tube and put a nice lead in chamfer.
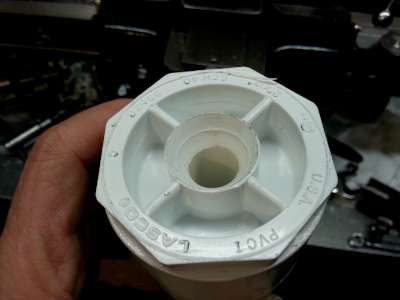
This cup will be used for steel cutting oil. Hopefully any chips that gather could be pulled out with a telescoping magnet.
The next container will be for Aluminum cutting oil. I may put a set screw or pipe plug, through the double thick sidewall for a cleanout.
This resulted in a nice heavy container. Its as easy as you want it to be. Buy the few pieces. Remove the ridge and press fit. them together. You may not even need the cement?
Apologies if anyone else has posted something like this. I did not see any similar builds, so I wanted to payback- and share what I came up with. It is simple, cheap and quick to build.
If you are familiar with how the Spillmaster works, this will be self explanatory .
Here is the completed container.

I purchased the parts at Lowes.
[

1 pc. 2” x ½” PVC SCH40 Bushing @ $1.29
1 pc. 2” PVC SCH40 Coupling @ $0.98
1 pc. 2” PVC SCH40 Plug @ $2.37
I had the ½” PVC pipe and the pipe cement.
The tube will get pushed through the bushing. To do this you first need to removed the “tube stop” ridge

I then calculated how long of tube I wanted then marked it so that it would stay about ½ to 5/8” from the inside bottom of the container. After marking insertion depth on the tube, I applied cement and pushed the tube through the bushing to the mark.

Topside view

Inside view.
Using Cement I assembled the three pieces.

I did not like the tube extending above the cup. I put the assembly in the lathe,cut off the tube and put a nice lead in chamfer.

This cup will be used for steel cutting oil. Hopefully any chips that gather could be pulled out with a telescoping magnet.
The next container will be for Aluminum cutting oil. I may put a set screw or pipe plug, through the double thick sidewall for a cleanout.
This resulted in a nice heavy container. Its as easy as you want it to be. Buy the few pieces. Remove the ridge and press fit. them together. You may not even need the cement?


Last edited by a moderator:

