- Joined
- Apr 14, 2014
- Messages
- 3,534
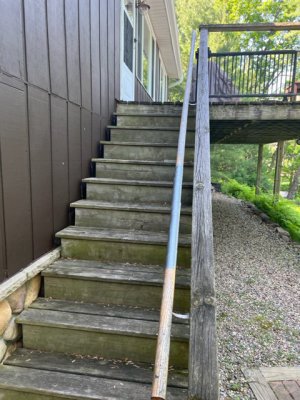
Today's/This Week's project is to make a replacement railing for the staircase from the deck to the ground at the family cottage. Sounds simple enough, but far more time consuming than expected. The new metal railing will replace a wooden one that's only 2 years old. This will be the 3rd (and hopefully last) railing in 10 years.
Code requires a railing that you can fully grip so the 2x4 at the top of the posts isn't sufficient. The length is slightly under 14' which makes it hard to find a single piece wood one that will be long enough and withstand the weather. We finally gave up on wood and went with a schedule 40 metal handrail.
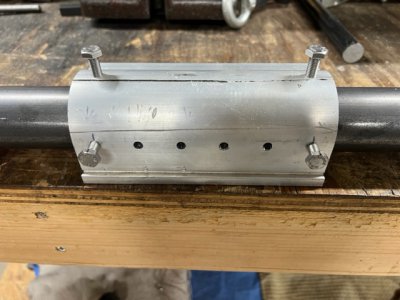
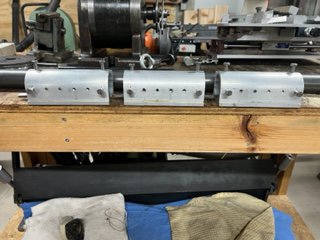
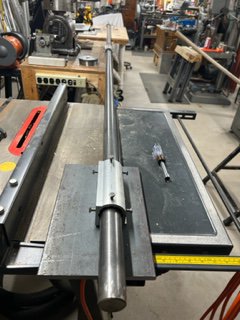
My friend cut the tube, made a couple end caps, and welded them in last Monday. Since then, I've been making fixtures to locate, drill, and tap the holes, and paint everything. Again, simple stuff I have a tendency to over complicate. I made the 3 drill fixtures from some agricultural sprayer tube. Each fixture has 6 machine screws and a key to locate them properly, 2 #3 drilled holes for tapping 1/4-28 bolts, and 2 1/4-28 pre-tapped holes to be sure the tap is located properly to align with the drilled #3 holes.
Here's a couple pictures of the fixtures. The machine screws on either end are for locating. The 2 exposed holes to the left are for a #3 drill. The 2 exposed holes to the right are pre-tapped to make sure the tap enters the tube at the proper angle. The #3 holes are drilled then the fixture is slid 1" to the left to align the pre-tapped holes with the newly drilled ones.
Once the drilling and tapping was complete it's time to do a little painting. I tried just laying the tube on a couple sawhorses, but unfortunately, they didn't dry before the rain began. It was supposed to be a sunny 80* day, but as usual the weatherman can't be trusted. Moving the tube inside marred the paint in a couple spots, so those spots will have to be sanded and touched up.
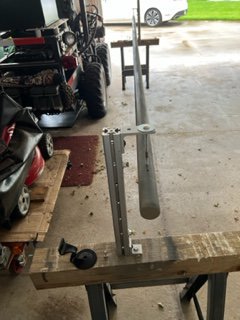
I couldn't paint the entire diameter while it was laying on the sawhorses, so I had to come up with a way to hold it to get access to all sides. I had a few pieces of 80/20 square aluminum, so I made a fixture to hang the tube from. The project is now sitting in the garage waiting for the rain to stop, and the temperature to rise back into the high 70's to low 80's.
Once the painting is complete, I'll load it in the trailer and take it to the cottage. I must say I'm not all that impressed with today's treated lumber. The deck, railings, and stairs are only about 12 years old. We've already replaced several deck railing boards, and the stair treads will be replaced next weekend as part of this project. I've already cut new boards for the new stair treads so that should help speed along the project.
If all goes as planned, I'll load the "new" radial arm saw in the trailer and bring it back to the shop.
Attachments
Last edited:

