- Joined
- May 7, 2014
- Messages
- 776
Morning everyone. Taking a Sunday off from the Mill upgrade. Even told the Son he could sleep in.  But what I have not done is put up a "what's up" update of late. Just too darn busy! So here is a quick note on the upgrade for ya'll. Maybe something for those considering non-stepper type REtro's!
Objective: Convert an 80's Supermax YCM-30 w/ Bandit III (allen bradley) to Centroid/AjaxCNC PLC ops.
Tasks:
0) Say "OMG- What have I gone and done" until it wears off and finally just get started!
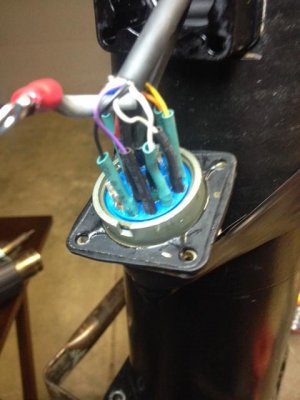
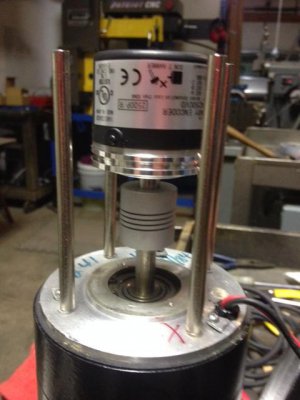
1) Selected and installed new Servo Encoders. 2500ppr Quad/Diff. Rewired to existing motor shaft & Molex round connectors. Ohm'd and ring out's done. (shorts, opens, and such)
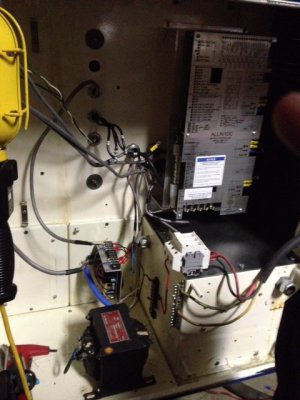
2) Rip and replace. OMG - Enough wire and contactor gear ripped out to keep me in jumper wire forever. 3) Wired up Motor's to Ajax unit. They call is a DC-AIO (All in One).
4) Setup AC input 2phase w/ split pole for a 110VAc bar. (image below).
5) Installed the 5Vdc Power supply.
6) Connected up all Servo encoder +5Vdc runs.
Next:
7)Solder the quad/diff encoder wires onto DB9 connectors and connect to the AJAX board.
8) Wire up the Motor transformer (a buck boost type. (Thanks RJ!)) for 230VAc in and *63VAc out.
* NOTE 63Vac ( or an optional 97Vac... which ever has better motor performance).
9) Wire in a Full-wave AC-DC rectifier / cap filter kit (also from AjaxCNC) onto the *63Vac side.
10)Output from transformer to DC is about 80VDC. This is the H2 motor mains input on the Ajax board. Connect that up!
11) Pray to the CNC and bit/byte God for more moral support.
12) VFD wire up.
13) sort out all the PLC hooks ups.... Limits, Mist, FLood, Oiler, etc. That will be a post all in itself most likely and is far enough off that I'll end here for now.
IMAGE- OK? Where did the insert image option go?? It only takes a URL now and now browser from computer? Hmmm Do I need finally setup my Google gallery and point there?


