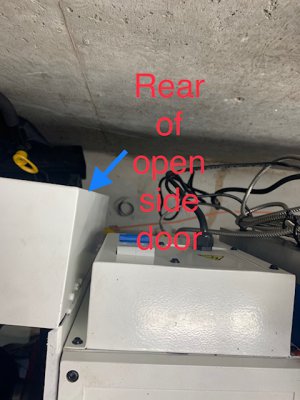
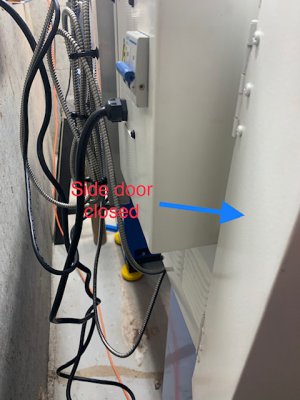
I just got word that my 1228 is at the warehouse getting ready for PM to give it the once over before I get to take it home so I will probably have it in the next week or three (I'll know more the end of this week). While I have experience using tools, it has always been on tools other people have installed and maintained so this is the first time I am setting one up myself. My questions for all of you are around what I need to do as far as setup in prep for its arrival and once it arrives.
I already have the table it is going to live on set up in place and leveled pretty well (it's a 100+year old Pittsburgh basement). I have a master precision level on hand for making sure the bed is straight once it's mounted and can shim it from there if need be.
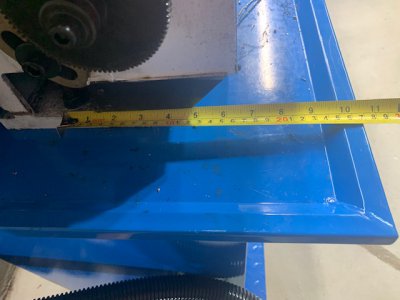
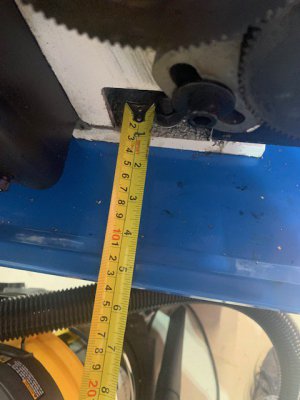
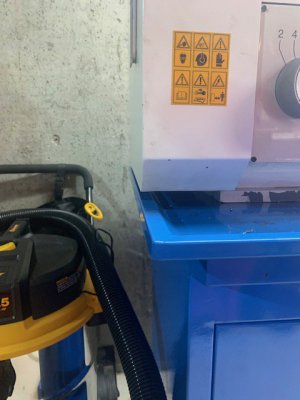
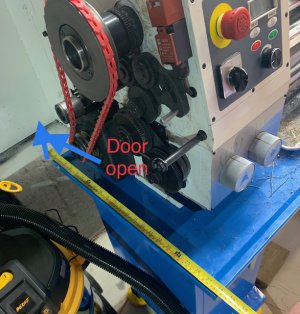
My plan was to mark out and drill the holes to mount it ahead of time so that when the lathe arrives I am ready to just bolt it down. I have seen the measured drawing that is in the manual and posted on the web page showing the spacing between the holes but, even though I know I have seen them, I cannot seem to find the measurements of the chip tray. My question is, if I would like the chip tray even with the front edge of the table, how far back from the front of the table should the mounting holes be? Similarly, the diagram shows the distance from the first mounting hole on the left side to the end of the machine, but does not tell me how much overhang there is beyond that for the chip tray. I have been told that the holes in the chip tray allow or some adjustment, but if someone could be so kind as to give me the distance from the left-most mouning hole (or just the left edge of the machine) to the edge of the tray, that would be great as well. Alternately, if there is a better way to lay this out, please let me know. I guess, technically, I could have the moving crew put it in place, mark it, and then have them move it so that I can drill the holes, but this seems like that is inviting trouble since, as I mentioned the table is already leveled and with, the floor being what it is, if it gets knocked out of place, all that work is for nothing so I was hoping to minimize the chances of messing that up.
Assuming that all goes off without a hitch (which it should), I also wanted to ask about recommendations once it is installed. I have seen some people suggest tearing the machine down completely to clean out every nook and cranny before breaking it in and other sources say it's pretty much good to go once it's on the stand and to just run it to get everything oiled up. I know that according to the manual I need to lube everything up and run it for a bit to get it all worked in, but I have not seen a detailed, step-by-step procedure anywhere. What would you recommend?
Finally, as I mentioned, this is the first time for me setting up something like this so please feel free to pass along answers to any of the questions that I don't even know to ask.
Thanks,
Mark

