- Joined
- Jul 1, 2012
- Messages
- 1,356
Hi everyone,
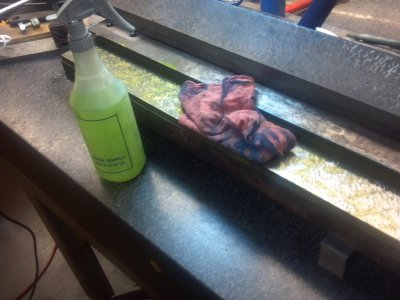
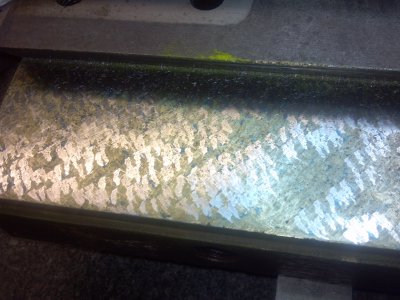
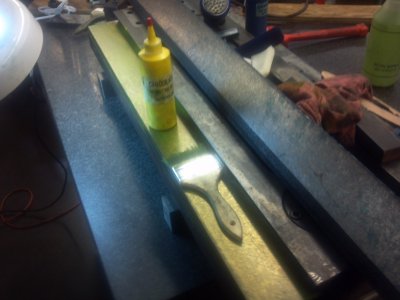
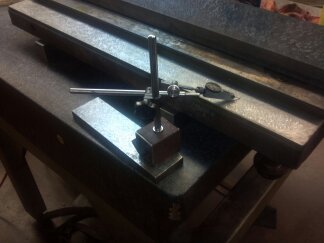
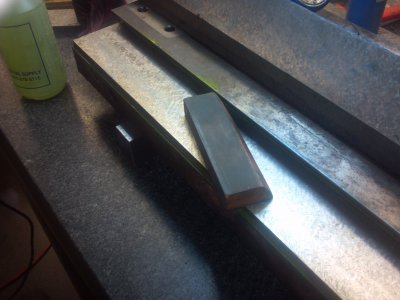
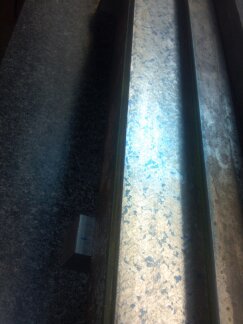
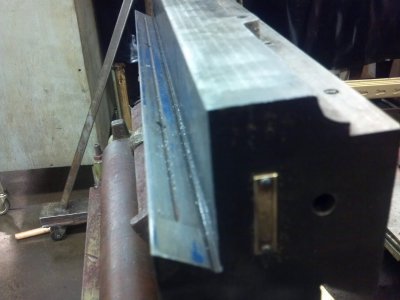
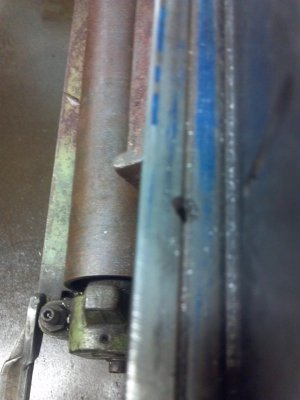
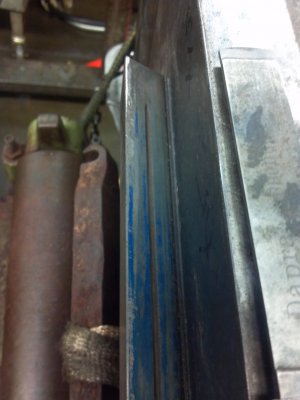
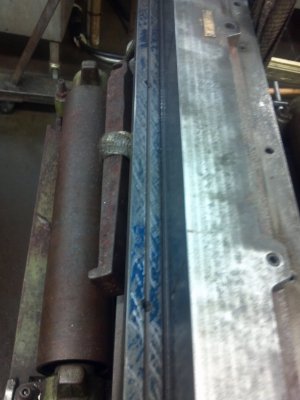
I am scraping the ways of a Nippon Center-less Grinder this week. It looks a lot like a Cincinnati. Yesterday I took some photos. My students who have attended my scraping seminars know what I am doing here as I teach them this trick in the class. When you first look at a way, look for an unworn surface to judge or measure how much the part is worn and then scrape it off first. In you work booklet I say remove all ridges as it wil change the geometry of the way as in this case it is a dove tail. The factory cut the bottom of the dovetail low on purpose as you will see in a photo. But when doing this the mating surface will end up with a narrow ridge on it as it does not wear.
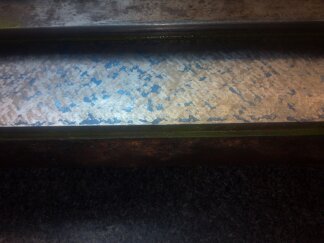
I blued the part and on the top of the dovetail is a 1/6" narrow strip of bluing, that is the ridge. I scrape it off if I didn't do this and scraped the bottom of the dovetail and the ridge I would change the angle and when I go to blue up the mating surface the angles will be different and make for more work. This machine is a fine example of another thing I teach. The machine uses grease as a lubricant and the principal of using grease on a grinder is the grease acts as a seal and not allow the coolant with the grit to penetrate under the ways. The problem is the owner never cleans the grease off the end when it is pumped out or purged and the grease on the ends get full of grit and acts like lapping compound and the ends wear faster and the ways get high in the middle. So this is why we hing the master straight edge we use to blue up the part.
The way that is worn on the ends gets high in the middle and looks like the bottom of a rocking chair. We lay the master flat straight-edge on the dovetail, rub it, then pull it out of the bottom about a 1/8" and pivot by alternating pull and pushing you hands to check the shake or some call them airy points. It should be between 25 to 30% from the ends when it is flat. I will also relieve the middle 40% of the shorter way when I am finished so when the machine runs again the ways will become flatter and the .0005" to .001" lower area will act as a oil reservoir or lake for the oil. This something I teach a lot in my classes! If any of my students can comment please help me explain this to the readers.. Bill from the GA class wrote about this in another thread.
Got to get to work. Rich


