- Joined
- Sep 22, 2010
- Messages
- 7,222
https://grassrootsmotorsports.com/f...1947-9a-south-bend-lathe-rebuild/64148/page1/
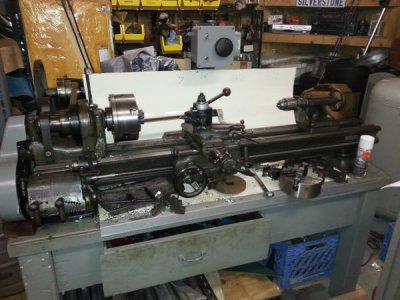
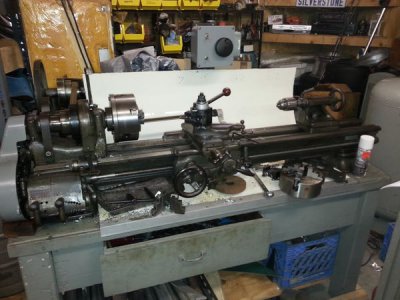
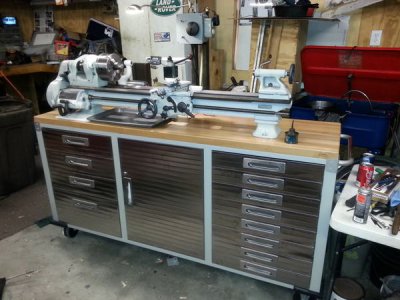
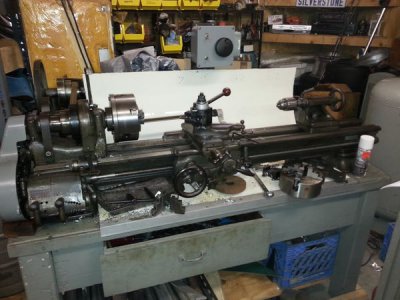
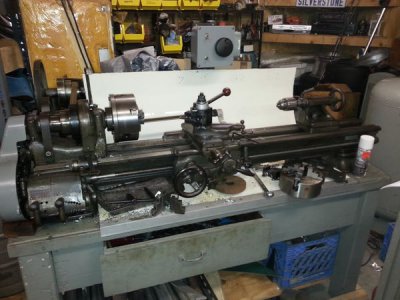
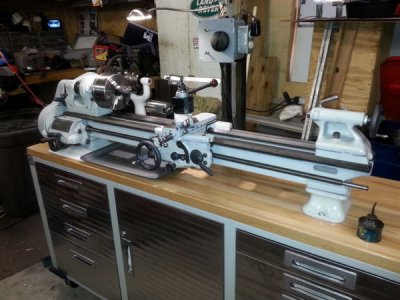
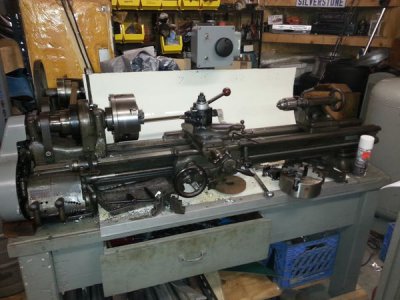
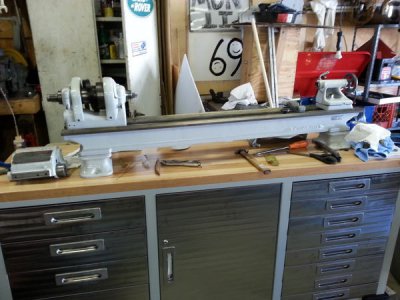
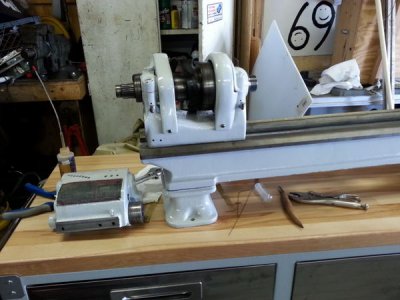
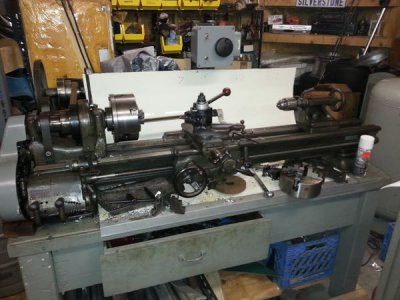
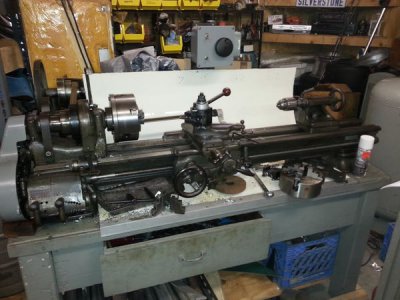
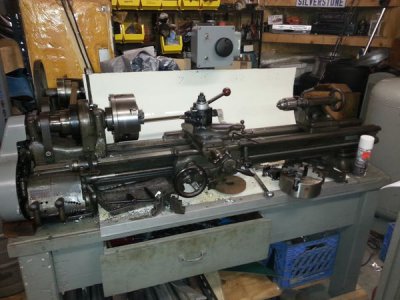
This is a 1947 South Bend 9A, 54" Tool Room Lathe. The A means it has the quick change gear box and full power feeds rather than the change gears and manual feeds. Not long after I bought it, I added a 2.5 hp DC motor and variable speed drive.
I bought this lathe 10 years ago for $400. It had been sitting in a shed for a long time and was nasty. I cleaned it up some then, but mostly just the surface dust and dirt. I have used it very little in the last couple of years due to space at the old house, moving, and other projects. I have the castings for a couple of steam engines I want to build so I'm setting back up the machine shop. First order of business is getting the lathe ready to work hard. That means a full tear down to remove all the nasty old oil and grease, swarf and to change all the oil felts and wicks.
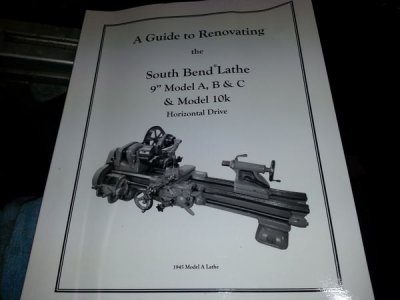
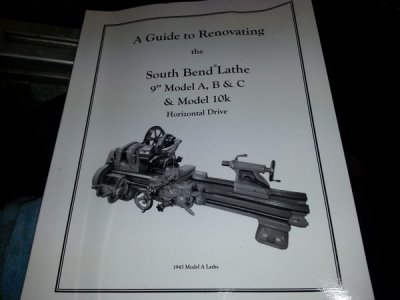
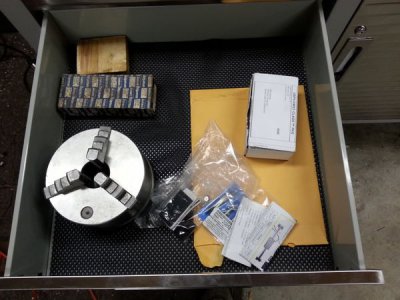
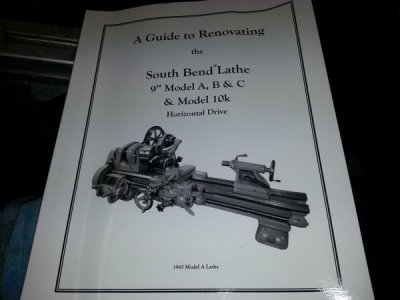
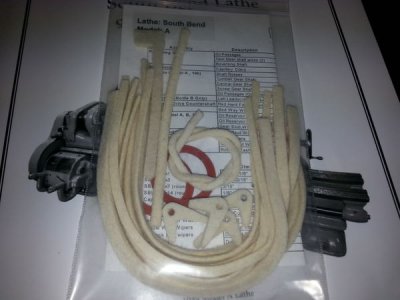
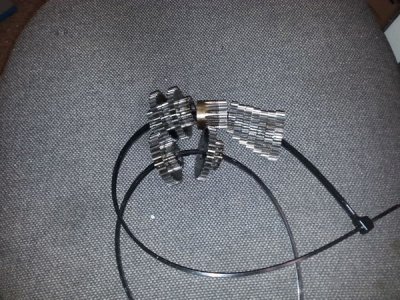
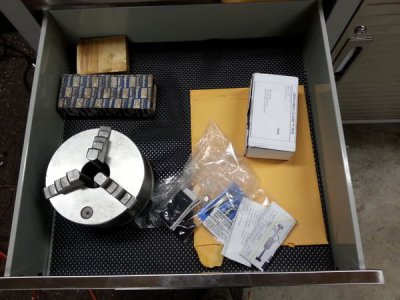
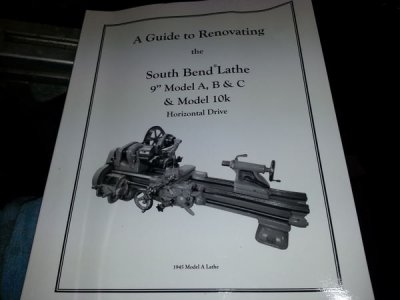
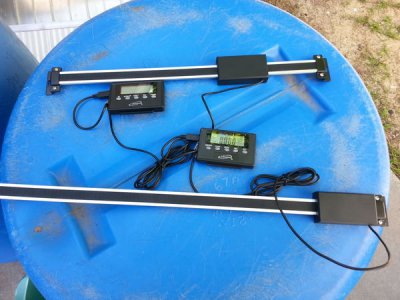
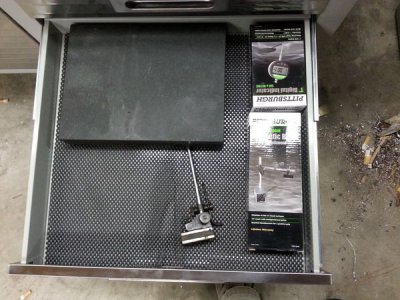
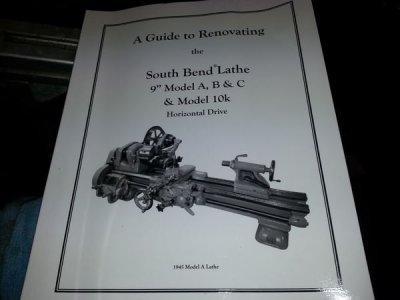
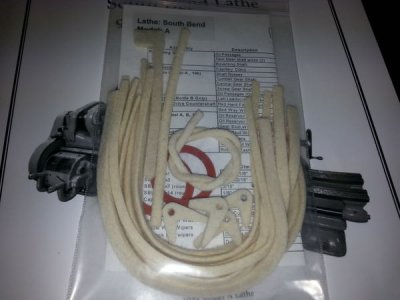
To aid in this project, I ordered this off Ebay.
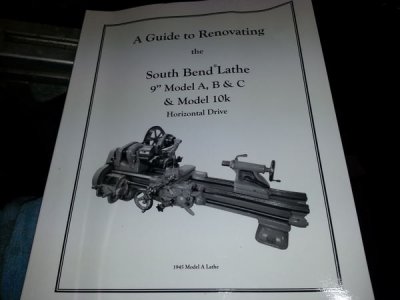
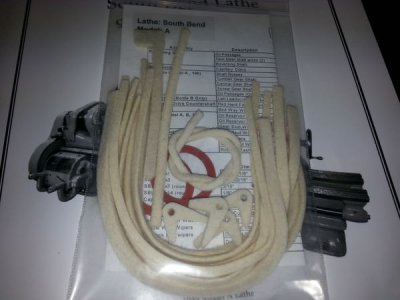
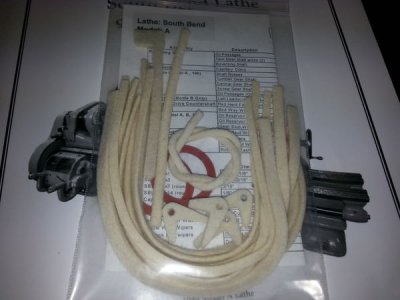
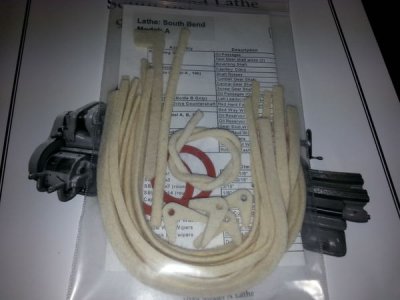
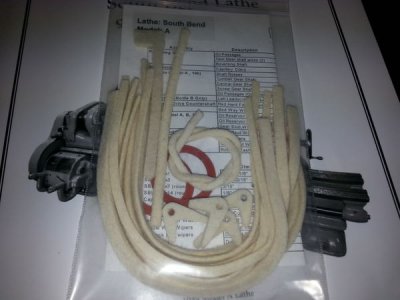
It also came with all the felts and wicks. There are no ball bearings in the entire machine. Everything turns in the cast iron. The felts and wicks supply a continuous thin coat of oil to the bearings as the shafts and gears turn.
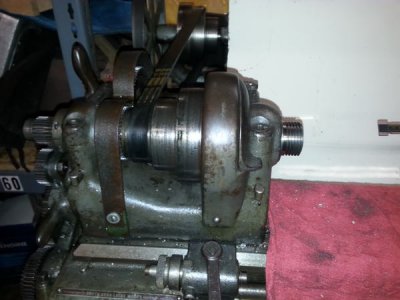
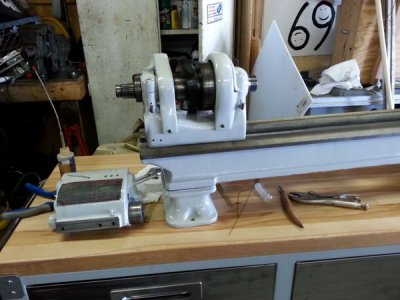
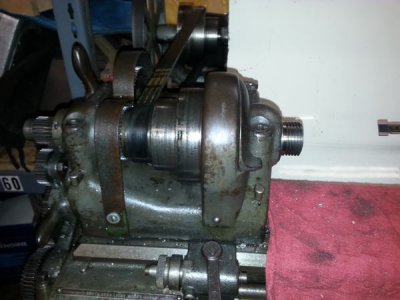
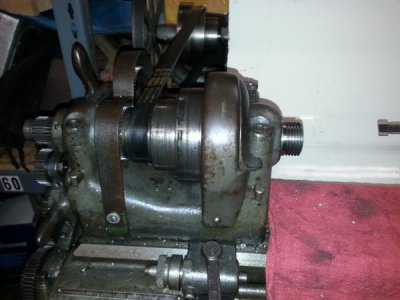
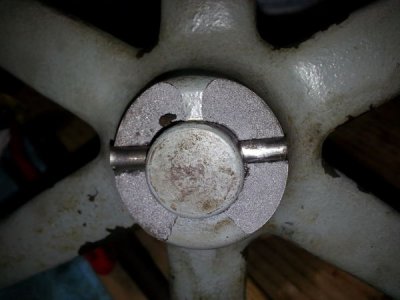
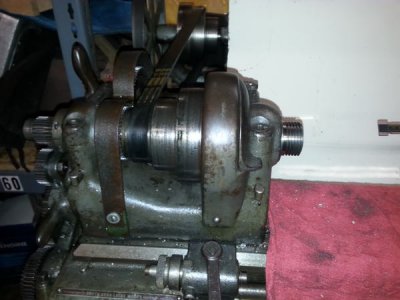
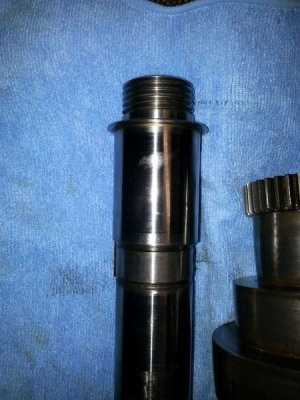
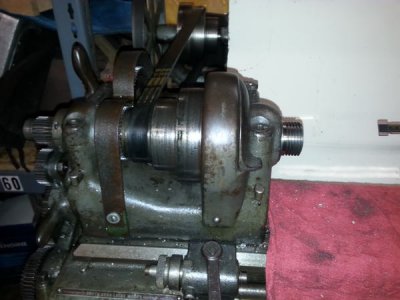
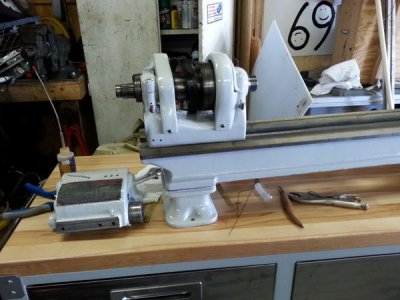
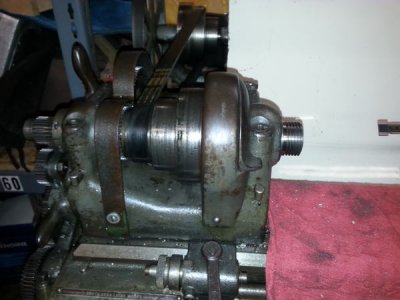
The first order of business was to get the chuck off the spindle. After 10 years of cutting it was tight. I ended up chucking up a piece of square stock and holding the belt pulley with a strap wrench.
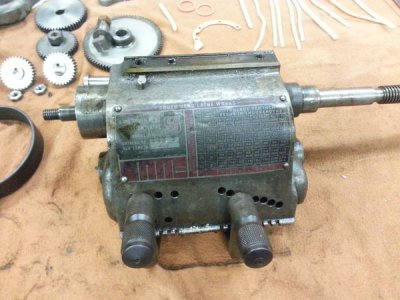
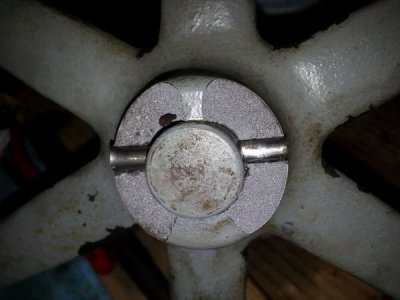
That leaves you with this:
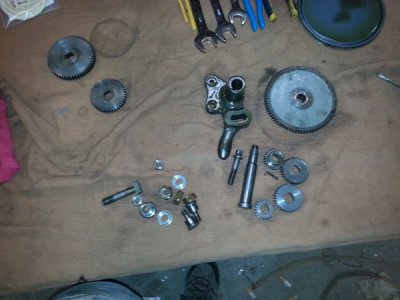
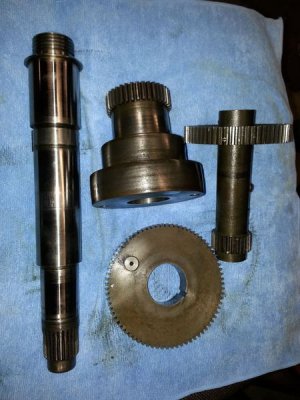
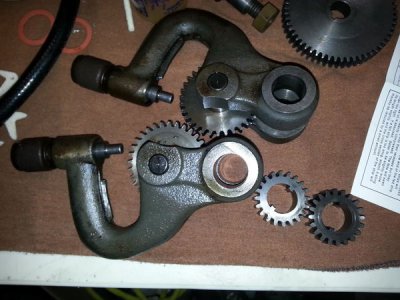
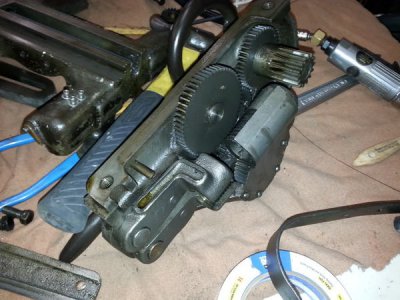
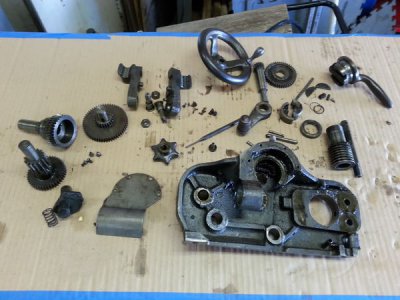
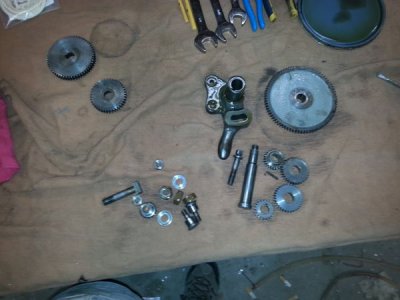
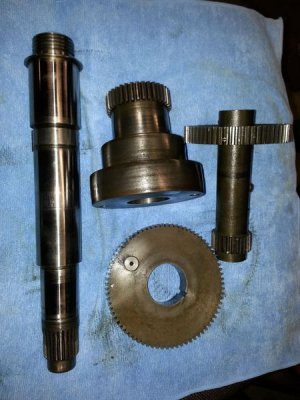
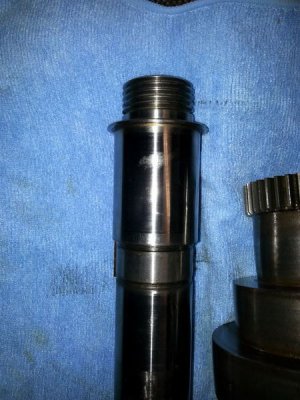
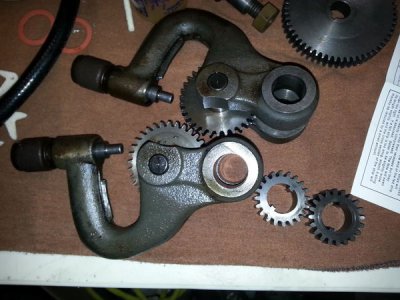
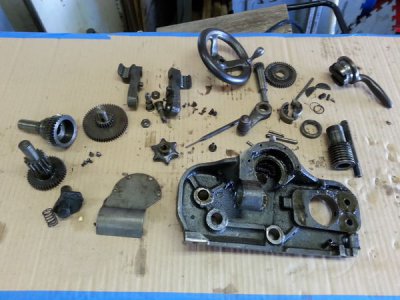
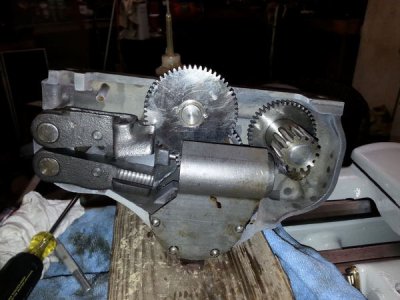
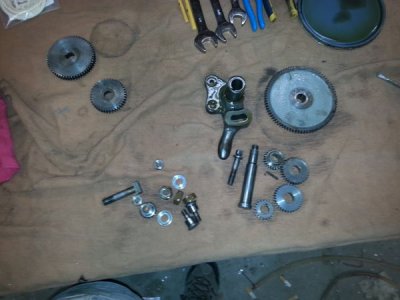
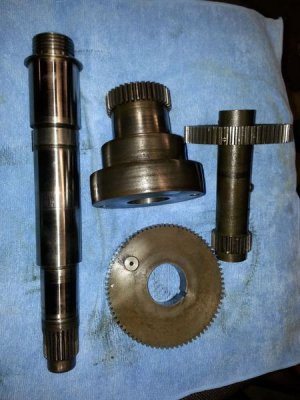
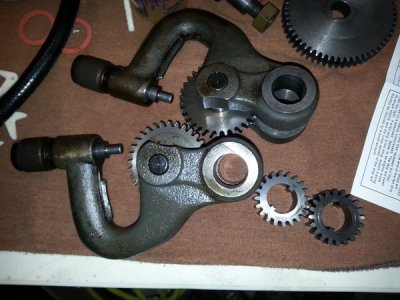
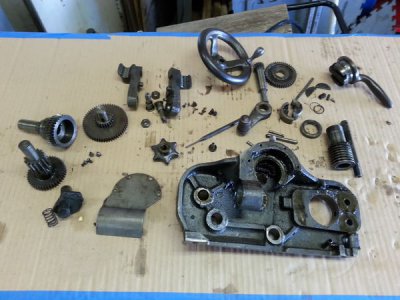
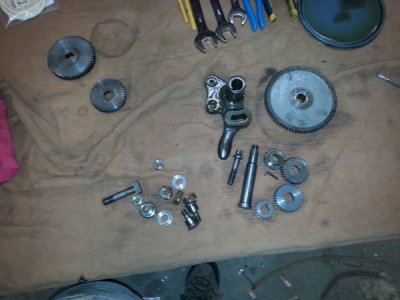
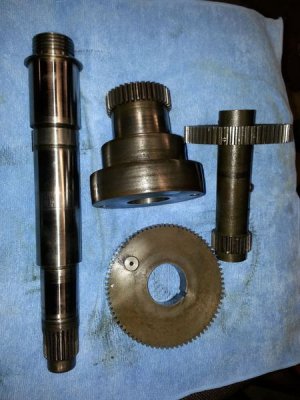
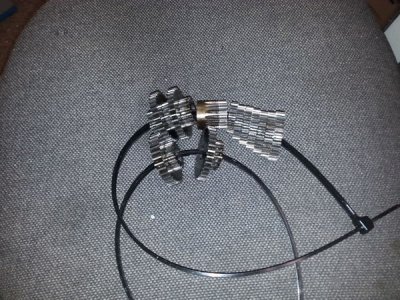
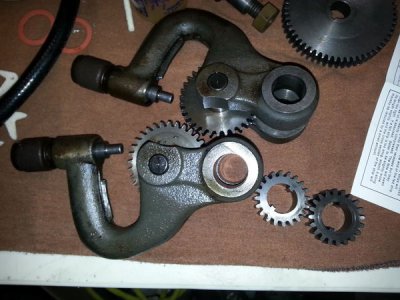
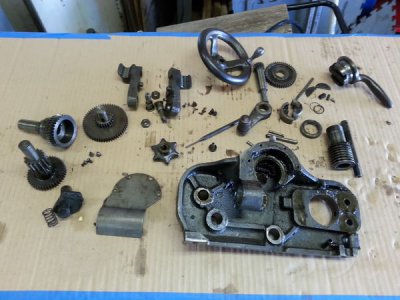
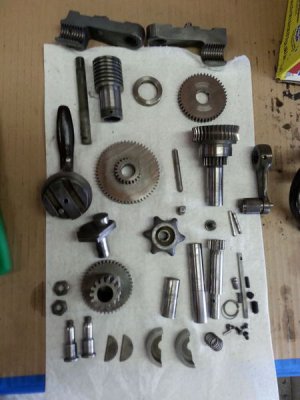
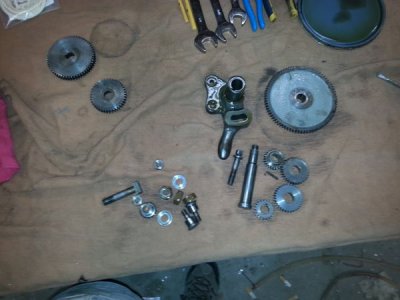
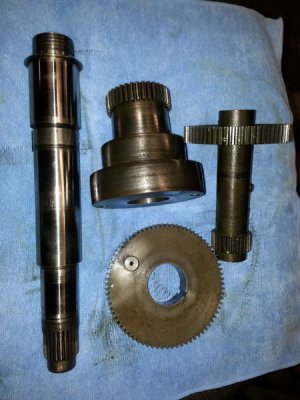
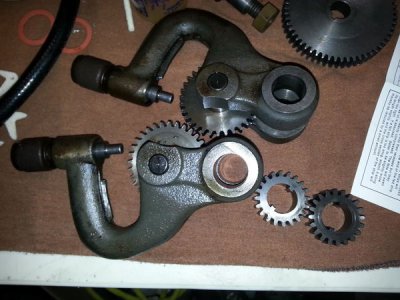
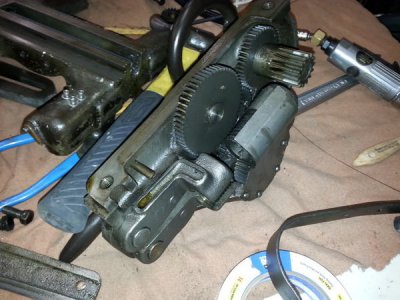
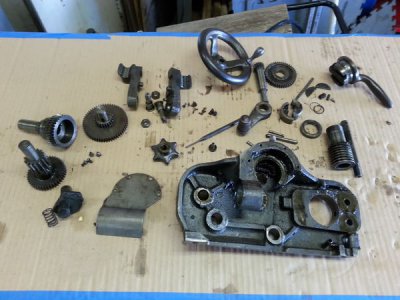
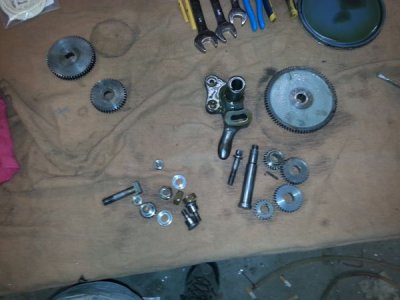
Next was to pull the reversing gear assembly and drive gear off the gear box. I didn't take any pictures of it assembled. This is after a dunk in the parts washer. The gears and shafts don't look too bad for being 66 years old.
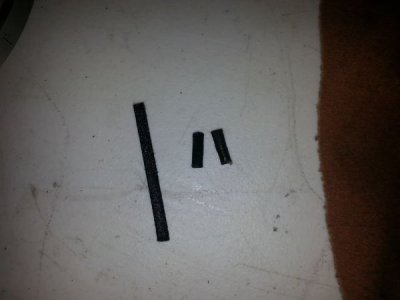
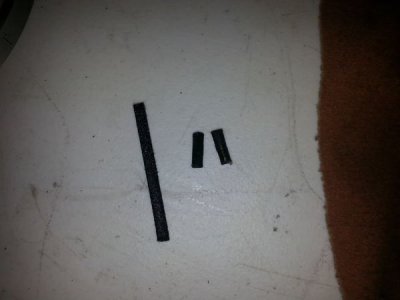
These are the old felts out of the reverse gear assembly. They are hard and choked with crap. Replacing them is the main reason for the tear down.
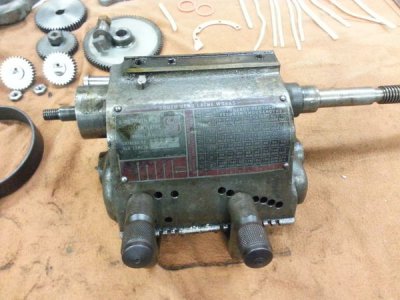
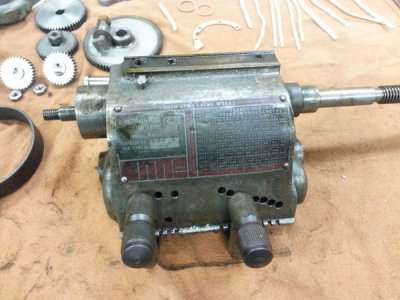
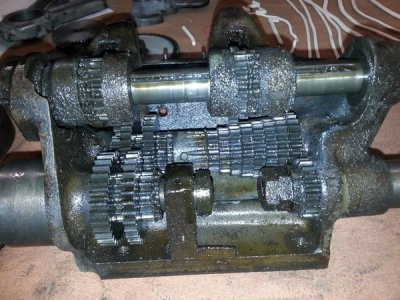
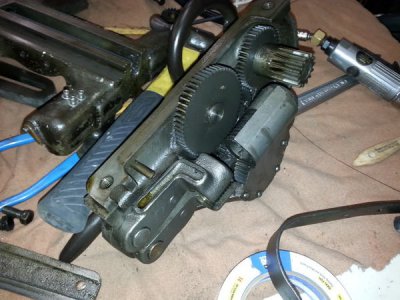
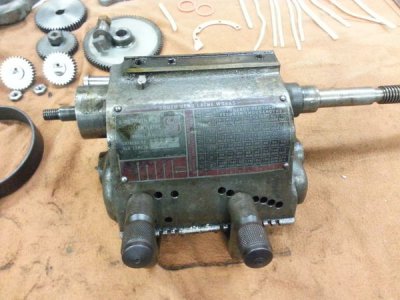
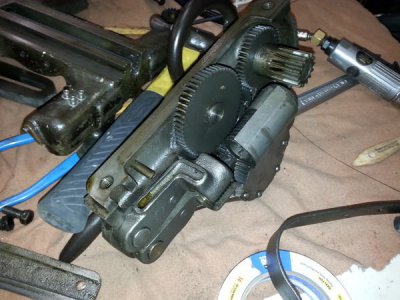
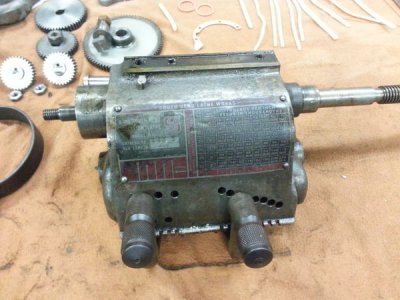
The next step was to pull the gear box. The carriage lead screw comes with it.
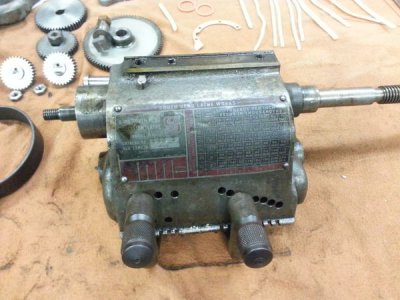
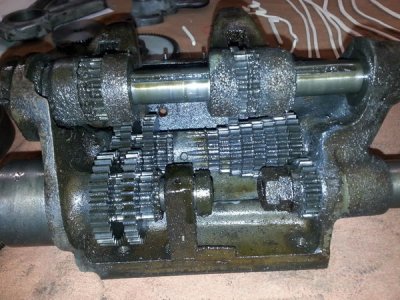
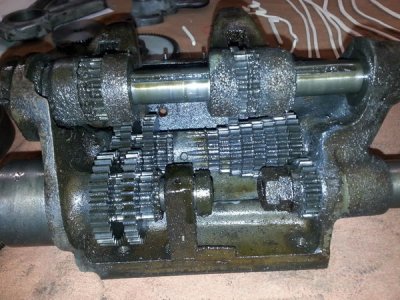
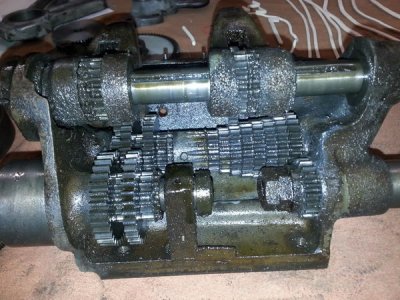
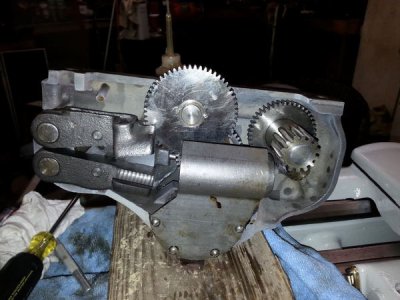
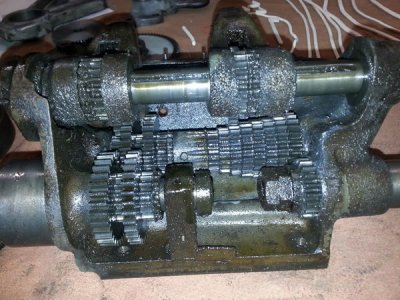
This is what it looks like inside.
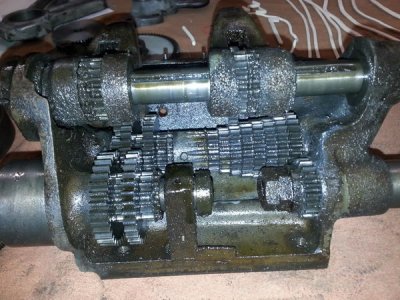
That's as far as I have made it, more to come as it happens. I'm trying to decide if I should paint it while I have it apart.
OK, a small update. Due to an autocross Saturday and moving my daughter back from college for the summer, nothing happened this weekend. I did get some new toys for it though. and a little more disassembly done.
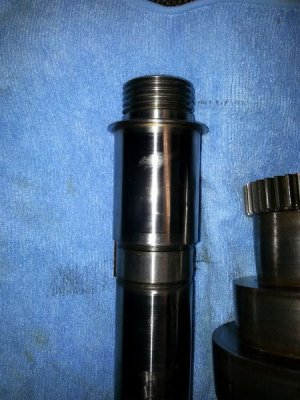
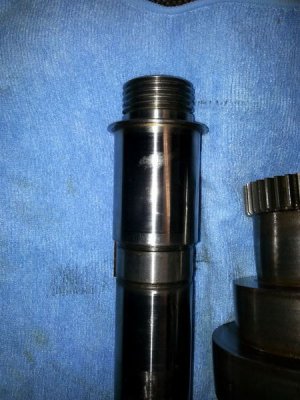
The spindle, belt pulley, back gear assembly and bull gear have been removed.
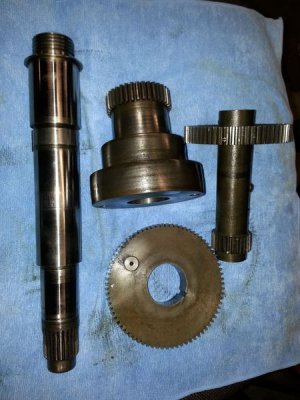
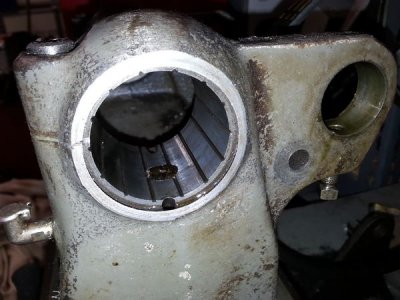
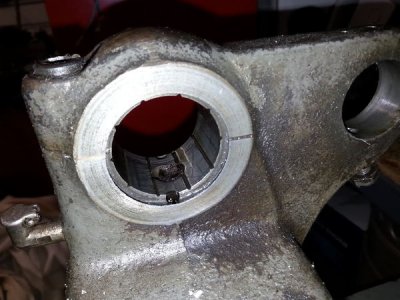
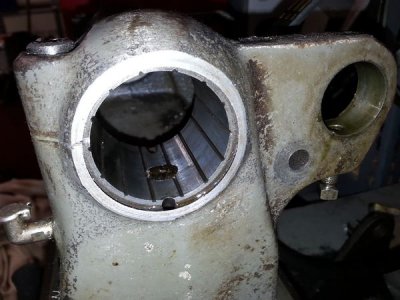
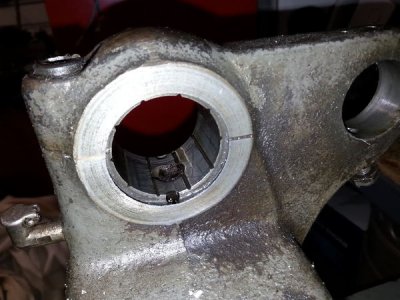
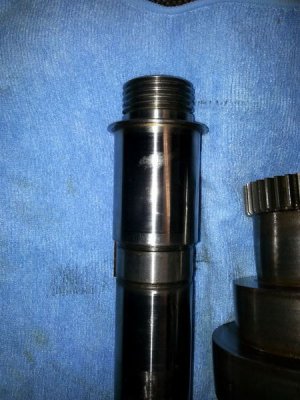
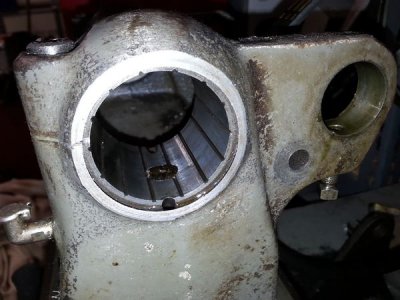
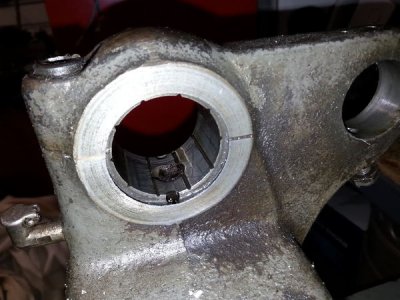
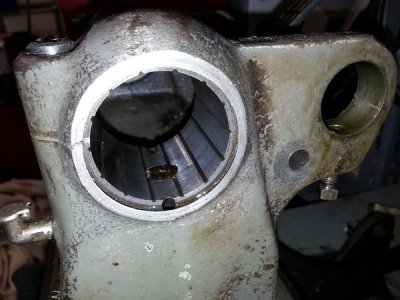
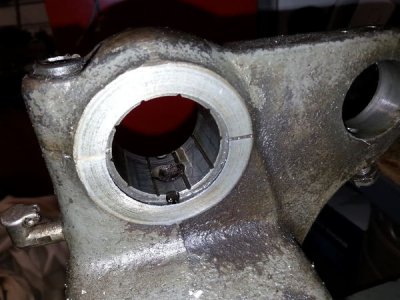
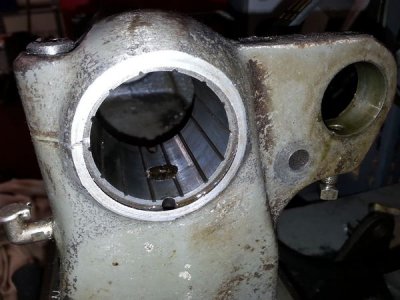
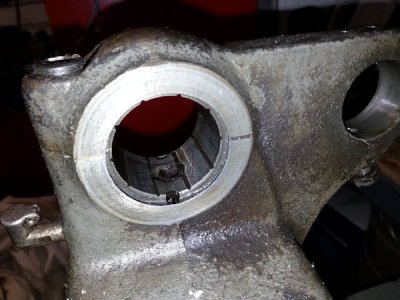
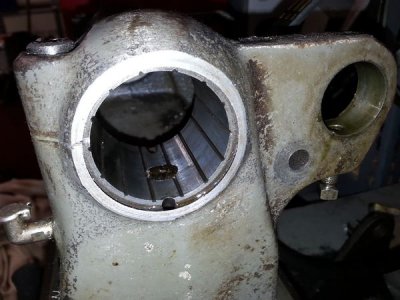
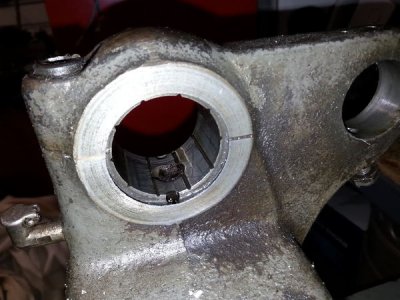
I'm amazed that the bearing surfaces are damn near perfect. I haven't had the spindle out in 7-8 years and many hours of running.
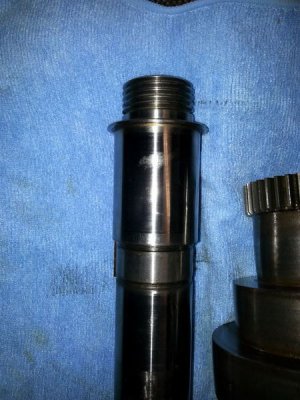
The hole at the bottom of these bearings is where the wick for the oil cups go. As you can see, they aren't in very good shape. They will get changed.
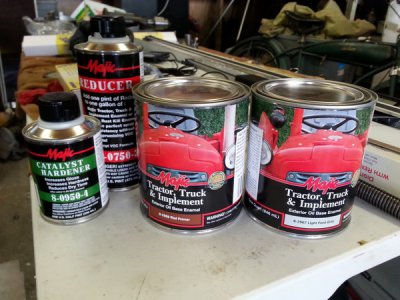
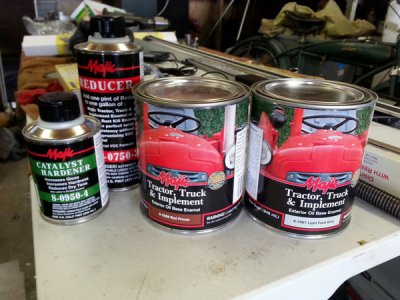
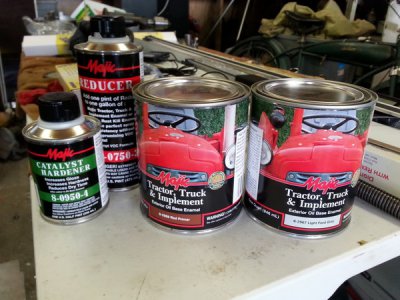
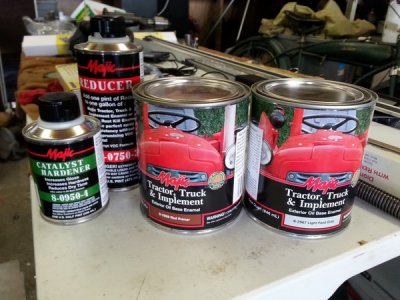
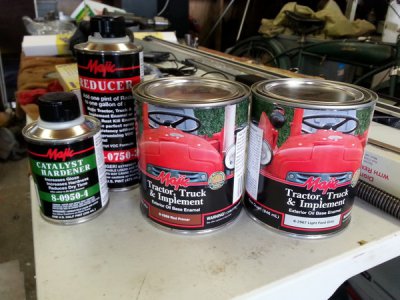
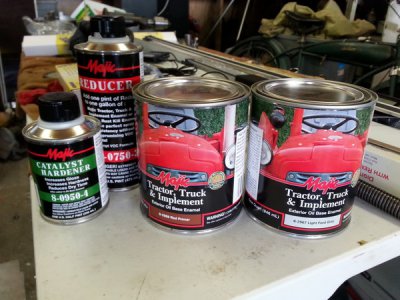
Now for the toys. I've decided to go ahead and clean it up right and paint it. It will make it easier to keep clean and keep the rust to a minimum. So we have paint. This is from Tractor Supply. I've used their paint before with good success. It's a high gloss oil based paint. I'll be using their hardener and reducer as well. The paint will set up without the hardener, but it's more durable if you use it.
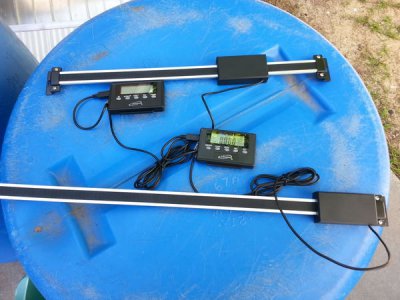
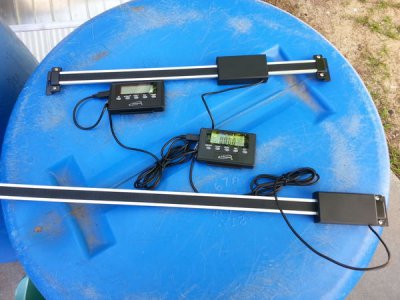
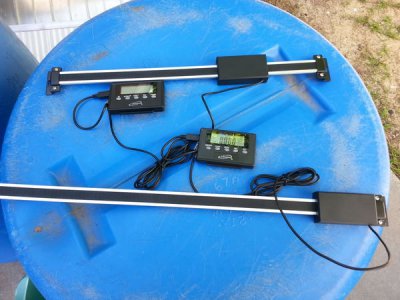
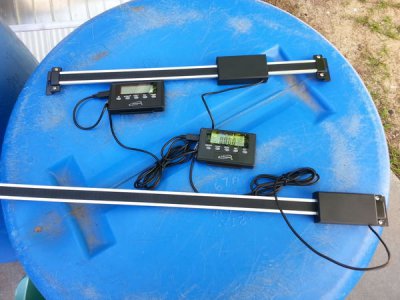
I'm also going to add DROs to it. I ordered a 36" for the Z axis and a 6" for the X axis. That will make it much easier to make accurate cuts.
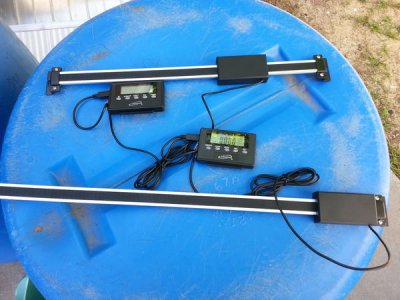
While I was at it, I ordered a full set for the mill too.
More to come.
Update again.
I did get a little more done this past weekend. It's basically stripped down and at minimum, the initial cleaning is done to everything except the bed.
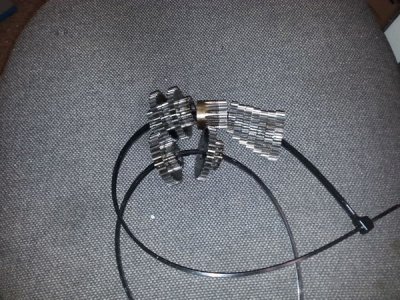
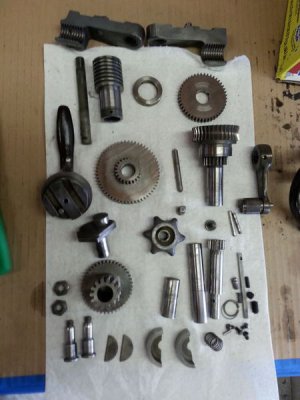
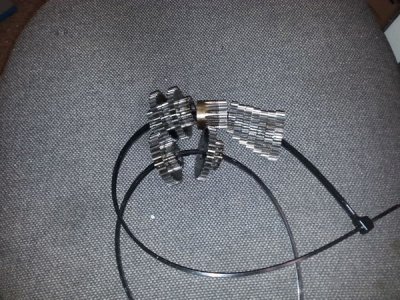
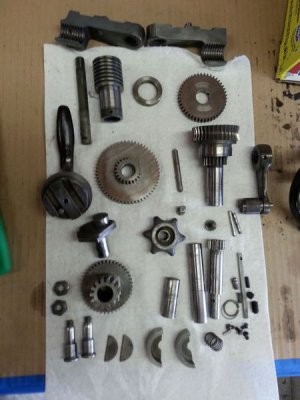
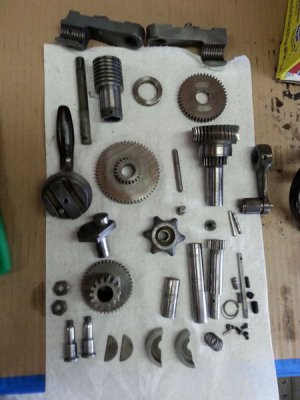
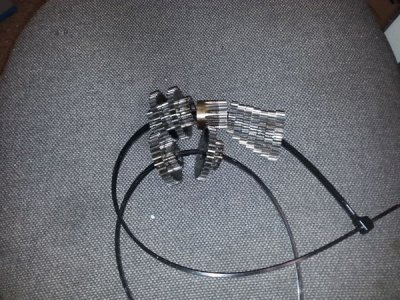
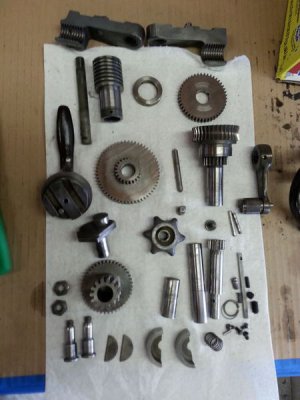
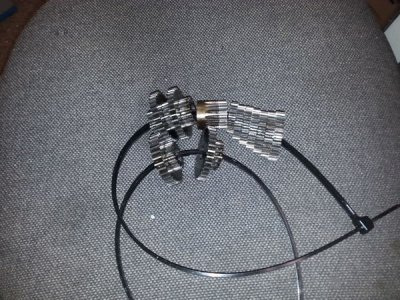
Gear stack out of the transmission.
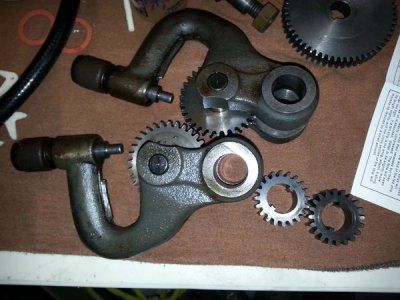
Shifters
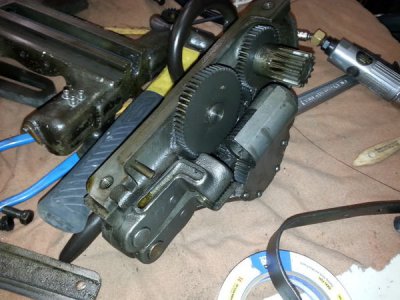
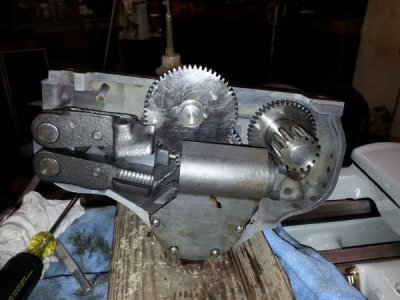
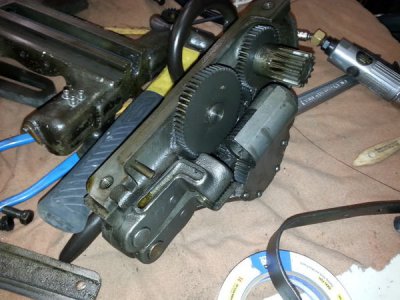
Apron with power feed transmission.
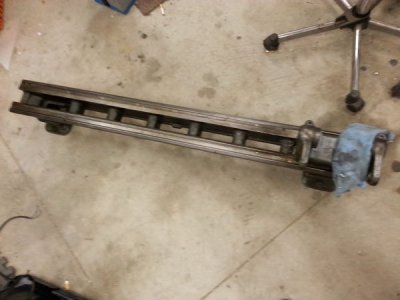
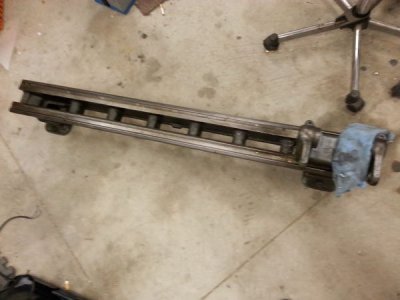
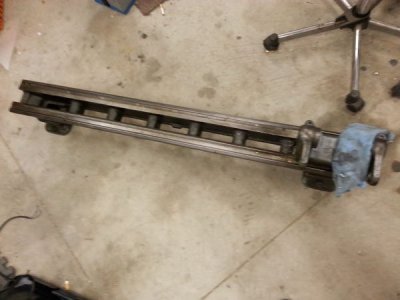
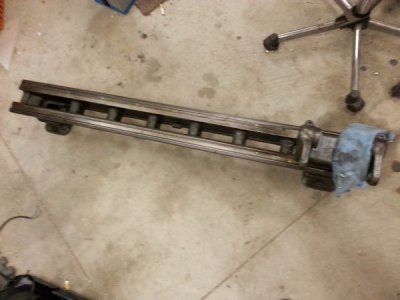
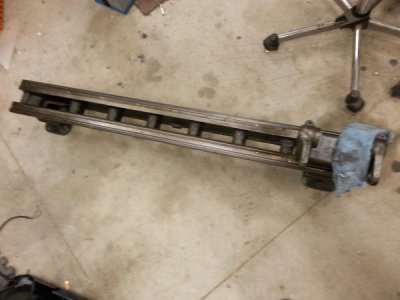
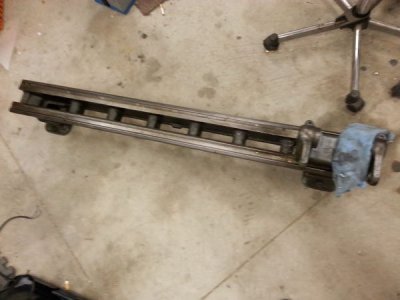
This is the bed. It's one heavy SOB so I'm not sure how I'm going to get it clean. Not much chance it will fit in the parts washer.
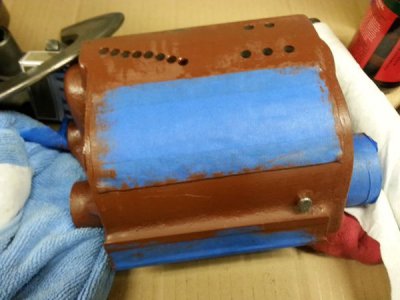
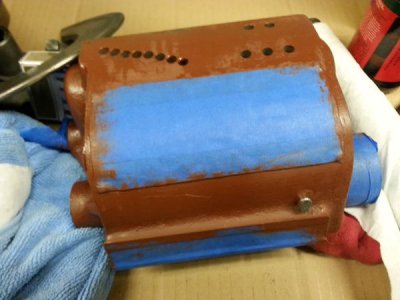
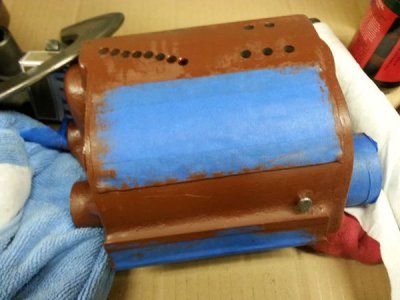
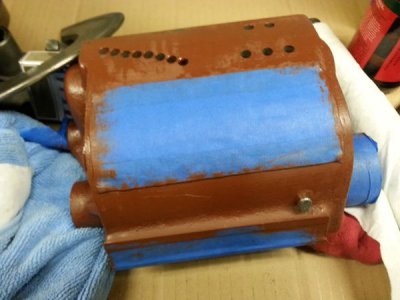
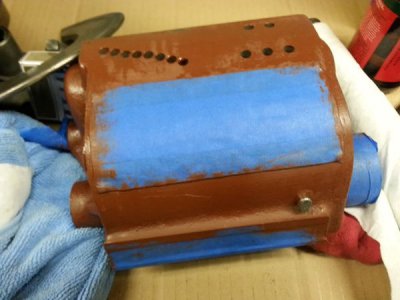
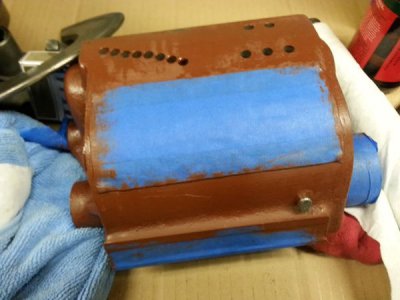
I've also got the transmission case primed.
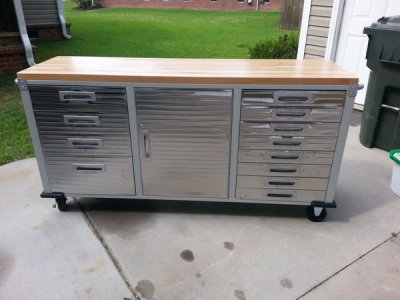
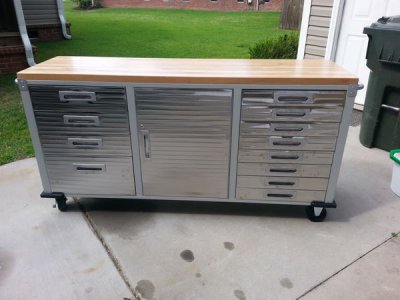
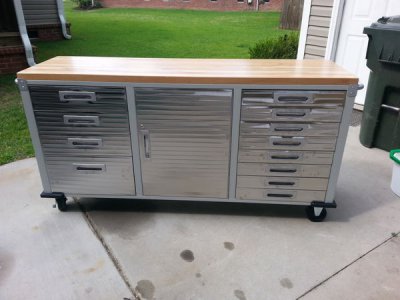
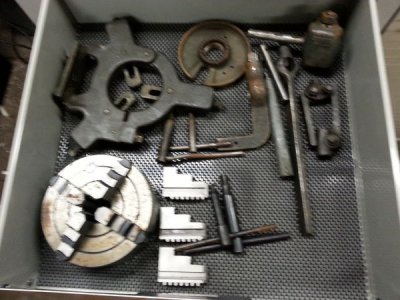
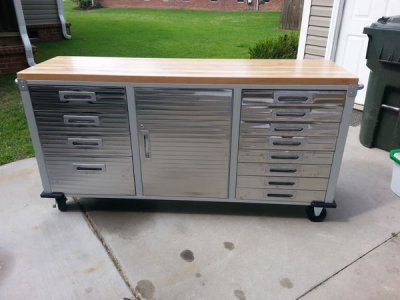
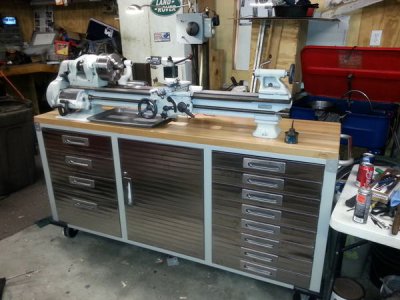
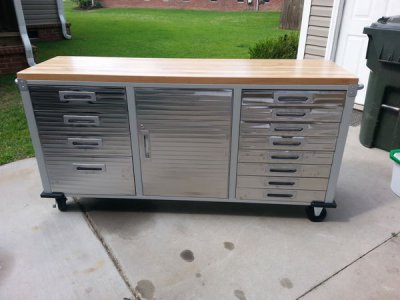
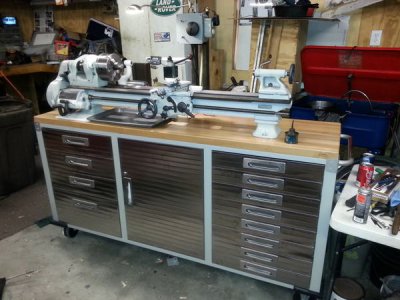
I've decided to mount it on a new bench. With that in mind I picked this up at Sam's
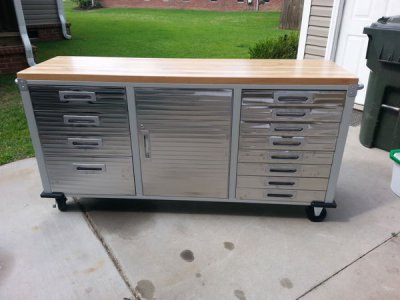
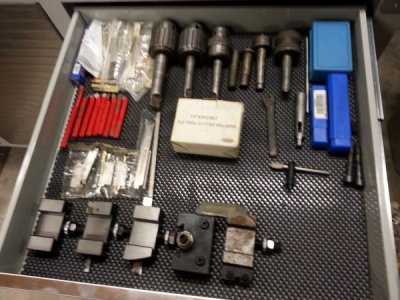
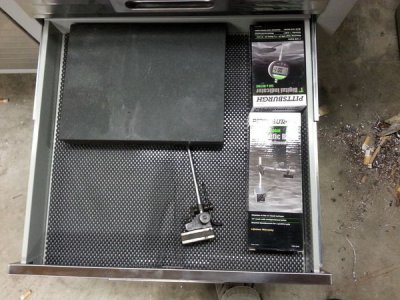
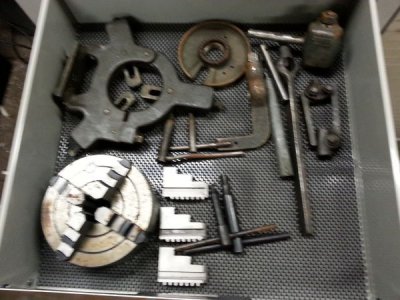
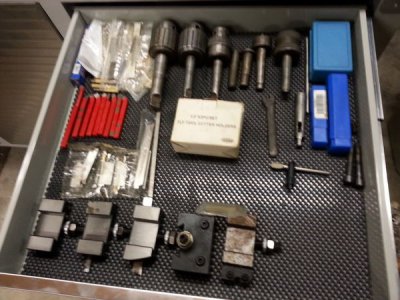
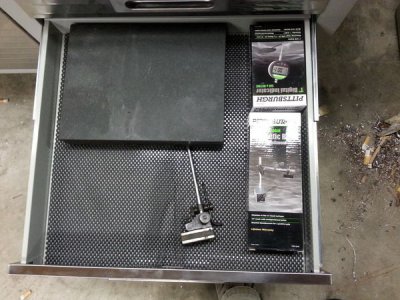
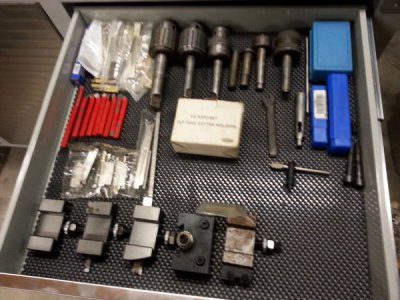
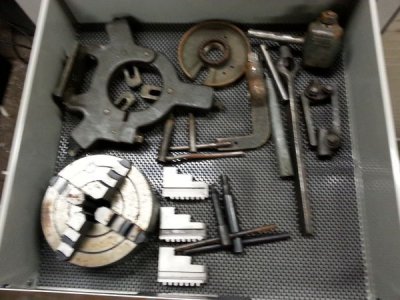
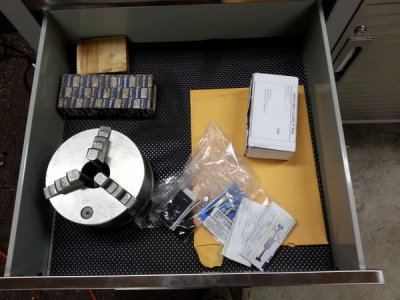
Now as I get it painted I can mount everything as it's done. The old bench had one drawer which was a mess. This will let me sort the stuff out so, maybe, I can find things when I need them.
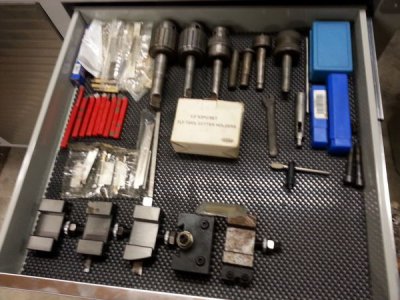
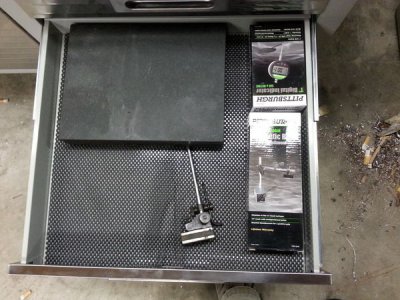
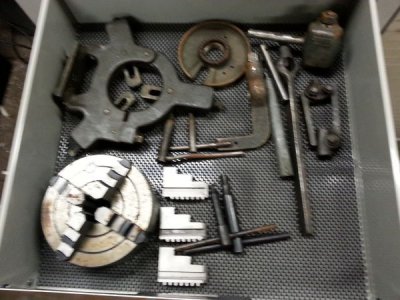
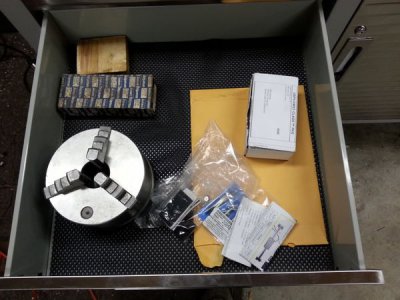
I'm looking forward to get it back together.
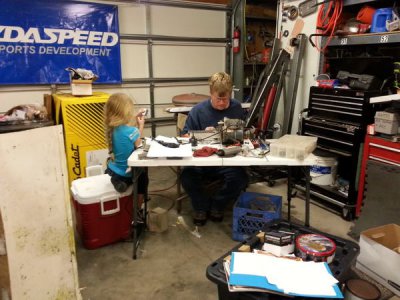
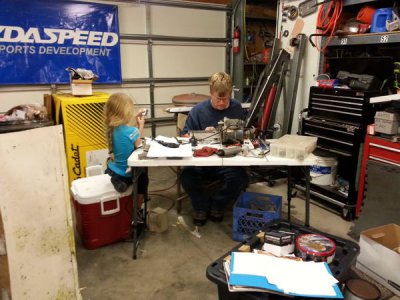
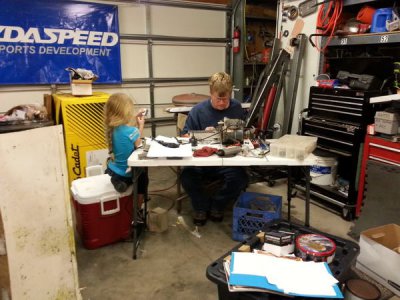
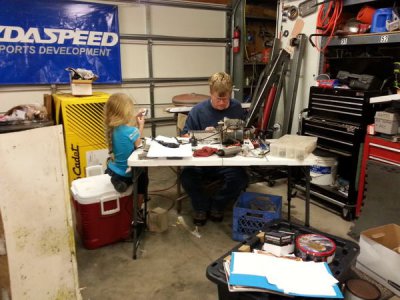
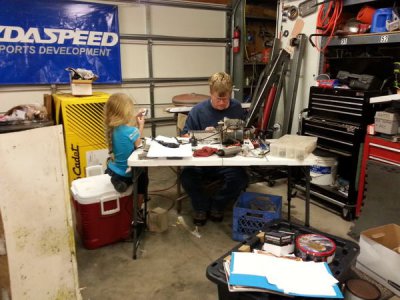
Here is why I didn't get more done. I had given my Taig lathe to my eldest son for his birthday last month. He wanted lessons on it. My granddaughter got some pointers too.
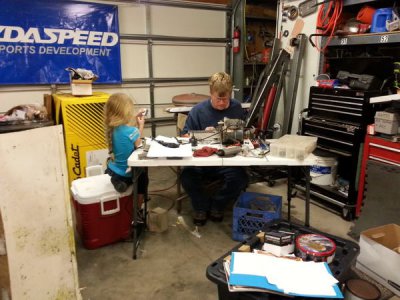
That's the cylinder for a oscillating steam engine she has in her hand. My son is turning the piston and rod.
Another update. I dedicated most of the day to moving this project forward.
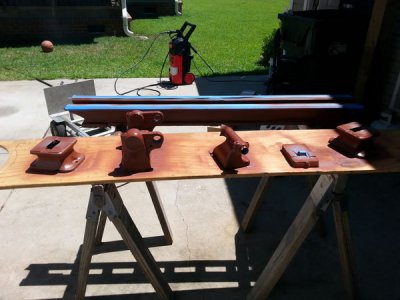
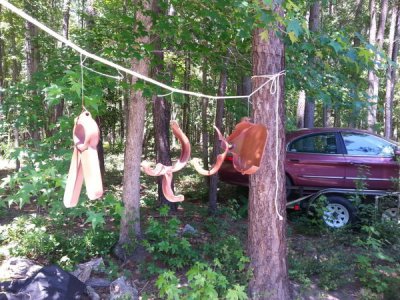
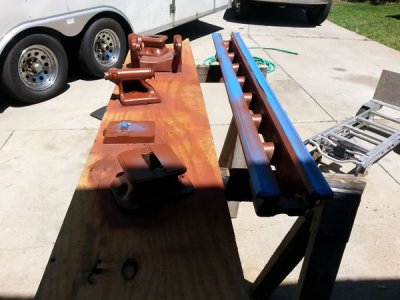
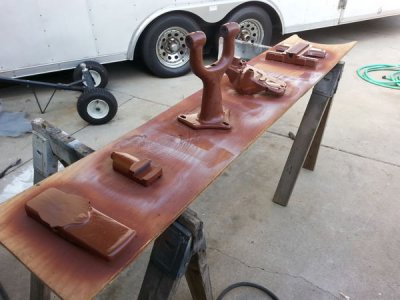
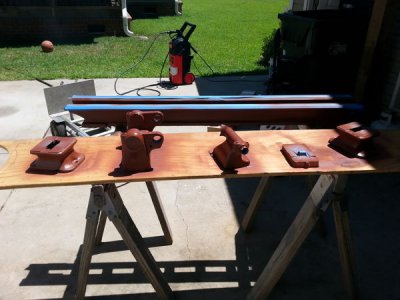
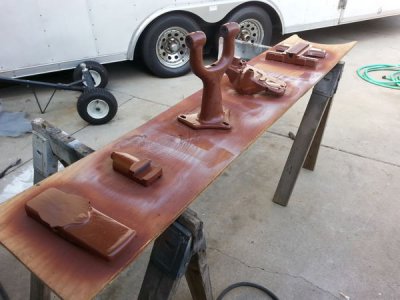
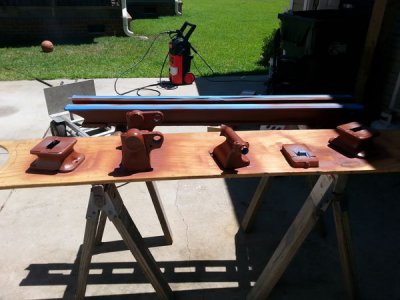
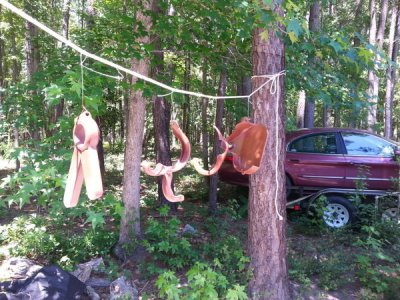
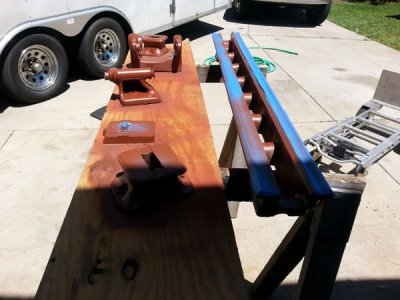
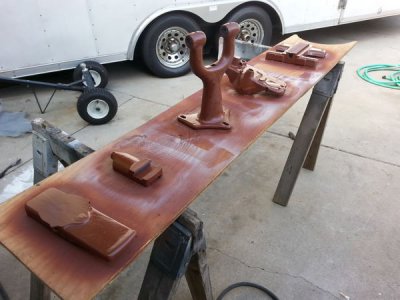
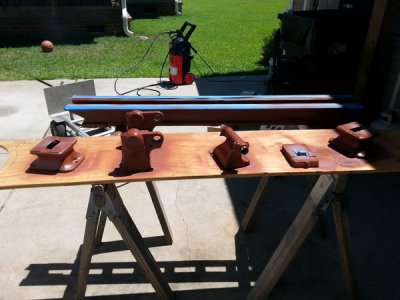
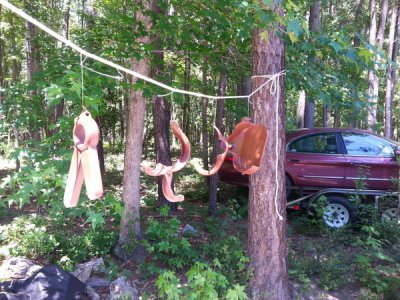
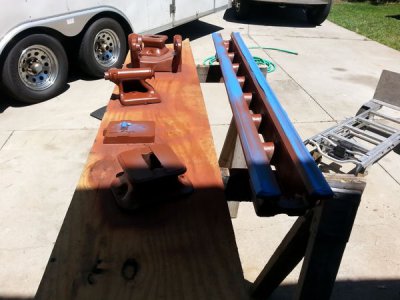
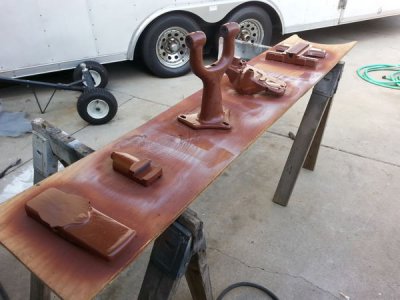
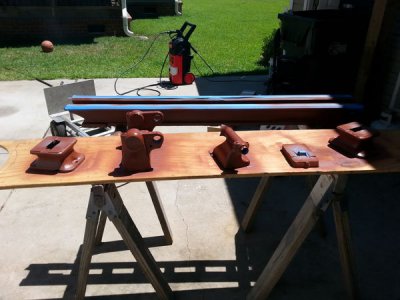
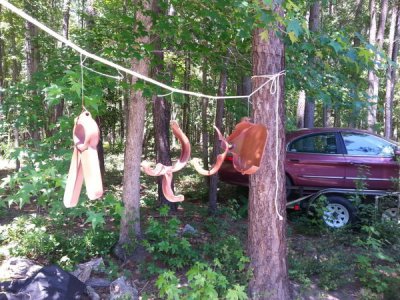
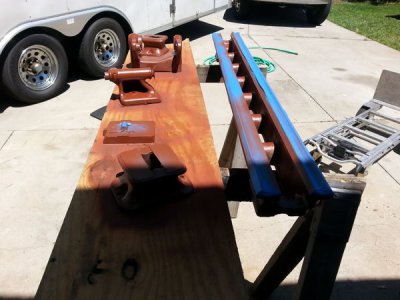
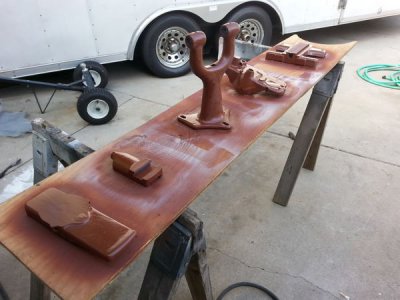
The bed is clean. I finally decided to take the pressure washer to it. Then an assortment of brushes and hot soapy water. Then some more with the pressure washer. I then heated it with a large propane torch to get all the water off. Then a bath with brake cleaner and then primer. While I had the spray gun fired up I painted all the other parts that were ready.
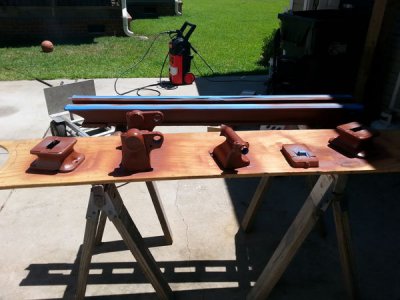
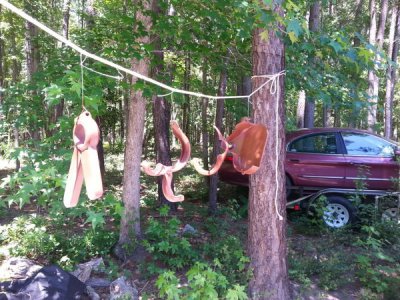
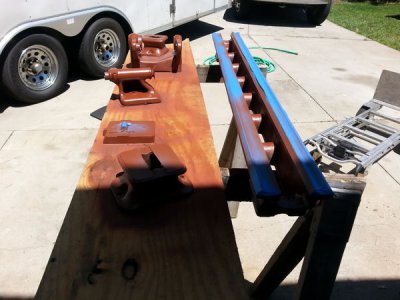
Next on the list was the apron. I have never had it apart and it was pretty nasty. There was an amazing amount of swarf and goo in just about every crack and crevice.
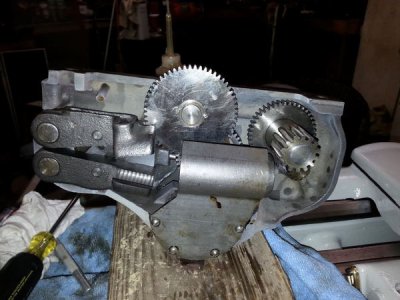
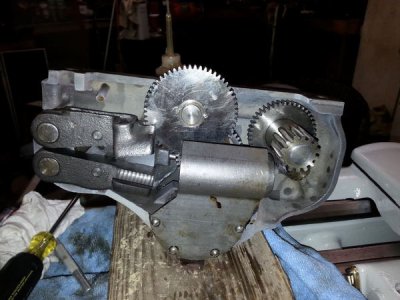
Disassembled,
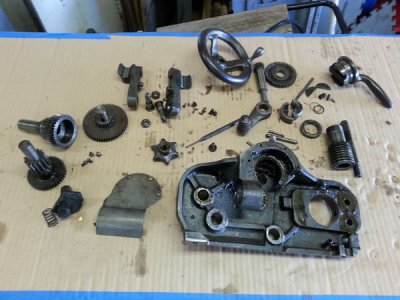
All the guts clean and ready to be reassembled as soon as the housing is painted. I'm still amazed at how well these parts clean up.
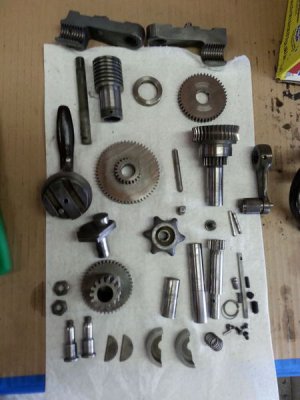
That's probably it for today. Until next time...
I should have stopped while I was ahead.
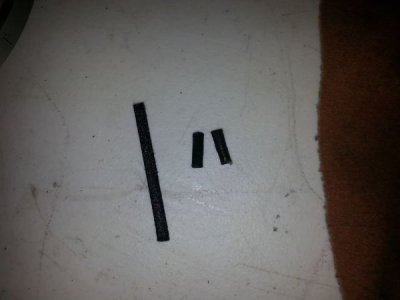
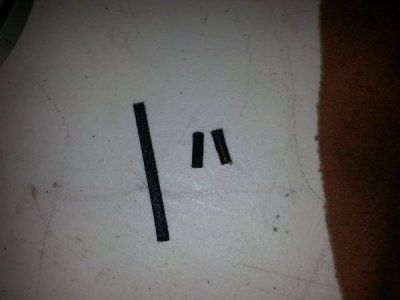
Lesson number 1. Inertia is a *****.
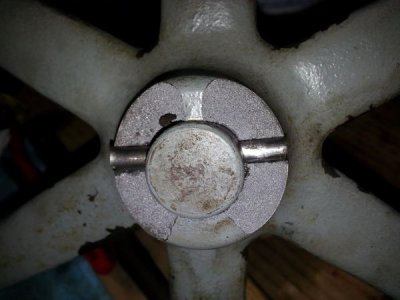
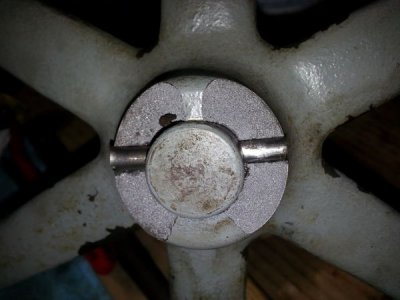
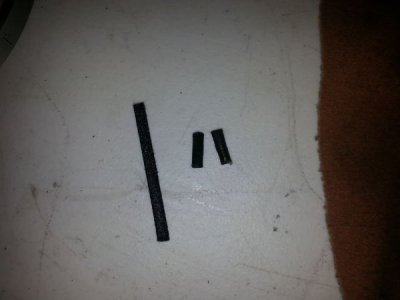
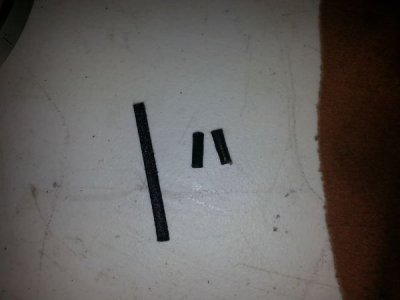
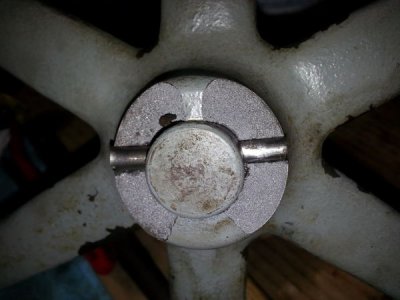
I was driving the shaft out of the center pulley in the primary pulley assembly when this happened.
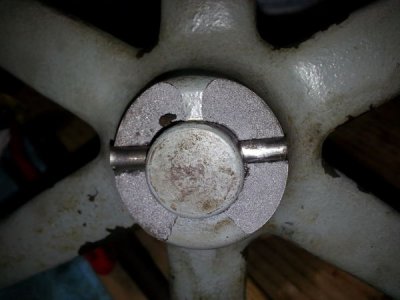
I should have pulled the large pulley first. The fragments flew off fast enough to hit the far wall of the shop with considerable force. I hate it when I do stupid stuff like this.
I think it will still work as it is but if not I'll have to track down another pulley.
Must be time to invest in a press.
Update again.
I spent the day in the shop again.
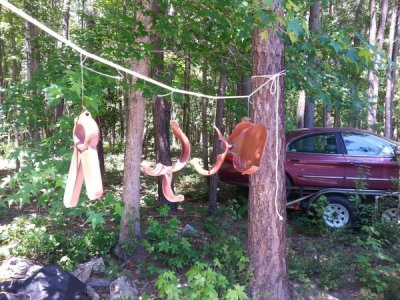
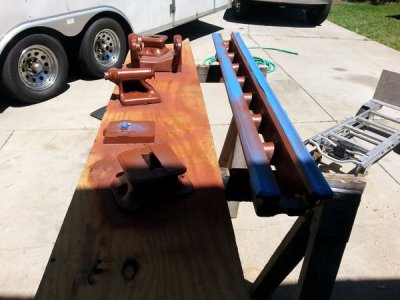
All the parts that were primed yesterday were painted today. I am pretty pleased with how it turned out.
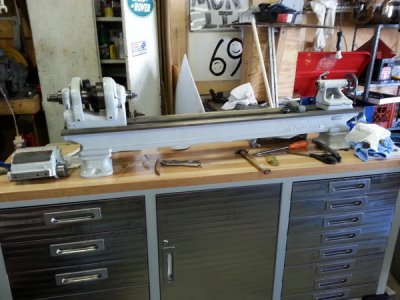
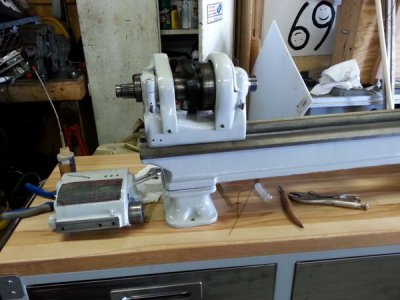
I was also able to get just about everything that needs paint, primed today as well. I'm hoping to get the finish paint on them tomorrow. Then it will be down to assembly.
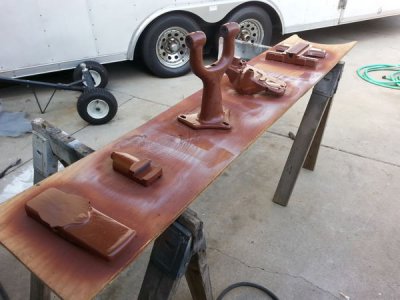
I pretty much took the day off today after putting close to 18 hours into it in the last couple of days. I did spend an hour or so mounting one of the DROs and putting final paint on the stuff I primed yesterday.
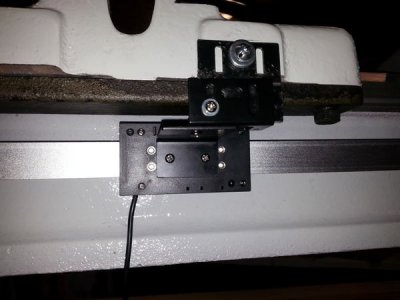
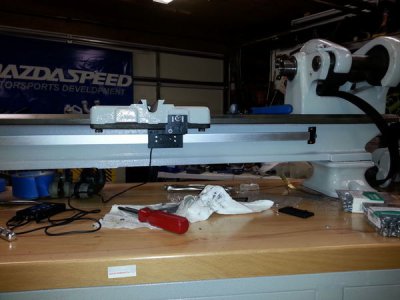
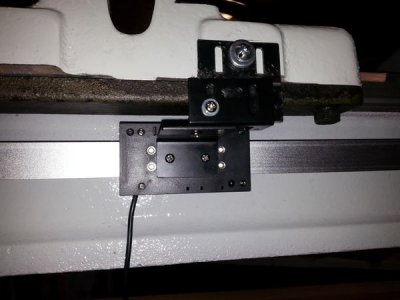
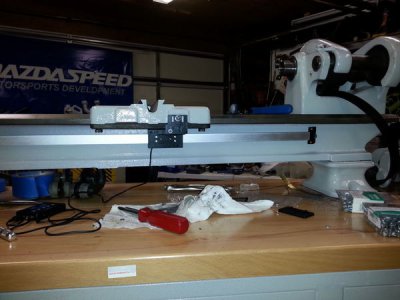
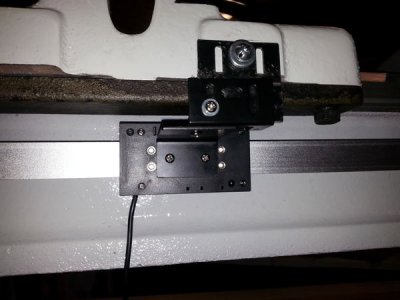
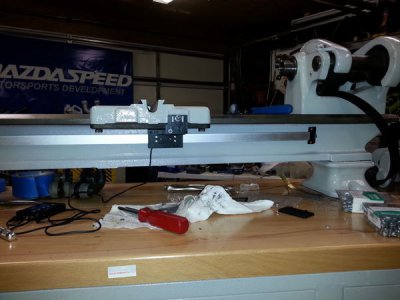
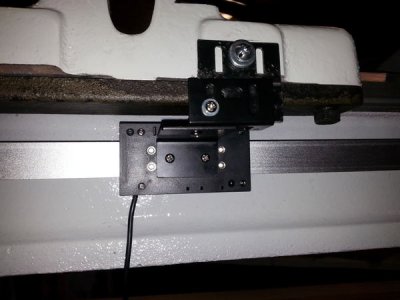
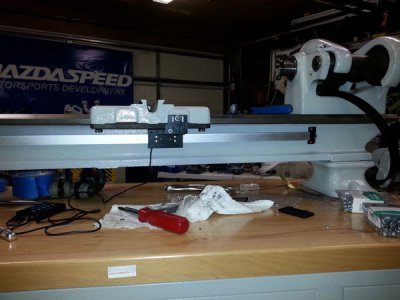
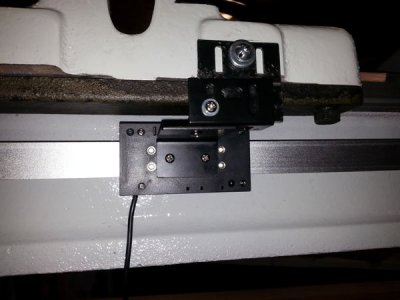
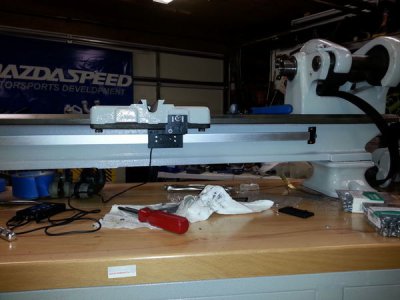
Pictures of the DRO mounted.
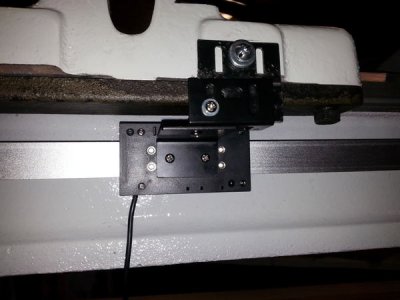
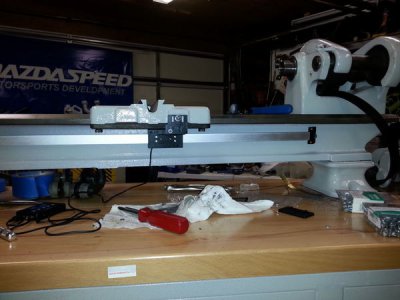
It's on the back side of the bed up under the ways and carriage. Hopefully that will keep it out of harms way and keep most of the swarf from landing on it.
More to come as it happens.
Small update, life keeps getting in the way of play.
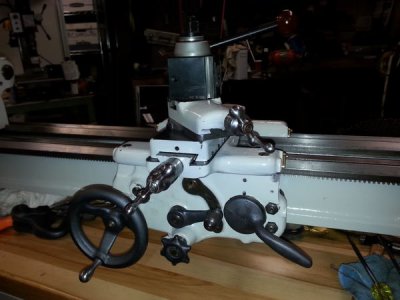
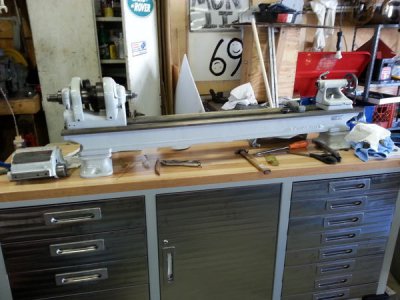
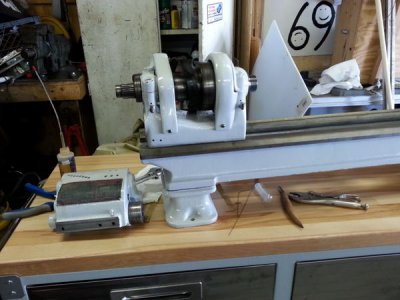
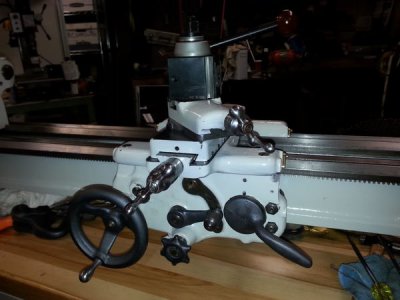
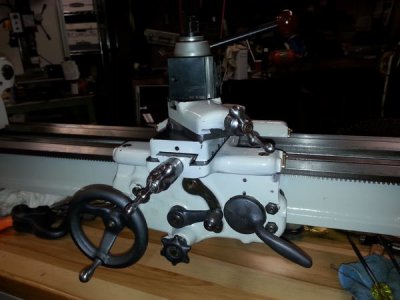
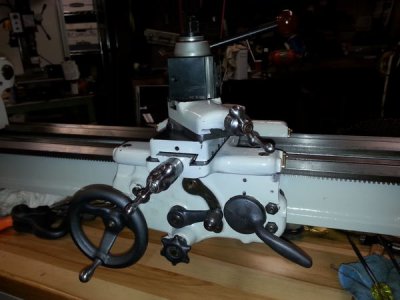
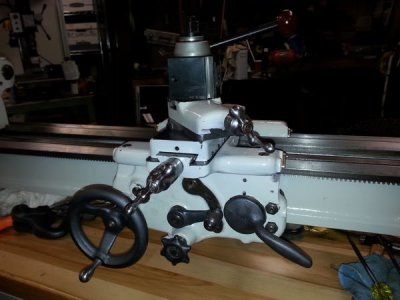
Finally got the carriage put back together and the apron reassembled and installed. It's starting to look more like a lathe.
Rebuilding the gearbox is next, but I got sidetracked today on another project. Here.
A few pictures.
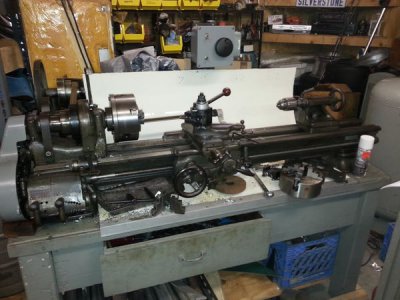
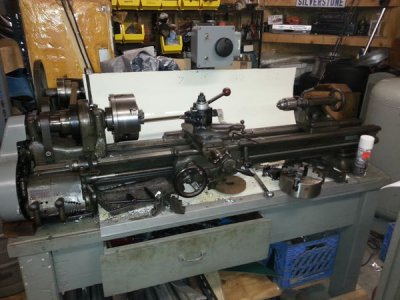
Just a little cleaner than it was.
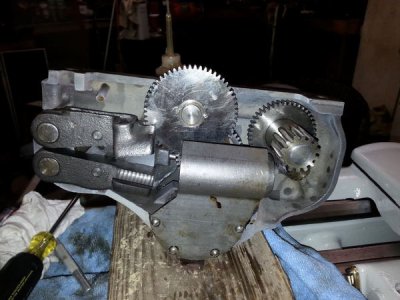
It's coming together slowly.
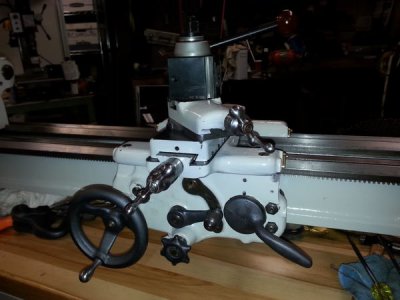
Well, I was a good boy today. I ignored the mill I just bought and worked on the lathe.
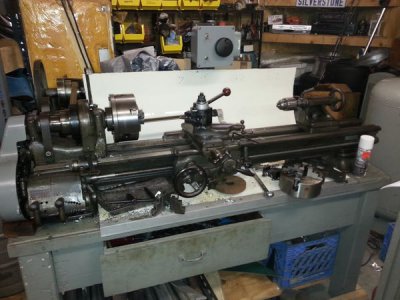
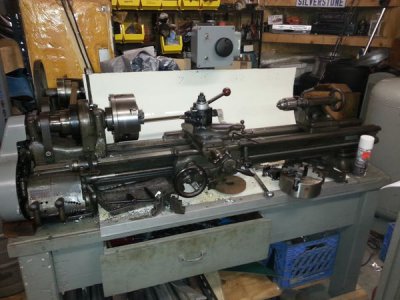
Before:

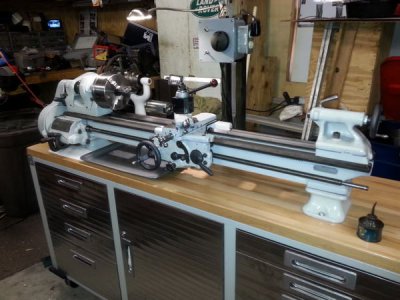
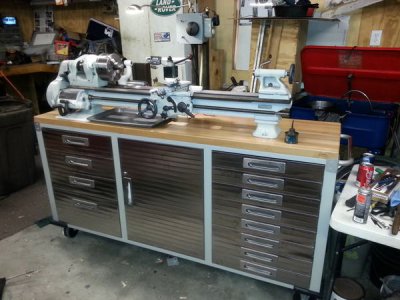
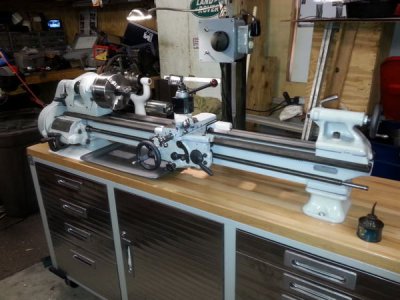
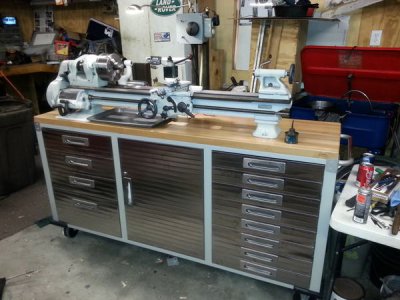
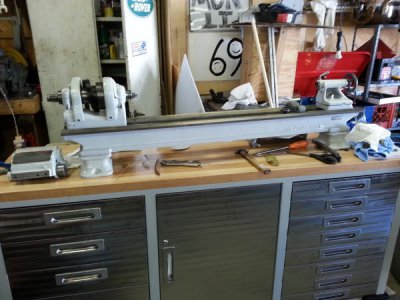
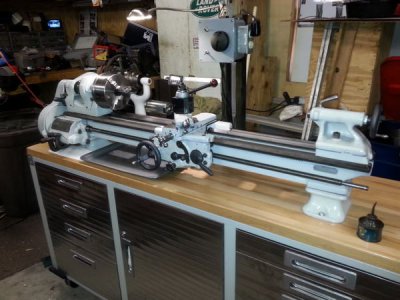
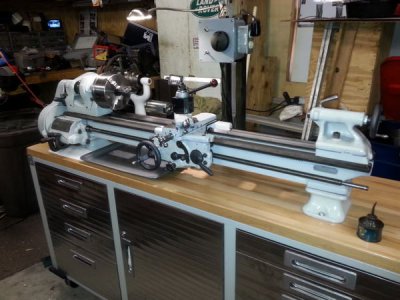
After:
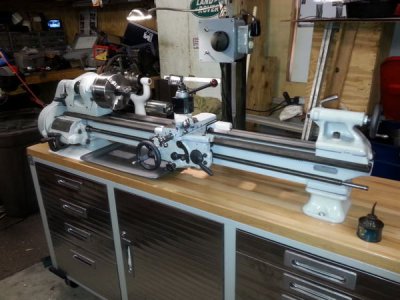
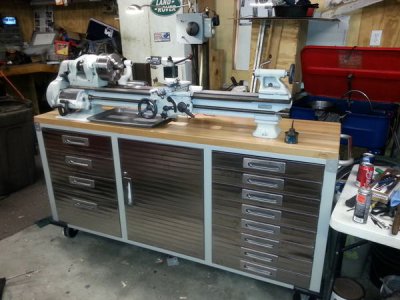
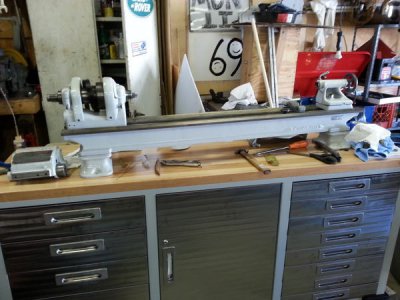
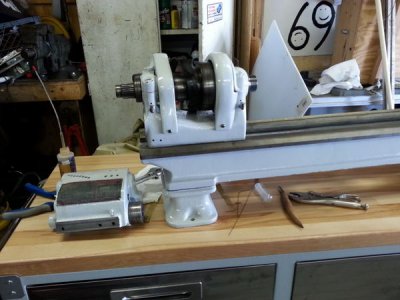
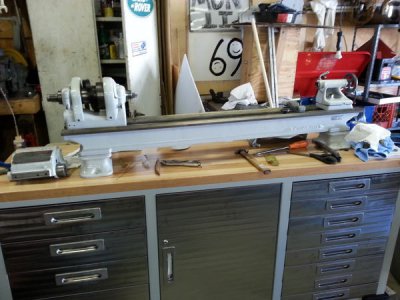
At this point, it's 95% done. I finished cleaning and assembling the gear box, assembled the primary drive and got everything bolted down to the workbench. I've still got to clean and paint the micrometer carriage stop, and find and paint the carriage lead screw bearing. Since the lead screw bearing was the first thing pulled off the lathe, it's naturally vanished in my shop somewhere.
Once I get those done, I'm going to tear into the mill I just got. It's not going to get painted, but it needs a through cleaning.
Over all I'm pretty happy with how it turned out.
