- Joined
- Apr 14, 2014
- Messages
- 3,533
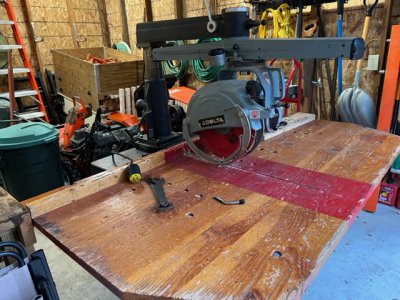
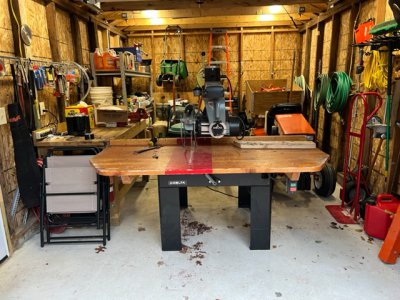
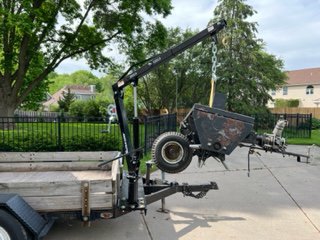
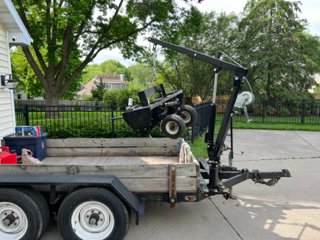
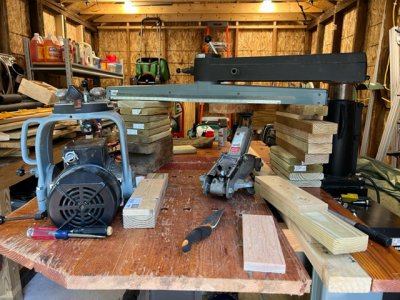
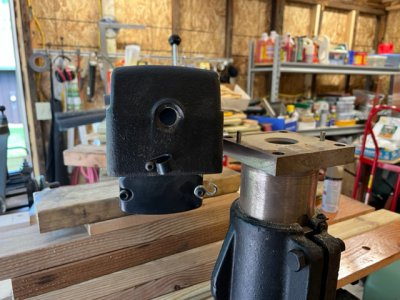
As many of you know i purchased a Delta 33-400 radial arm saw a while ago. To this point it has been used to cut decking for the pier, and treads for the deck stairs. The next project is to shorten the legs on one of the sofas.
I've done similar projects in the past. The first steps require building a fixture to be sure the legs are all cut squarely and at the proper height. In the past the project was done using the 10" Dewalt radial arm saw with a hollow ground planer blade. I don't know if this style blade is available for the "new" saw, or if they're even required.
I currently have the following 14" blades:
- Gmaxx 2400.140N10 14" x 100T 3,2/2.5 1" TCG neg hook
- Oldham 14" Pro Series 70 tooth Planer Combination
- Tenryu 14" IW355402D 40 tooth TCG Ripping Blade
- Freud 14" 70 tooth TCG combination Blade