Removing Gap from Colchester 2000

malmac

Registered
Registered
Joined
Jun 7, 2016
Messages
361
Well I have a job to do and I need the extra swing that comes when you remove the gap.
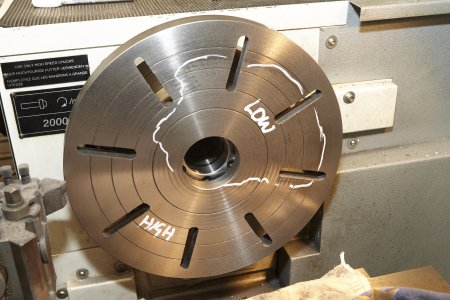
So I remove the gap and all looks good. I fit the faceplate and do the runout.

It is the first time I have fitted the faceplate and the runout is over what I would like.
So I think, right I will dress the plate.

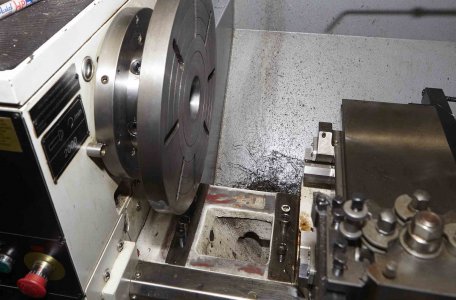
Then I realise that the carriage will be hanging over the edge, where once the Gap was filled by "what ever you call the thing that goes in the gap."

So my question is.
How far can I counter lever my carriage out into empty space?
My carriage is 420mm long and I need to hang out 17mm.

Advice please and it will be much appreciated.


Regards

Mal
MAL_1538.jpg
 
Common sense goes a long way. Be thinking of loads and moments in general along with physics, location of
bearings in relation to where the work is.
 
I think it depends on the carriage’s bearing surfaces, which may be just a portion of the carriage’s overall length. Based on rough approximations, losing up to 15-20% of the bearing surface shouldn’t be too much of an issue (that is, losing that much from the left-side surface). To limit the cantilevered bearing surface, you can use your largest boring bar to reach the faceplate (which trades one compliance for another).
 
May I ask ...........................did the faceplate swing over the gap ? If so , you may have faced the plate with the gap in and then removed the gap . That would fall under order of operations . :) But anyway , just stick a boring bar out to face the plate as you have it . :encourage:
 
If you have not already done it consider remounting and checking the faceplate several times an see if the runout is consistent. Sometimes the fit between the spindle nose and chuck / backplate/ faceplate is not correct. In my case it caused runout, but it was influence by the order the cam lock pins were tightened so the runout was not always the same.
 
Use a right handed tool and turn your tool holder. Also I have used a stout boring bar like TB said. One thing more, when you re-install the gap,, stone it well, bed and gap plate. Blow the tapped holes, wipe with your hand to be sure no crud is in there as they are a pain to re-align.
 
Agree with what the others have said- mount and re-mount the faceplate several times to make sure you really need to skim it
Use whatever you can to extend the cutting tool. A light cut won't take much rigidity. A couple inch extension would be ok
-M
 
Thank you for all your replies.

I will certainly try every combination for fitting the face plate, and checking the runout on each position.

The faceplate cannot be fitted without removing the gap.

I think it depends on the carriage’s bearing surfaces, which may be just a portion of the carriage’s overall length. Based on rough approximations, losing up to 15-20% of the bearing surface shouldn’t be too much of an issue (that is, losing that much from the left-side surface). To limit the cantilevered bearing surface, you can use your largest boring bar to reach the faceplate (which trades one compliance for another).

I think this is what I will need to do.

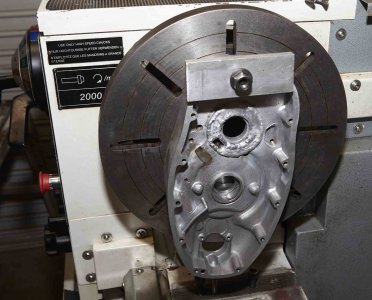
Below is the job I am working on.
I have rewelded the damaged surface and now need to machine it flat and square to the shaft that runs through the hole.
Given the shaft is the camshaft and will run at 5-6000rpm on occasions, everything will need to be as precise as possible.
Luckily the cut is close to the centre of the faceplate, but the casting protrudes well beyond the faceplate, so no free lunches.

Mal
MAL_1534LR.jpg
 
Thank you for your guidance guys. Much appreciated.
Uncharted waters here.

Measured the runout, in all six positions, but all the same.
Run a .1mm face cut and here is the results.
Still not there but getting there.

Mal

MAL_1540LR.jpg

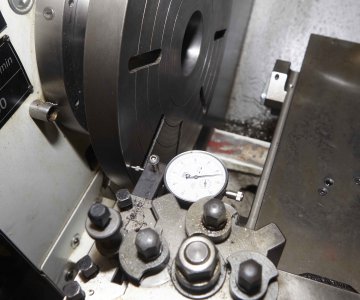
I like a nice solid mount when using a dial gauge.

MAL_1545.jpg
Well not there yet, but getting there.
 
Back
Top