- Joined
- Feb 2, 2013
- Messages
- 3,917
Hi Guys,
I'm trying very hard to gain woodworking skills , frankly because i'm not very good at it.
I have no problem throwing myself at something that i feel deficient in, this being a perfect example.
Making your own tools is one of the best ways of learning the materials.
Sure i could have went and bought a brand new hammer for knocking cellulose around with, but what's the fun in that??? OR
I could spend 8 hours and about $5 and have a hammer that will last for many years to come.
it's no real stretch to guess what choice i made....
I started of by reclaiming White Oak from a beautiful 48"x 40" pallet that was carelessly tossed away in a pile.
the pallet weighed a ton, and it was dry.
I used a 7 1/4" circular saw to render the small pile of useable stock
There is quite a bit of wood in a pallet, i never stopped to consider how much wood is actually there.
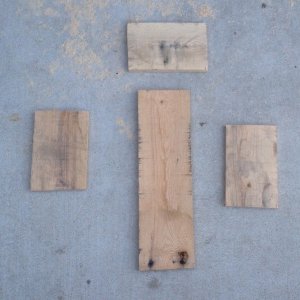
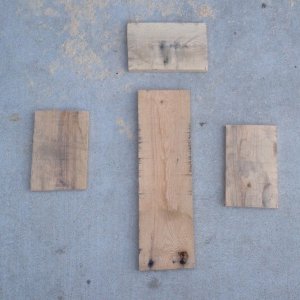
I selected 4 pieces of reclaimed wood for the hammer project
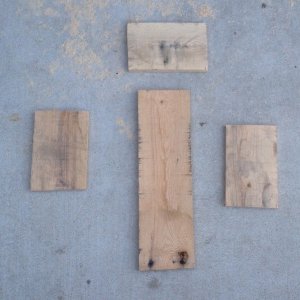
I started by ripping the long, wide piece to a manageable size for layout of the handle.
I ran the pieces through the planer/joiner to get them a little straighter and so i wouldn't have to do as much sanding.

With a try square and ruler, i laid out the rough dimensions for the handle.
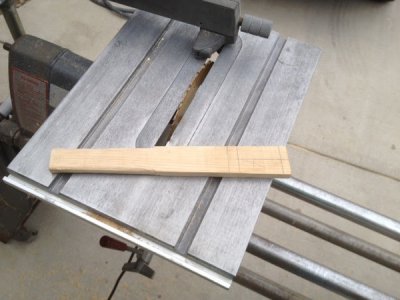
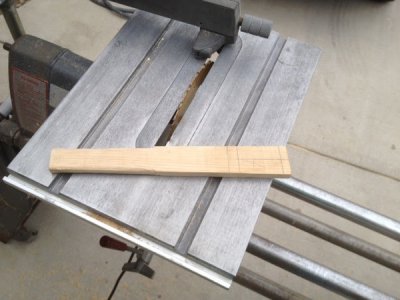
I cut the handle from the blank freehand with the Shopsmith 10" table saw and started to customize the grip...
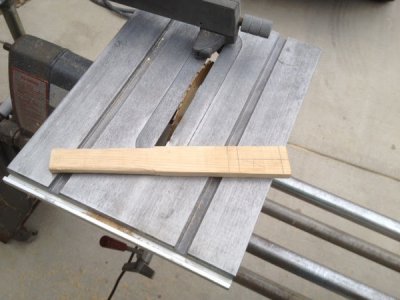
I love the smell of sawn oak for some reason, it's a happy smell for me!
Assembly was straightforward.
with only 4 pieces to put together , even a buffoon could look like a champion
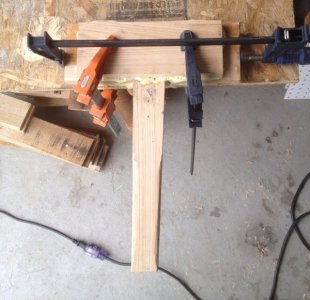
the 2 sides, the handle and 2 filler pieces were glued and clamped
I chose regular Gorilla Glue to stick the water dampened pieces together.
Gorilla Glue requires dampened pieces to activate the glue to cure.
If you get it on your hands or clothes, you'll be stuck with it for a while, don't ask how i know this...
in the picture (below left) you can see some of the other remnants from the reclamation process
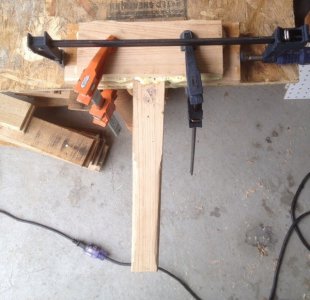
I clamped the reclaimed lumber together and let it set up for about 2 hours before i went to mess with it again.
After the glue up, i started whittlin' on the wood.
I first cut the overhanging pieces that are the center filling plates between the 2 outer sides, to gain a rough head shape.
I further refined the shape of the head by mitering 2* off the hammer faces, top and bottom,
for better striking alignment.
I then laid out 4- 3/8" dowel bores and used wood glue and hardwood dowels for added durability and strength.
I intentionally overbuilt it to function long after i have passed from this world.
I used a router with a roundover bit to take the sharpness off the edges and add a better aesthetic.
i'll let you be the judge...
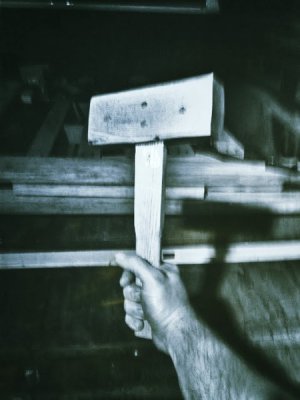
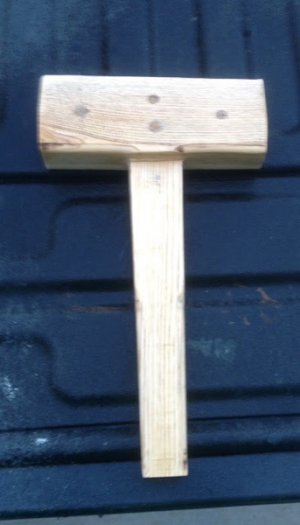
this is the hammer in it's natural state.
The dimensions are Head is 8" X 3" X 2 3/4 across the face
the handle is 13 1/2" long X 3/4" thick X 1 1/2" taper to 1" at the grabbing end.
you can't see it well by the picture,
but the handle was relieved with the router and a roundover bit as well
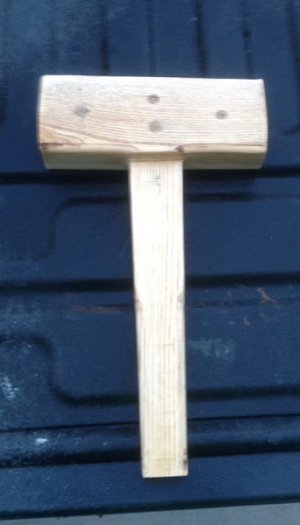
i sanded it down to 400 grit and applied extra virgin olive oil as an antioxidant/ luster enhancing finish.
I buy the stuff by the gallon for cooking, so i wasn't about to go buy any wood oils.
the finish turned out very silky.
Olive oil will need to be re applied ever so often, but a small price (20 cents an application ) to pay for.
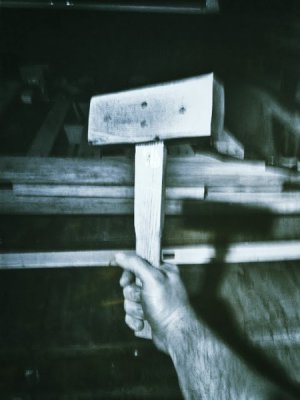
A more dramatic picture!
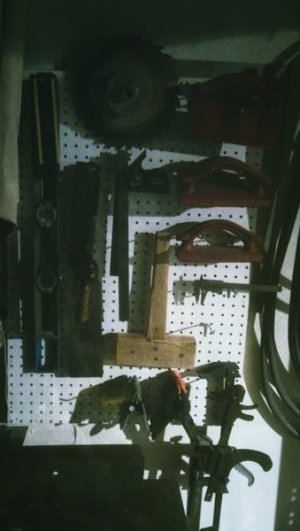
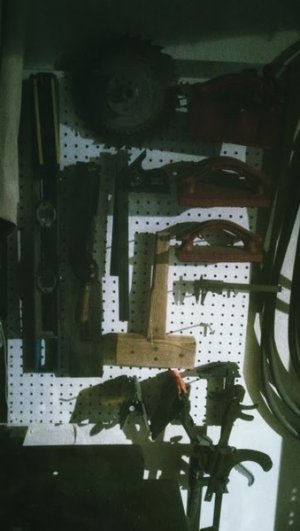
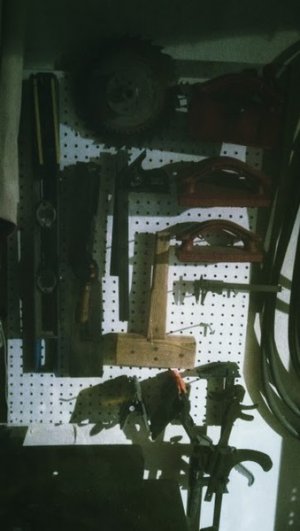
It now has a place of honor on my pegboard!!!
as always thank you for reading-
questions comments, stories are always welcomed and encouraged


I'm trying very hard to gain woodworking skills , frankly because i'm not very good at it.
I have no problem throwing myself at something that i feel deficient in, this being a perfect example.
Making your own tools is one of the best ways of learning the materials.
Sure i could have went and bought a brand new hammer for knocking cellulose around with, but what's the fun in that??? OR
I could spend 8 hours and about $5 and have a hammer that will last for many years to come.
it's no real stretch to guess what choice i made....

I started of by reclaiming White Oak from a beautiful 48"x 40" pallet that was carelessly tossed away in a pile.
the pallet weighed a ton, and it was dry.
I used a 7 1/4" circular saw to render the small pile of useable stock
There is quite a bit of wood in a pallet, i never stopped to consider how much wood is actually there.
I selected 4 pieces of reclaimed wood for the hammer project

I started by ripping the long, wide piece to a manageable size for layout of the handle.
I ran the pieces through the planer/joiner to get them a little straighter and so i wouldn't have to do as much sanding.

With a try square and ruler, i laid out the rough dimensions for the handle.
I cut the handle from the blank freehand with the Shopsmith 10" table saw and started to customize the grip...

I love the smell of sawn oak for some reason, it's a happy smell for me!
Assembly was straightforward.
with only 4 pieces to put together , even a buffoon could look like a champion
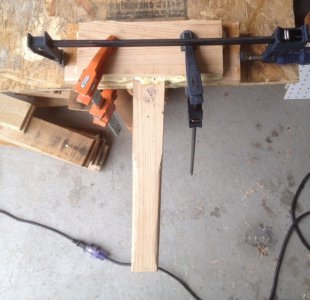
the 2 sides, the handle and 2 filler pieces were glued and clamped
I chose regular Gorilla Glue to stick the water dampened pieces together.
Gorilla Glue requires dampened pieces to activate the glue to cure.
If you get it on your hands or clothes, you'll be stuck with it for a while, don't ask how i know this...
in the picture (below left) you can see some of the other remnants from the reclamation process

I clamped the reclaimed lumber together and let it set up for about 2 hours before i went to mess with it again.
After the glue up, i started whittlin' on the wood.
I first cut the overhanging pieces that are the center filling plates between the 2 outer sides, to gain a rough head shape.
I further refined the shape of the head by mitering 2* off the hammer faces, top and bottom,
for better striking alignment.
I then laid out 4- 3/8" dowel bores and used wood glue and hardwood dowels for added durability and strength.
I intentionally overbuilt it to function long after i have passed from this world.
I used a router with a roundover bit to take the sharpness off the edges and add a better aesthetic.
i'll let you be the judge...

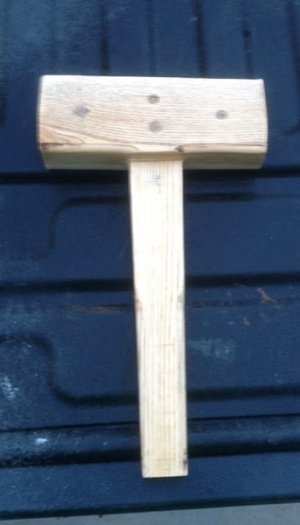
this is the hammer in it's natural state.
The dimensions are Head is 8" X 3" X 2 3/4 across the face
the handle is 13 1/2" long X 3/4" thick X 1 1/2" taper to 1" at the grabbing end.
you can't see it well by the picture,
but the handle was relieved with the router and a roundover bit as well

i sanded it down to 400 grit and applied extra virgin olive oil as an antioxidant/ luster enhancing finish.
I buy the stuff by the gallon for cooking, so i wasn't about to go buy any wood oils.
the finish turned out very silky.
Olive oil will need to be re applied ever so often, but a small price (20 cents an application
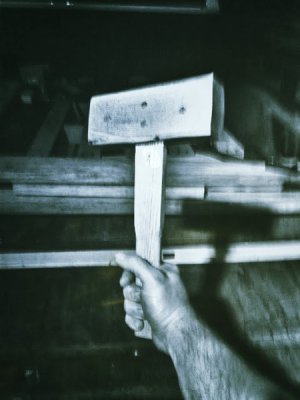
A more dramatic picture!

It now has a place of honor on my pegboard!!!

as always thank you for reading-
questions comments, stories are always welcomed and encouraged


Last edited:


