- Joined
- Apr 12, 2012
- Messages
- 579
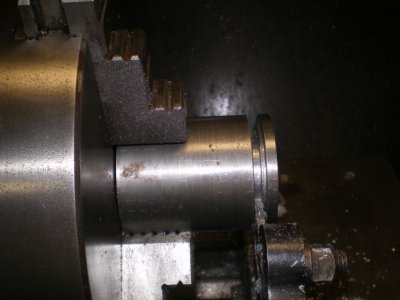
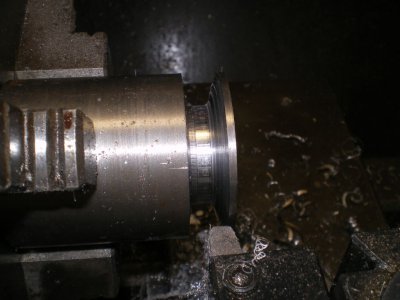
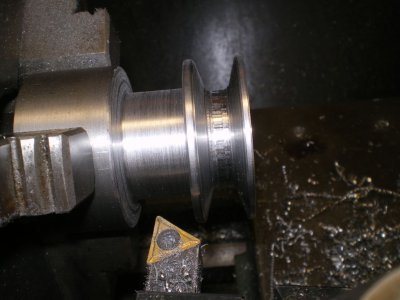
I have a treadmill motor and muddled through the threads to make it work and it truly does work. Strangely enough I have no machine that really needs a variable speed 2.5 HP DC motor at this moment but I like to be prepared and it's just more stuff in case I need it, and I learned a little. Not knowing if it's going on the 9x20, drill press, band saw, or what? I decided to get a blank on the flywheel to make a suitable pulley from later.
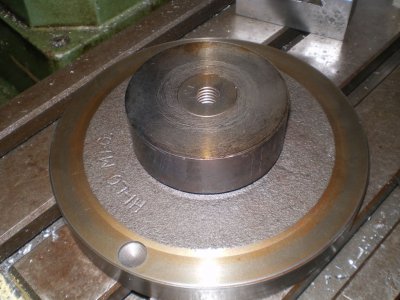
So with the grooves turned off the flywheel and a chunk of steel bored for a .002" interference fit. The chunk was heated and quickly pressed flush with the flywheel's used to be pulley. It's probably all that is needed but...
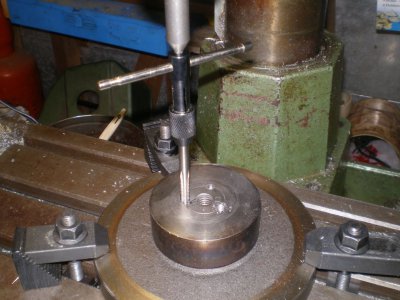
So holes where drilled and tapped at 120° intervals.
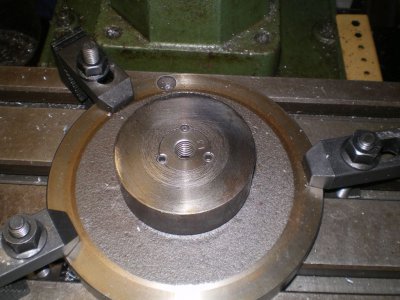
Set screws were put in place .
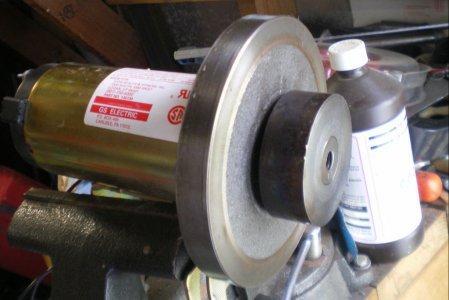
Now there is a ready to be grooved pulley for whatever purpose is needed. I figure any bigger pulley I won't need the fly wheel but I had fun making it all go together. Astute , attentive, observative , forum members may note the lack of "dutch keys" in the previous picture which was taken whilst I test fitted the pressed ass'y.
Steve


So with the grooves turned off the flywheel and a chunk of steel bored for a .002" interference fit. The chunk was heated and quickly pressed flush with the flywheel's used to be pulley. It's probably all that is needed but...

So holes where drilled and tapped at 120° intervals.

Set screws were put in place .

Now there is a ready to be grooved pulley for whatever purpose is needed. I figure any bigger pulley I won't need the fly wheel but I had fun making it all go together. Astute , attentive, observative , forum members may note the lack of "dutch keys" in the previous picture which was taken whilst I test fitted the pressed ass'y.
Steve


