- Joined
- Dec 6, 2020
- Messages
- 38
After having this mill for a few months and making a lot of parts on it I have come to the conclusion that I'm tired of counting turns on the dials. When I sit down to run a batch of parts I will spit out 100-200 at a time. If I miss-count by one turn on 38.7 turns of the X axis I ruin a whole batch if I don't catch it early on. So, I bought a Chinese DRO. When looking for mounting ideas I didn't find much for a 932 so I will post what I did on mine. I won't go into aligning and trueing it all as there is lots of that info out there.
Here is the unit mounted on the right side of the column. Nothing fancy here.
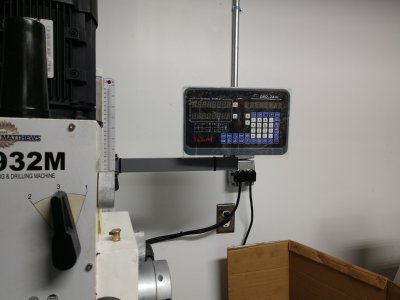
I'm not real thrilled with the arm that came with the kit as it's really thin and can't be tightened enough to keep the head in place while pushing buttons with one hand. I have a mill (LOL) so I will make a two arm system that will bring the head out enough to the right to clear the quill levers and the second arm to bring it forward some.
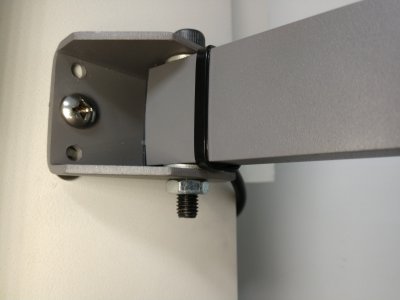
For both the X and Y axis I built a couple mounts out of 1 inch aluminum angle. The mounts in the kit just wouldn't do what I was after.
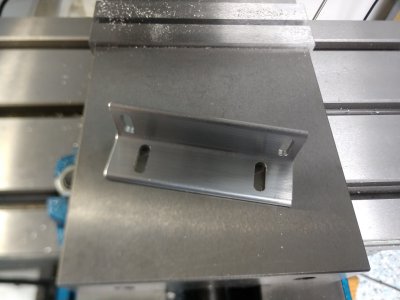
The X scale was just mounted to the back of the table the normal way except I used a couple 1/8 spacers to move the scale out a tiny bit so I didn't have to remove the ball oiler.
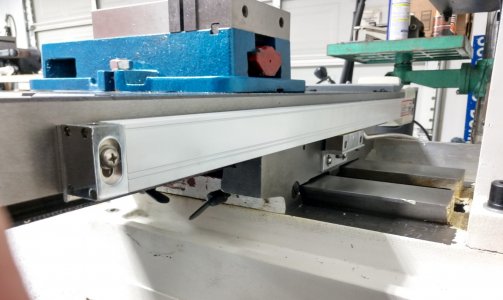
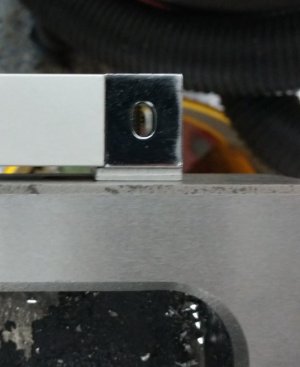
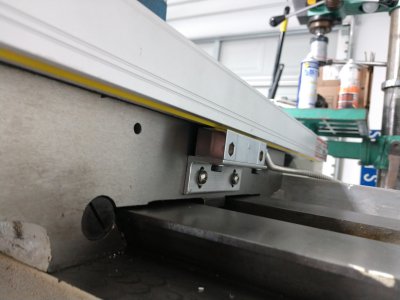
For the Y axis I used a piece of 3/8 x 2 aluminum flat bar. I cut a round out of it for the feed gear cover to clear and mounted the scale to it.
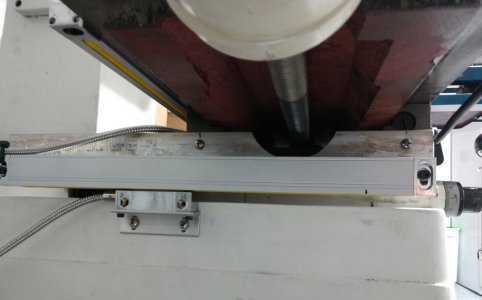
Since the base is angled some I had to custom bend the mount to get the reader to fit square. I got it on the first try. Not going to try that again as it would take an hour to do that again!!
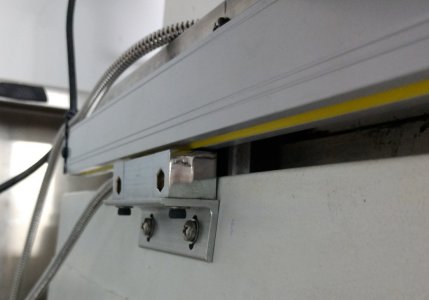
I have put the stock Y way cover back on for now until I decide on just what I want to use. I cut a couple little spacers to set the cover back to clear the scale.
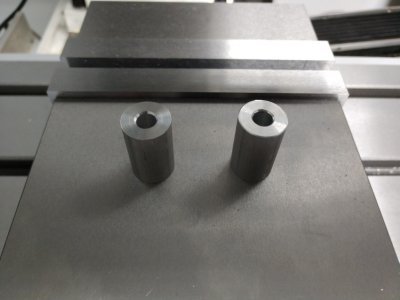
Way cover back on with the spacers.
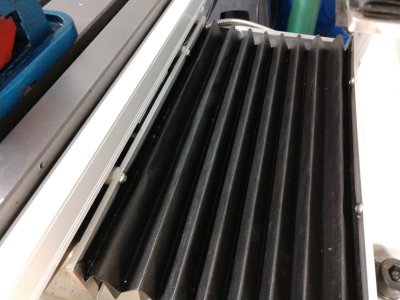
Here it is with the table all the way back to the column. I basically lost an inch and a quarter of travel. The thickness of the spacers I put in. So far I've never worked with the table that far back So I'm ok with it.
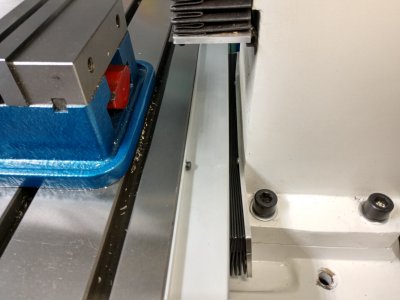
Scale covers on and ready to rock.
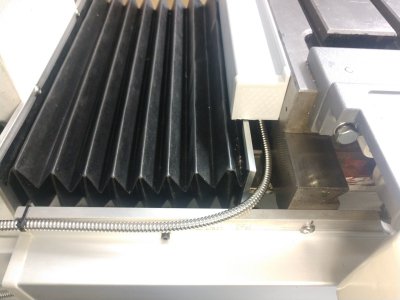
That's it. For those that haven't invested in one yet, it is well worth the couple hundred bucks it cost. I should have just ordered the mill with it.
Here is the unit mounted on the right side of the column. Nothing fancy here.

I'm not real thrilled with the arm that came with the kit as it's really thin and can't be tightened enough to keep the head in place while pushing buttons with one hand. I have a mill (LOL) so I will make a two arm system that will bring the head out enough to the right to clear the quill levers and the second arm to bring it forward some.

For both the X and Y axis I built a couple mounts out of 1 inch aluminum angle. The mounts in the kit just wouldn't do what I was after.

The X scale was just mounted to the back of the table the normal way except I used a couple 1/8 spacers to move the scale out a tiny bit so I didn't have to remove the ball oiler.


For the Y axis I used a piece of 3/8 x 2 aluminum flat bar. I cut a round out of it for the feed gear cover to clear and mounted the scale to it.

Since the base is angled some I had to custom bend the mount to get the reader to fit square. I got it on the first try. Not going to try that again as it would take an hour to do that again!!

I have put the stock Y way cover back on for now until I decide on just what I want to use. I cut a couple little spacers to set the cover back to clear the scale.

Way cover back on with the spacers.

Here it is with the table all the way back to the column. I basically lost an inch and a quarter of travel. The thickness of the spacers I put in. So far I've never worked with the table that far back So I'm ok with it.

Scale covers on and ready to rock.

That's it. For those that haven't invested in one yet, it is well worth the couple hundred bucks it cost. I should have just ordered the mill with it.
