- Joined
- Nov 26, 2012
- Messages
- 1,307
My latest project has been a heat treat oven.
There is a ton of good info out there and I studied it for quite some time.
I never really liked the elements in the grooves in the bricks...people talk of them shifting and having to staple them in...one guy went so far as to pin them in with porcelain rods.
Liking the porcelain rod idea..I went in search of them...My idea was to cross the top of the oven with the rod and have the element wound around it...they are kinda expensive and the site also had fused quartz tubes...they will take the heat and are quite cheap.
Not knowing if i would be able to cut and use the quartz (comes 48" lenghts) I ordered both porcelain rods and quartz tubes. Rods are 3/8 x 12"...quartz tubes I ordered are 1/2 x 48"
The quartz tube is easily cut with a diamond wheel. I turned it in my lathe in a collet and held a dremel with diamond wheel against it to cut it.
I did this same thing with the porcelain rod. it is much harder to cut, and eventually I ended up just scoring it and snaping it off to save on diamond wheels. If a nice end is not needed or perfect lenght it can be wraped in a paper towel, put in the vise and just snapped off.
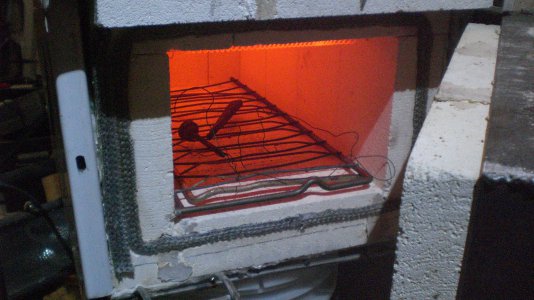
My oven is 18 x 9 x 6.5 inside. So a full brick wide with side bricks standing on end. This leaves the top a full brick wide. I closed it in by pining bricks together with 2" lenghts of the 3/8 porcelain rod. 9" side to 4.5" side. Refactory cement was used between bricks also.
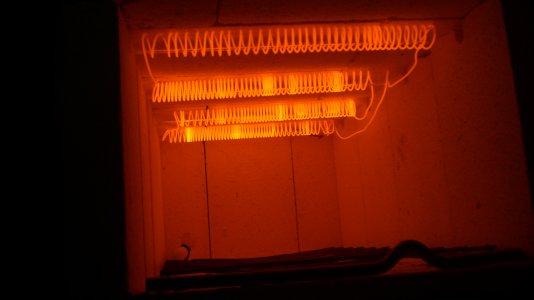
The quartz tubes are set into grooves in the top of the wall bricks. The elements are wound from 16ga kanthal. I did math till my head hurt figuring the elements out. I think I figured I needed 35 feet so I cut 37' to give some extra to double wind the end etc.
After testing and 2 heat treatings (4140 @ 1575 & W1 @ 1425) my elements measure 11 ohms.
I have a full 240 volts in the shop so pulling 22 amps and output is 5236 watts.
Winding the elements took more math 56 turns then leave 4" then 56 turns etc....Each set of elements when done had to be taped in place so it could turn with the 1/2" rod in the lathe while winding the next element. It's all one element but on 4 quartz tubes.
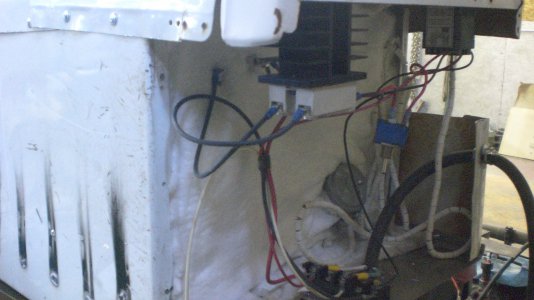
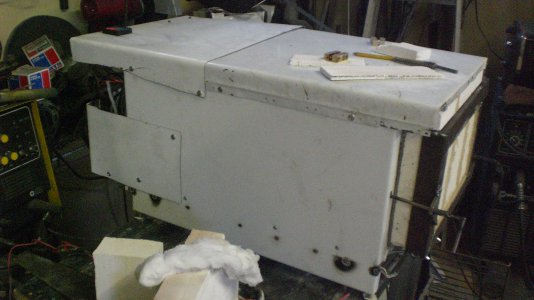
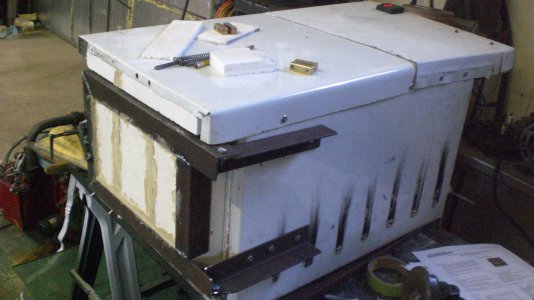
Bottom of the enclosure is 4" square x 1/4 round rod rack (cut from clothing display chromed rack) on top of it is a piece of .060 aluminum sheat. 1/4" superwool 607 blanket on the alu sheet and then the fire brick. Sides are two layers of the super wool so 1/2" and I put 4 layers on the back so 1". Top also got 2 layers. Steel sides and top were cut from our old kitchen oven (soot streaks are from welding the 4 square rack to it) the back is left open so the electrics stay cool.
On to the TMI
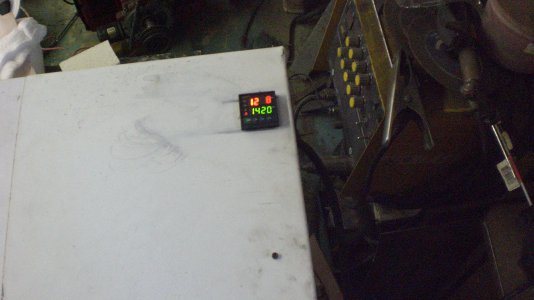
5 minuits from cold to 1200 deg.
7 min from 1200 to 1575
At 1575 Temp at back 74 deg
side 71
top 74
door 97
under door 178
bottom 69
top brick above door 77
left side of door 92
right side of door 99
angle iron on door 79
thermo couple housing 120
Wire conector/element 150
SSR 82
24 minuits after shut down(oven now at 1000 deg)
back 89 deg
side 101
top 108
door 187
under door 205
bottom 103
top brick above door 142
left side of door 165
right side of door 178
angle iron on door 150
thermo couple housing 153
wire conn/element 124
SSR 77
One hour after shut down (oven at 705 deg)
back 105
side 119
top 127
door 181
under door 215
bottom 123
top brick above door 150
left side door 172
right side door 172
angle iron on door 159
Thermo couple housing 160
wire conn/elements 114
Outside temps all went down after 1 1/2 hours and temp inside was 590 @ 2 hours 535 @ 3 hours 450.


