- Joined
- May 4, 2013
- Messages
- 55
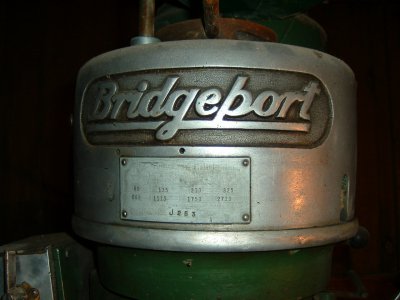
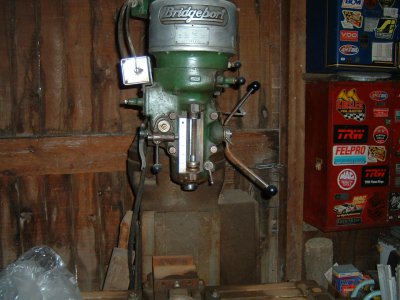
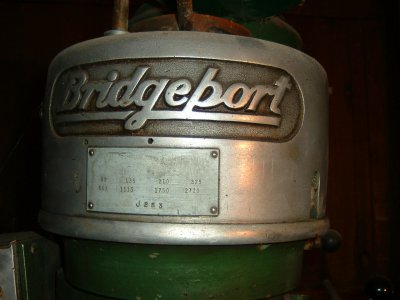
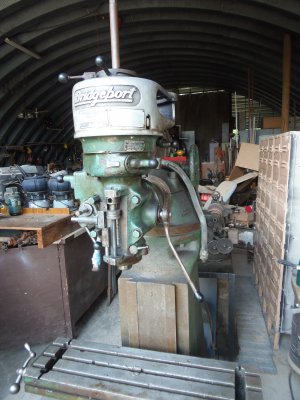
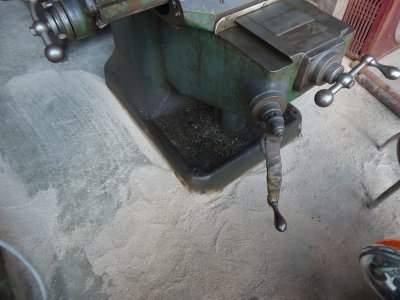
In trying to get information concerning maintenance and repair and operation of the Bridgeport Vertical Milling Machine, that was given to me, I don't find anything on a machine just like this one.
Ser.# 19937 (found on front top of knee) No prefix letters.
J Head J8966
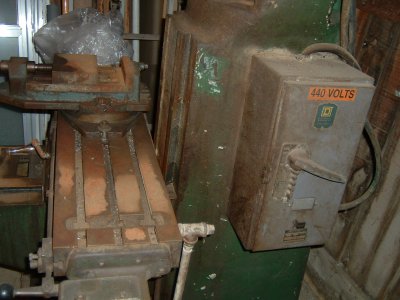
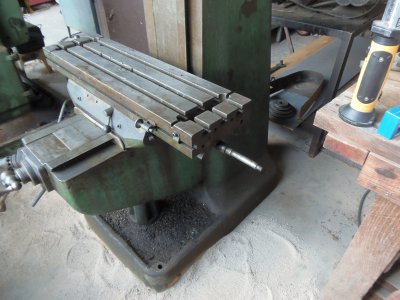
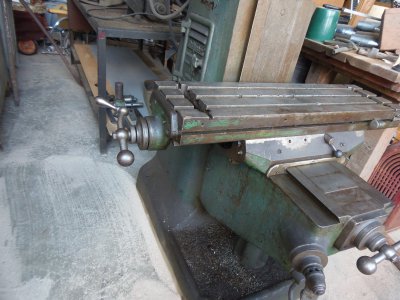
It has a 9"x32" table.
1hp 3ph pancake motor.
Speed is changed by step pulleys.
I was told that the arbor is R8.
(I was also told that the motor ran, but, since the motor was off, I took it to a motor repair shop to be checked out, it is bad.)
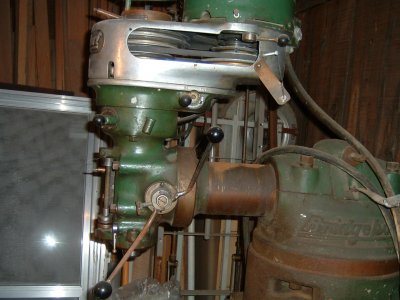
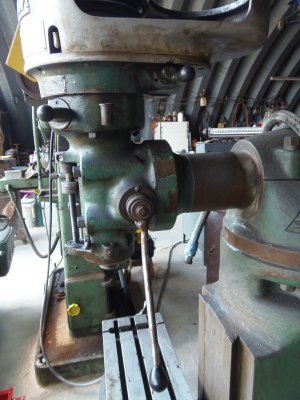
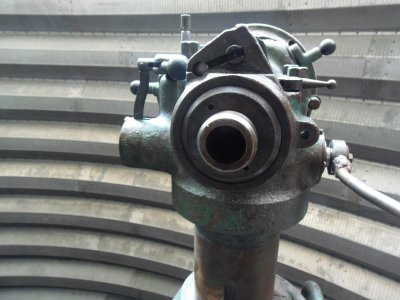
It has an exposed round ram/arm. (I see this part called ram and arm, I do not know the correct terminology.)
It has a turret.
It has provisions to move the arm forward and back.
The head is bolted "solid" to the arm. No noding up nor down.
The head and arm will rotate clockwise & counter clockwise.
This is my first mill, although at the same time this one was given to me, I bought an old No.3 Cincinnati Horizontal mill. I have a thread about this.
http://www.hobby-machinist.com/showthread.php/16610-Old-Mill
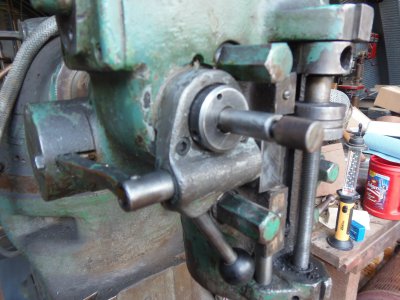
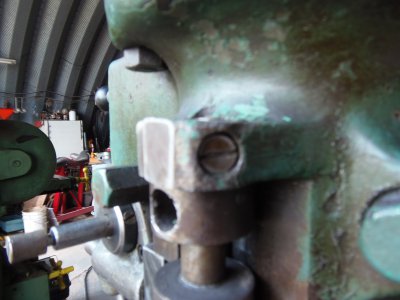
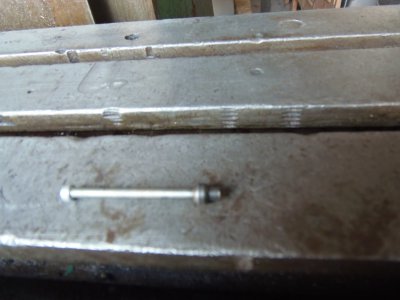
I will be making a motor adapter to be able to mount a 1ph motor. Right now I am trying to make sure things work properly. I am finding a few things broken or missing (that I was not told about, but, no hard feelings toward the giver, cause he probably did not know either.). I was told of the things that were visible to the untrained eye. Like missing table controls on right side of table, broken motor mounting flanges, the reason for the motor being off. Several things have been broken and welded back. The story is that the last time it was moved it was knocked over, 15 years ago, and, at that point, put out of the way and forgotten.
I don't see any without the nodding action, even on the ones with a round arm. Thanks for any information.
Mule

