- Joined
- Feb 29, 2024
- Messages
- 5
I was given a 6" Craftsman lathe a while back and have been slowly bringing it back to life as I've had time. It was pretty rough to start with.

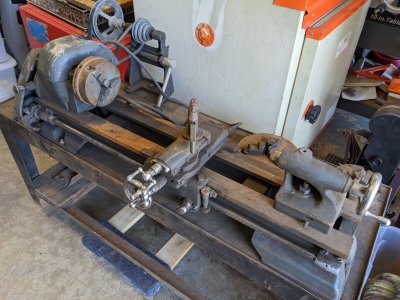
I decided not to repaint and leave the patina as-is. I'm fixing/updating/upgrading things along the way as I prefer. Most of the hardware has been replaced with modern socket head screws and I've added a 0XA QCTP. The spindle and tailstock tapers were pretty rough, so I cleaned those up with tapered reamers. I machined the feet flat/parallel as I wasn't a fan of it sitting on only the high points of the rough casting (it sits nice and flat now with no rocking on my surface plate). All the bronze bushings have also been replaced except the spindle as they looked like they had been replaced previously and were in good shape. I didn't like the way the tailstock gib worked, so I drilled and tapped two perpendicular holes for set screws that set its width. You have to remove the tailstock to adjust it, but it was easy to get correct in a few tries and once set, won't need to be adjusted again. I just bought a Harbor Freight tool chest yesterday to mount it on, so hopefully I'll have it up and running soon.
It didn't come with a set of change gears, so I'll either need to 3D print some or get a used set. I also need new centers, a drill chuck and probably a new 3-jaw chuck as the one it came with is non-original and pretty bad (.007" runout). It did come with the original 4-jaw however that is in amazing shape. I don't think it was used much at all.
This is how it's looking now:


