- Joined
- Feb 9, 2017
- Messages
- 5,500
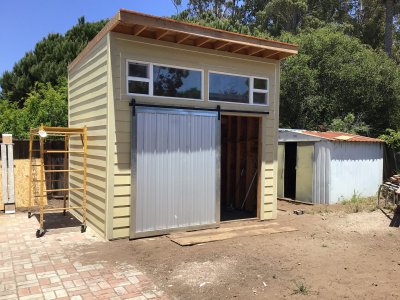
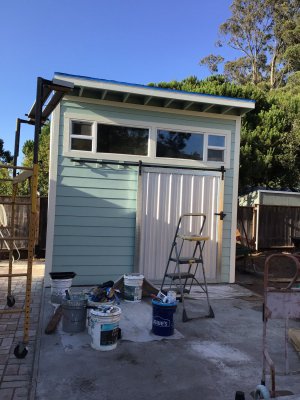
We have been on an improvement bender since May. Started on the west side of the yard with the fence then went down the side of the house repurposing the 5k of bricks we pulled up year before then reset them with sweep in mortar and worked all the way around to the other side of the house. While the guys we’d gotten to do this backbreaking work were doing this we looked high and low at replacing the useless 8x10 garden shed that came with the house. SO wanted to build a small shop but after conferring with my contractor and weighing the cost and potential of raising the ire of the insane neighbor I decided to go with the max legal limit 10x12x12 stick built. It turned out he could put one up for around $3k which was way cheaper and sturdier than any metal building I could find. While still setting parameters he asked door size and I went with 5’x7’. The next was where would he get such a door and I said I would make it so the race is on!
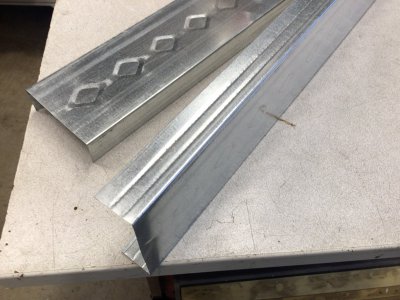
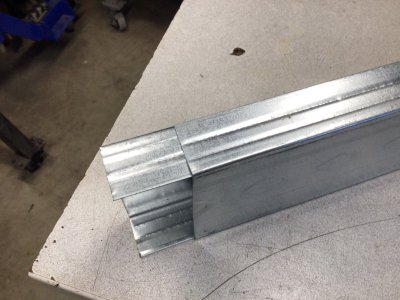
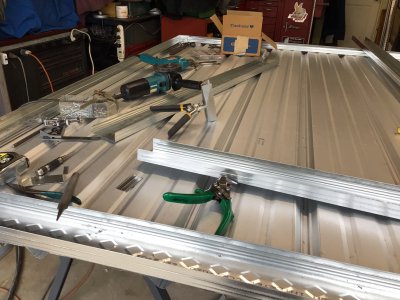
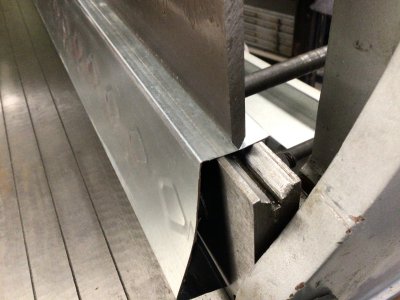
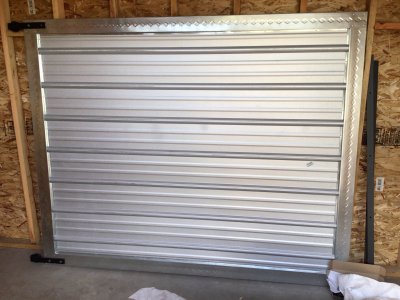
I started looking at Homedump and Lowe’s to see what kind of roofing and materials I could use off the shelf. I did my research online and neither have a great site. ‘Dump didn’t seem to have much metal material just metal studs which were useless because they have big cutouts for electrical/plumbing/etc. But LOWE’S had tracks which are used as the base to screw the studs into so that looked promising. They also had 3x8 galvalume roofing which I also liked. Of course we don’t have a local LOWE’S so we had to drive an hour which is inconvenient to say the least. I had a rough idea that was subject to what they had in stock. The tracks are 25ga so kinda flimsy on their own but they nested together wonderfully and stiffened right up. The back would be double channels and the front would just have a flange on one side and the other side would wrap around the edge of the door. So 2 3x8 sheets of galvalume and a bunch of tracks as it dawned on me I’d not thought of doubling the back before seeing them in person. All up around $330.
I started looking at Homedump and Lowe’s to see what kind of roofing and materials I could use off the shelf. I did my research online and neither have a great site. ‘Dump didn’t seem to have much metal material just metal studs which were useless because they have big cutouts for electrical/plumbing/etc. But LOWE’S had tracks which are used as the base to screw the studs into so that looked promising. They also had 3x8 galvalume roofing which I also liked. Of course we don’t have a local LOWE’S so we had to drive an hour which is inconvenient to say the least. I had a rough idea that was subject to what they had in stock. The tracks are 25ga so kinda flimsy on their own but they nested together wonderfully and stiffened right up. The back would be double channels and the front would just have a flange on one side and the other side would wrap around the edge of the door. So 2 3x8 sheets of galvalume and a bunch of tracks as it dawned on me I’d not thought of doubling the back before seeing them in person. All up around $330.