Making Mini Rotary Table T Nutz: Ammco 7" Shaper

Ulma Doctor

Infinitely Curious
Registered
Joined
Feb 2, 2013
Messages
3,916
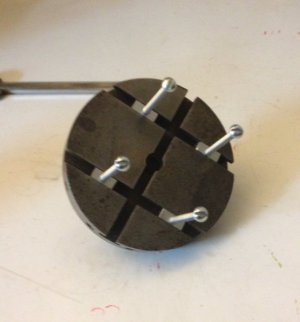
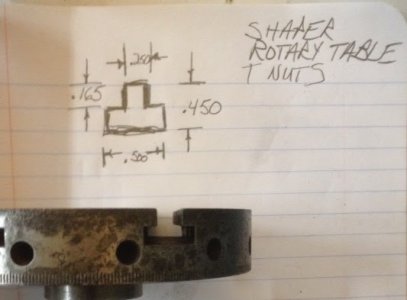
i want to make some T nuts for my shaper's rotary table
86M4Impm3OQjqI6H7VlKQFvzB52eejK6_3rCdIEu7kPLyydOFaapVUqWGj8x67NRaw7yMfYkZg=w533-h393-no.jpg
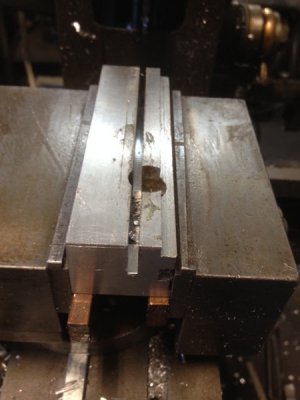
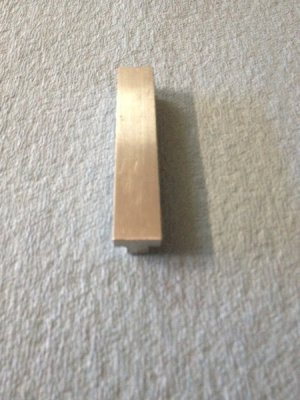
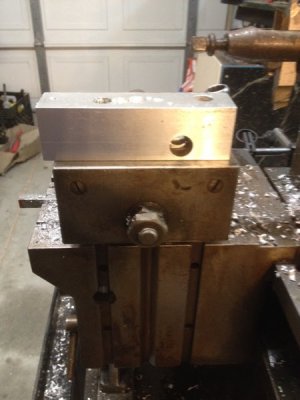
I thought for a first project to plane a piece of aluminum on 5 sides.
(i planed 5 sides because one side was milled flat on a vertical mill)
i was successful at making a rectangle.
it is the uncut diamond!

(the milled side is show facing up)
2016-10-18.jpg

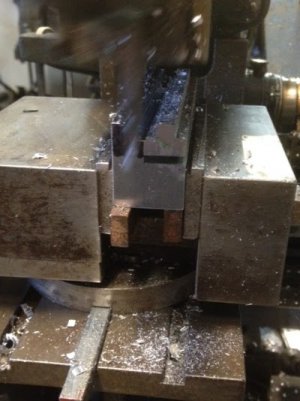
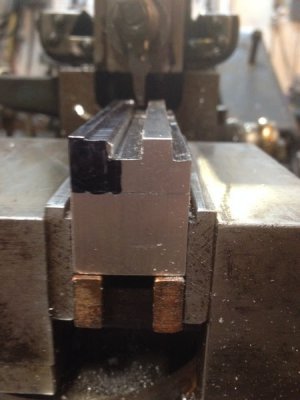
after some initial layout, i mounted the billet in the vise.
i started the shaper, taking light cuts and simply enjoying the click, click, and the watching sweet little curls pile upon the concrete.
here is the t roughed out.
the area marked in black will be a second set of t nuts
2016-10-18.jpg

thanks for looking!
 
Last edited:
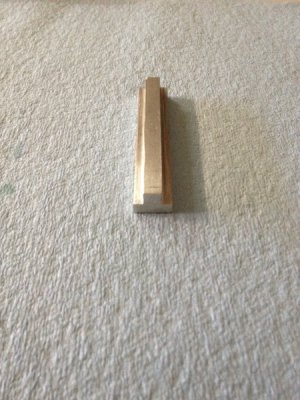
i managed to do some more work today on the T Nutz.

using a lathe parting tool to start hogging out the t nut from it's billet

2016-10-19.jpg


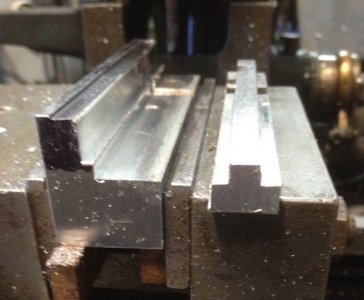
then i rotated the billet 90* and started the parting process again.
live action shot of the parting op

AuKfrWxqw_gFHhKM2VAv9LCegPwqJbC4Jr-TkZwj5BHZJqWU15UnUvuLA53pUG_Ki_2A_CcO0A=w400-h534-no.jpg


the t nut is free, but needs some tuning!

2016-10-19.jpg


here is the billet and the t nut before further refining

2016-10-19.jpg

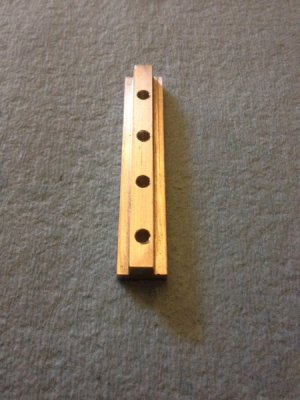
the finished blank:
2016-10-19.jpg

2016-10-19.jpg

next up:
drilling and tapping to #8-32.
i'll be able to render 4 t nuts from this piece.
each t nut will be 5/8" long
 
Last edited:
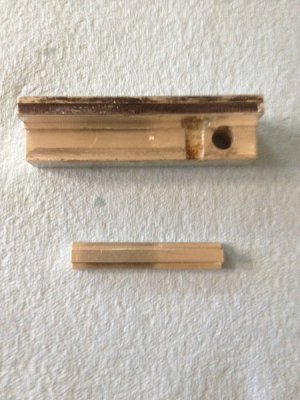
and some more work done!
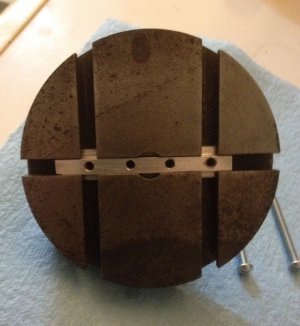
the blank is fitted, drilled to #29 and tapped to #8-32.
2016-10-19.jpg

here is a shot of the t nut blank in the rotary table

2016-10-19.jpg

in the next act,
i'll be parting the nuts from each other!
 
Sweet! Nicely done Mike. Did you separate them using the shaper?

Thank you very much Randall,

i had delusions of grandeur in parting the t nuts with the shaper,
then i was stricken by the reality that i miscalculated the distances between the tapped holes and had to go thin blade to reduce the error :bang head:
if you look closely at the nuts you'll see center of the 8/32 is off by .020"in length- oh well!

i could have ground down a tool to do it on the shaper, but i chose to use a hacksaw and files to finish this go around
here is the kicker, i saw a hacksaw attachment that was homebrewed. :idea: after i already did it.
it looked like it would work very well
i may just add the project for upcoming things!
 
Last edited:
Back
Top