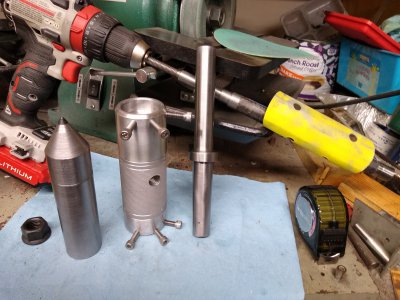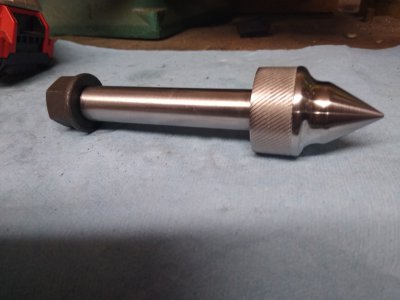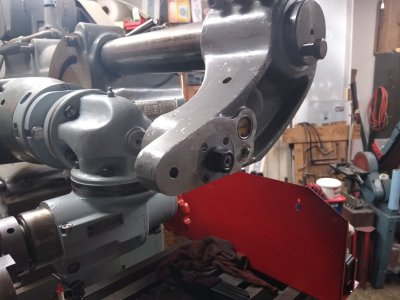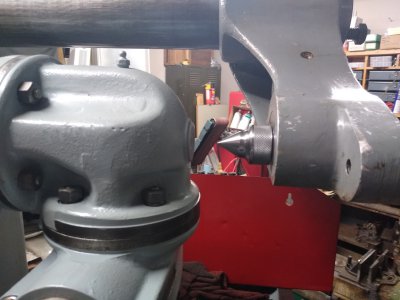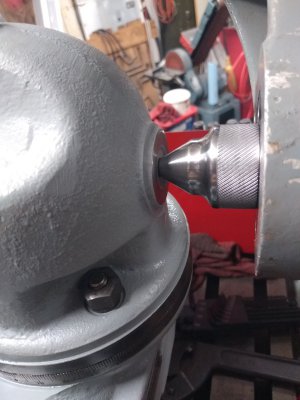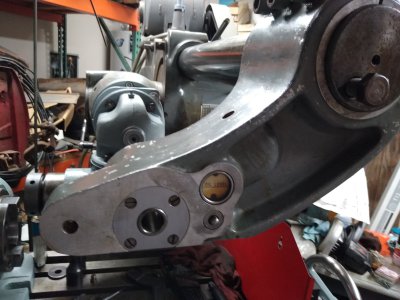
The idea is born, "Make a dead center for this overarm support."
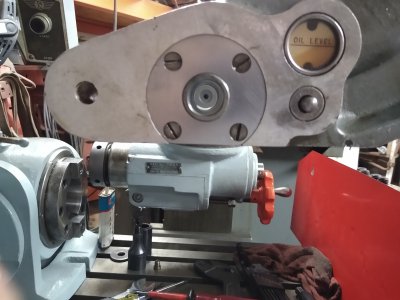
It'll fit right into the spot that several of my attachments have built right into them.
A quick sketch with a few measurements.
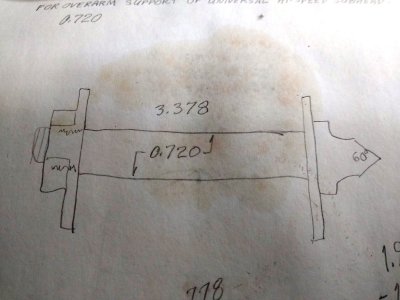
And away we go!
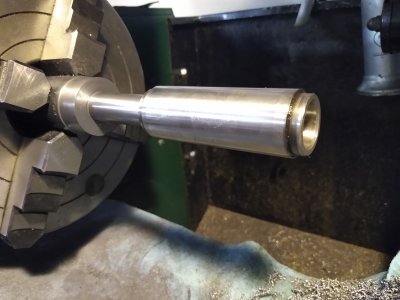
Pretty soon, I was all ready final fitting the shaft to the inner bearing race! This mill seems to use 5/8" - 11 tpi for most everything - but I figured I'd just see what my lathe could do for making a retaining nut that I might be happy with. Nah, got to be 5/8 - 11. That means making a tailstock die holder & this is where the cart really starts to fall behind the horse. I started with a piece of 2" round aluminum stock I'd bought to do just that. Well it's 6" long after the ends are cleaned up. I like that length, because then I could thread up to 3" if need be. This aluminum turns so beautifully!
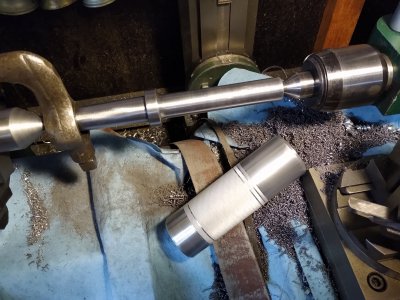
Well my drills don't go 6", boring bar doesn't go 6". So, I turned it around & came through from the other side, but can't get the boring bar to get to final dimension in the middle. As seen above, I just moved on to the support shaft. I'm using 1-1/2" hot rolled (not really round). I haven't had the 4 jaw off since I mounted it on the lathe. Not ever gonna be a contestant at the Bar Z Bash 'Centering Contest', but I need the practice. Why I didn't start with the straight portion of the shaft is beyond a real experienced answer. I know I wanted to get the MT3 portion 1st because I had never done it before. I even trued up an extra 1" or so of round for when I turned it around. I didn't have any lathe dogs at the time & sure enough, having to recheck on bare hot rolled became iffy regardless of how carefully it was dialed in. Time to buy lathe dogs. Dogs came in quickly. Now my lathe came with an MT5 dead center for the spindle, but no backing plate. That won't do in a chuck. So, time to make a dead center for the chuck. I left plenty of meat on it so I could dial it in real close & just shave off a little each time to put the center right on target! at least this part didn't cause me to back up & start making another part.
Now the shaft is mounted between centers. Sure enough, wobbly - but not on the MT3 end! I wanted to put a radius on it for looks, so that took grinding up a radius tool. Lots of 1st's for me along the way.
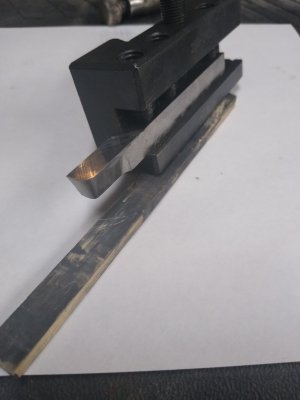
Radius came out on target with a gage & a honing stone. OK, that's all sorted with a good finish - but it only fits in each end of the die holder. Tried using a hone - but brake hones I have are too big. The sandpaper on a shaft - well, that got left to after the center was brought to size. I found that I could adjust my boring bar out another 1" or so if the other end of the holder had a shorter bar in it.
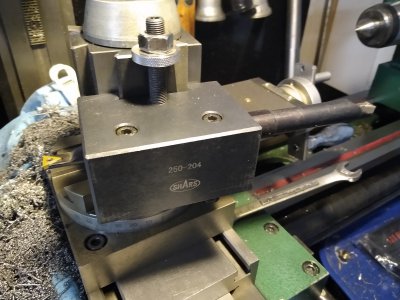
OK, so that went well! Recessed 1 end for 1-1/2" diameter & the other end for 1" diameter dies. Now it's time for the set screws. They're not 60 degrees apart. Yep, time to come up with some other way than a hex collet block.
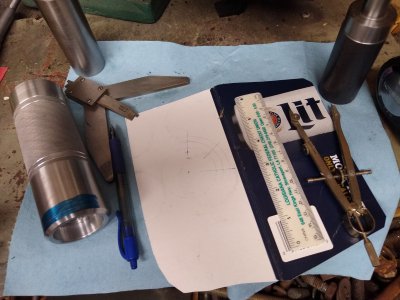
Cardboard, compass etc. Not the best way to do it (again). But as seen in the opening pic (short version LOL) it'll do.
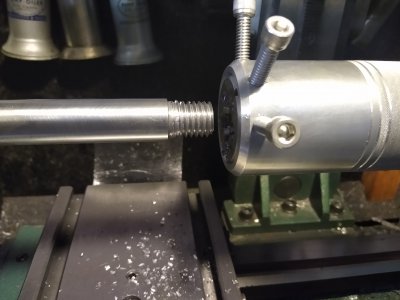
Threads came out great. All that's left is finally putting the 60 degree angle on the other end & making a nut. Then this job is done!
And so, now you know how Not to do it!!!
